
Home Inspection Tools for Homeowners: A Practical Guide

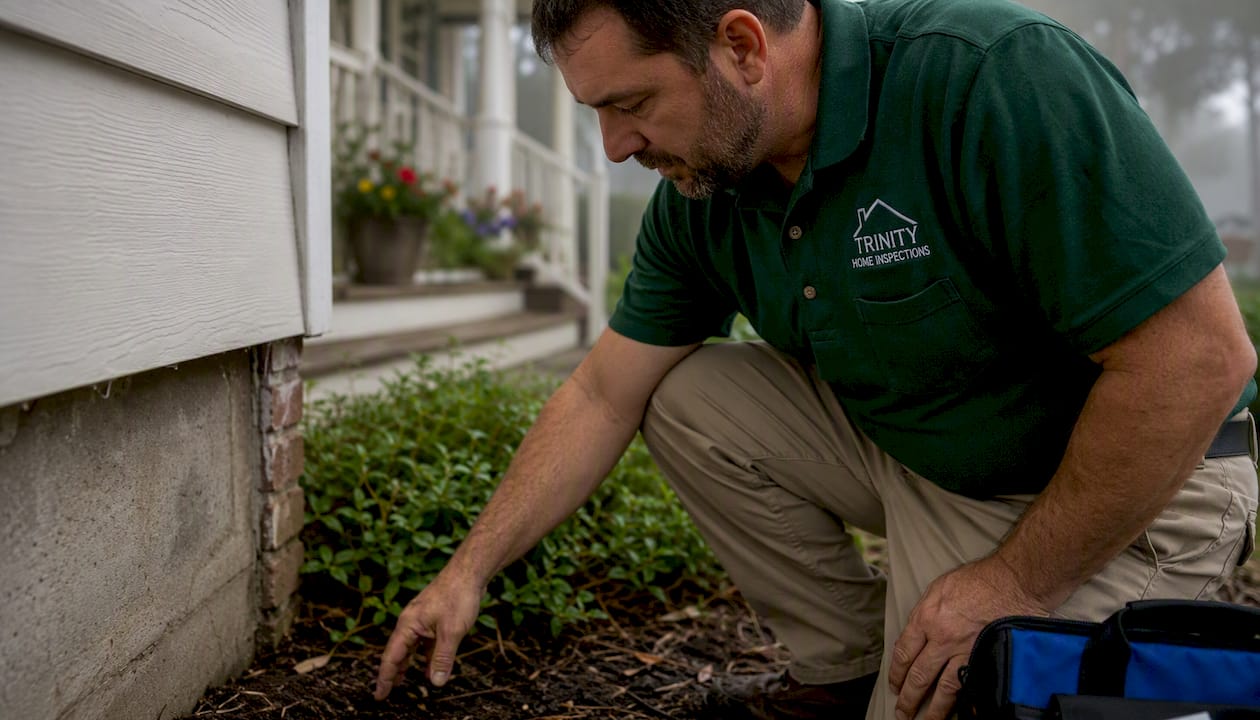
Every homeowner should have five tools within reach: a high-lumen flashlight, a pinless moisture meter, a non-contact voltage tester, an outlet/GFCI tester, and a laser or tape measure. Add a phone-attachable thermal camera and you have a starter kit that catches the majority of visible defects before you ever call a professional. These tools reveal a lot, but they do not replace a licensed inspection for environmental hazards, structural assessment, or sewer line integrity. InterNACHI and ASHI Standards of Practice define the scope of a formal inspection, and the EPA’s radon guidance makes clear that gas testing requires dedicated equipment beyond a basic homeowner kit.
Your essential starter kit at a glance:
High-lumen flashlight or headlamp — visibility in attics, crawlspaces, and cabinets
Pinless moisture meter — non-invasive screening for damp walls, floors, and ceilings
Non-contact voltage tester — safe first-check on wiring and outlets
Outlet/GFCI tester — confirms polarity and ground-fault protection
Laser or tape measure — documents room dimensions and clearances
Phone-attachable thermal camera — spots temperature anomalies behind surfaces
Key Takeaways
A homeowner toolkit under $300 catches most visible defects, but a licensed inspection at $300–$550 produces the documentation and professional liability that actually moves negotiations.
Point | Details |
Build the essential kit first | Flashlight, pinless moisture meter, outlet tester, and non-contact voltage tester cover most homeowner checks. |
Know the tool limits | Homeowner tools cannot assess structural integrity, radon levels, mold, or sewer lines without specialist equipment. |
Always wear PPE | Use a P-100 respirator, safety glasses, and gloves in attics and crawlspaces per OSHA guidance. |
Hire a licensed inspector for formal reports | A professional inspection ($300–$550) produces legally useful documentation that DIY findings cannot replace. |
Trinity Home Inspections | InterNACHI-certified inspections with free thermal imaging across Gulf Coast Alabama; call 251-210-7376 or visit TrinityInspectionsLLC.com. |
What Home Inspection Tools for Homeowners Actually Do
The ASHI essential tools list and the InspectandTest buyer’s guide both converge on the same core categories. Here is what each tool does, when you need it, and what to expect to pay.
A few notes on specific models worth knowing:
The Seek Thermal Compact plugs directly into your phone’s USB-C port and costs around $150–$200, making it the most accessible thermal option for a first-time buyer. The FLIR ONE Pro adds a wider temperature range and better resolution for roughly $300–$400. Both are phone-attached, which keeps the price well below a standalone unit.
For moisture meters, the Klein ET140 (pinless) and ET145 (pin/pinless combo) are widely stocked at hardware stores and offer solid accuracy for homeowner use. The Delmhorst BD-10 is a pin-only meter favored by professionals for its precise percentage readings when a pinless scan flags a suspicious area. The Protimeter line bridges both worlds and is common among working inspectors.
On the radon side, a charcoal kit from a hardware store or mail-order lab is adequate for a single home purchase. If you live in a region with elevated radon risk, the Corentium Home or AirThings View Plus provides continuous hourly sampling and app-based trend data, which is far more useful for long-term monitoring than a one-time test.
The UEi CD100A combustible gas detector is a reliable, affordable choice for checking around gas appliances, meter connections, and flexible supply lines. The Fluke 117 multimeter is the standard recommendation when homeowners want to go beyond a simple outlet tester, though most owners rarely need one unless they are troubleshooting a specific circuit.
How to Use Your Key Tools Safely and Accurately
Getting a reliable reading depends more on technique than on the price of the tool. Here are step-by-step instructions for the six tools that produce the most value on a homeowner walkthrough, drawn from Family Handyman’s pro tips and This Old House’s DIY inspection guide.
Pinless moisture meter sweep. Hold the meter flat against the surface and move it slowly in a grid pattern across the wall or floor. Flag any reading that spikes noticeably above the surrounding area. Follow up with a pin meter on flagged spots to get a percentage reading. Readings above 16% in wood suggest elevated moisture; above 20% indicates a condition favorable for mold growth.
Phone thermal camera best practices. Let the phone and attachment warm up for two minutes before scanning. Hold the camera 18–24 inches from the surface for the clearest image. Scan walls from corner to corner in a slow, overlapping pass. Note that emissivity settings matter: most building materials read well at the default 0.95 setting, but shiny metal surfaces will return false readings.
Outlet tester and non-contact voltage tester. Plug the outlet tester into every accessible receptacle and read the indicator lights against the legend printed on the device. Before touching any wiring or fixture, wave the non-contact voltage tester near the wire or outlet face. A beep or light confirms live voltage. Never proceed past this point without turning off the breaker.
Basic multimeter voltage check. Set the Fluke 117 to AC voltage (VAC) and insert the probes into the hot and neutral slots of an outlet. A reading of 110–125V is normal for a standard 120V circuit. This check is useful when an outlet tester shows a fault but you want to confirm voltage is actually present before calling an electrician.
Borescope insertion and retrieval. Insert the camera head slowly and avoid forcing it around tight bends. Use the on-screen image to orient the camera before pushing further. When retrieving, pull straight back without rotating the cable sharply. Borescopes are most useful for checking inside wall cavities near a suspected leak, behind appliances, or inside drain cleanouts.
Radon test deployment. For a short-term charcoal kit, place the canister in the lowest livable level of the home, away from exterior walls and drafts, for the time specified on the kit (typically 48–96 hours). For a continuous monitor like the Corentium Home or AirThings View Plus, place it at the same level and allow at least seven days of data before drawing conclusions. The EPA recommends taking action when radon levels reach 4 pCi/L or higher.
Pro Tip: Before running a thermal scan, close all windows and run the HVAC for at least an hour. The greater the temperature difference between inside and outside air, the more clearly the camera will show insulation gaps, moisture intrusion, and air leaks.
Thermal cameras need no calibration but should be stored away from direct sunlight. Gas detectors benefit from a bump test with a known gas source annually. If a moisture meter or gas detector consistently returns readings that seem off, replace the sensor rather than trust questionable data.
What PPE Should You Wear During a Home Inspection?
Attics and crawlspaces are the two areas where homeowners most commonly skip protective gear and most commonly regret it. Fiberglass insulation, rodent droppings, mold spores, and disturbed dust are real hazards in both spaces. OSHA’s PPE guidance applies directly to these environments and recommends respiratory protection, eye protection, and skin coverage whenever airborne particulates are possible.
Minimum PPE for attic and crawlspace entry:
P-100 half-face respirator — filters fiberglass, mold spores, and fine dust
Safety glasses or goggles — protects against falling debris and insulation fibers
Work gloves — protects hands from sharp metal, nails, and biological material
Knee pads — reduces fatigue and injury in crawlspaces
Headlamp — keeps both hands free while navigating tight spaces
Long sleeves and pants — minimizes skin contact with insulation and contaminants
For any electrical work, even something as simple as testing outlets, use insulated gloves rated for the voltage level you may encounter. Standard work gloves offer no electrical protection.
Ladder safety is the other area where homeowners underestimate risk. Set the ladder at a 4:1 ratio (one foot out for every four feet of height), secure the base on level ground, and never lean past the side rails. Do not carry tools in both hands while climbing.
Pro Tip: Wear disposable Tyvek coveralls over your clothes for crawlspace entry. They cost about $3 each and save you from carrying contaminated clothing back through the house.
Know your limits. Do not open electrical panels, remove junction box covers, or probe inside breaker boxes. Do not attempt destructive testing of any kind. Combustion analysis, asbestos sampling, and sewer camera work require licensed professionals with specialized equipment and training. These are not areas where a homeowner tool fills the gap.
What Should You Spend? Three Kit Tiers for Every Budget
The right kit depends on how often you plan to use it and what you are trying to accomplish. A first-time buyer doing a pre-offer walkthrough needs different tools than a landlord managing multiple properties. The InspectandTest buyer’s guide organizes homeowner tools into three practical tiers.

Tier | Approximate Cost | Key Items | Best Use Case |
Essential homeowner kit | $100–$200 | Flashlight, outlet tester, non-contact voltage tester, pinless moisture meter, tape measure | Pre-offer walkthrough, basic maintenance checks |
Serious homeowner / hobbyist | $300 | All above + phone thermal camera (Seek Thermal Compact), pin moisture meter (Klein ET145), combustible gas detector (UEi CD100A), borescope | Pre-listing prep, post-storm checks, ongoing monitoring |
Prosumer starter | $600 | All above + FLIR ONE Pro, Delmhorst BD-10, Fluke 117 multimeter, continuous radon monitor (AirThings View Plus or Corentium Home), laser measure | Frequent inspections, investment properties, pre-sale prep |
When to upgrade to inspector-grade: The main difference between homeowner-grade and inspector-grade tools is durability, sensor accuracy, and data logging. A Delmhorst BD-10 or a Protimeter gives a professional a precise percentage reading they can document in a report. A FLIR ONE Pro produces images clear enough to annotate and share. If you are inspecting more than two or three properties a year, the step up to prosumer tools pays for itself in reliability.
For radon specifically: a charcoal kit is fine for a single transaction. If you are in a higher-risk area or want ongoing peace of mind, the Corentium Home or AirThings View Plus provides continuous monitoring with app alerts, which a one-time kit simply cannot match.
When Should You DIY and When Should You Hire a Licensed Inspector?
The smartest approach is a two-step strategy: do a homeowner walkthrough first to catch obvious red flags, then hire a licensed inspector to produce the formal report you need for negotiations or purchase contingencies.
Your walkthrough with a flashlight, moisture meter, and outlet tester can disqualify a clearly troubled property before you spend money on a formal inspection. It can also help you prepare better questions for the licensed inspector. What it cannot do is produce a legally defensible report, assess structural integrity, evaluate the roof from above, or test for radon, mold, or sewer line defects.
A standard professional inspection typically costs $300–$550 and includes two to four hours on-site, a photo-documented report, and the professional liability that gives your findings weight in a real estate negotiation. That report is what your real estate attorney, lender, and seller’s agent will take seriously. A DIY walkthrough, however thorough, carries none of that weight.
The two-step approach:
Do your homeowner walkthrough. Use your starter kit to check moisture readings in bathrooms, kitchens, and around windows. Test every accessible outlet. Scan walls with your thermal camera if you have one. Note anything that looks off and bring those observations to the licensed inspector.
Hire a licensed inspector for the formal report. Provide your notes. Ask the inspector to pay extra attention to the areas you flagged. The inspector’s representative sampling standard covers accessible areas systematically, and their report carries the documentation you need for negotiation or repair requests.
Specialist tests such as radon, mold lab analysis, and sewer camera scope are add-ons worth requesting when your walkthrough or the inspector’s findings raise a specific concern. Environmental issues like hidden mold and sewer line defects can cost thousands to remediate and are not reliably detected by standard homeowner tools alone.
The $300–$550 professional inspection fee is one of the best-value purchases in a real estate transaction. It produces documentation, professional liability, and trained pattern recognition that no homeowner toolkit replaces.
Your Quick-Buy Checklist for a Starter Kit
Use this checklist at a hardware store or online retailer. One recommended model per category, with minimum specs to look for.
Tool | Recommended Model | Minimum Spec to Look For |
Flashlight / headlamp | Streamlight ProTac or Fenix headlamp | high-lumen, hands-free headlamp option |
Pinless moisture meter | Klein ET140 | Non-invasive scan, audible alert, wood/building material modes |
Pin/pinless combo meter | Klein ET145 | Both modes, % reading, calibration check function |
Confirmatory pin meter | Delmhorst BD-10 | Precise % scale, replaceable pins |
Outlet tester | Basic 3-light tester (widely available) | Tests open ground, reversed polarity, open hot |
Non-contact voltage tester | Fluke 1AC-A1-II or similar | Audible + visual alert, CAT IV rated |
Phone thermal camera | Seek Thermal Compact (USB-C) | resolution minimum, app with temperature overlay |
Prosumer thermal camera | FLIR ONE Pro | FLIR sensor, MSX image enhancement |
Combustible gas detector | UEi CD100A | Detects natural gas and propane, audible alarm |
Continuous radon monitor | Corentium Home or AirThings View Plus | Hourly sampling, app connectivity, pCi/L display |
Borescope | Any 5mm-head USB borescope | Waterproof head, 1m+ cable, LED lighting |
Laser measure | Any name-brand 100ft+ unit | ±1/16 in. accuracy, single-button operation |
Where to avoid false economy: Cheap no-name moisture meters from discount retailers often return inconsistent readings across the same surface. Stick with Klein, Protimeter, or Delmhorst for any tool where accuracy drives a real decision. The same applies to gas detectors: a sensor that misses a propane leak is worse than no detector at all.
Useful extras to look for: Data logging and app integration (available on AirThings View Plus and some Protimeter models) let you track readings over time rather than relying on a single snapshot. Keep receipts and note serial numbers for warranty claims and resale documentation. A printable home inspection checklist can help you organize your findings room by room during a walkthrough.
What a Working Inspector Actually Sees With These Tools
Most homeowners who buy a moisture meter use it once, get a reading they cannot interpret, and put it back in the drawer. That is the honest reality of DIY inspection tools. The tool is only as useful as the context behind the reading.
When I walk through a home with a thermal camera and a moisture meter, I am not just looking for a number. I am looking for patterns: a moisture spike near a window that also shows a cold spot on thermal, which together suggest a failed seal rather than a plumbing leak. That distinction changes the repair cost by thousands of dollars. A homeowner with the same tools might flag the moisture reading and stop there, missing the cause entirely.
The tools listed in this guide are genuinely worth owning. They will help you catch obvious problems, prepare better questions for your inspector, and maintain your home between formal inspections. But the value of an InterNACHI-certified inspection is not just the tools. It is the trained eye that knows what a reading means in context, the professional liability that backs the report, and the documentation that gives you real negotiating power.
For homeowners in the Gulf Coast Alabama area, the humidity and moisture conditions here make a thermal camera and moisture meter more valuable than they would be in a drier climate. I see moisture intrusion in places that look perfectly dry to the naked eye on a regular basis. Your tools are a good first line of defense. A licensed inspection is the one that counts.
Ready for a Professional Inspection? Here Is What Trinity Home Inspections Includes
Your homeowner toolkit is a smart investment. A licensed inspection is what turns your findings into documentation with real weight.
[

Trinity Home Inspections is an InterNACHI-certified inspection service serving Mobile, Baldwin, Escambia, and surrounding Gulf Coast Alabama counties. Every inspection goes beyond the minimum standards, and thermal imaging is included at no extra charge.
What’s included with every Trinity Home Inspections inspection:
Same-day photo and video report, color-coded by priority
Free thermal imaging (infrared scanning for moisture, insulation gaps, and electrical anomalies)
Moisture meter verification of suspected damp areas
Full outlet, switch, window, and door testing (not just a representative sample)
Combustible gas and CO screening
Post-inspection walkthrough by phone, text, or in person
Add-on options: mold testing and air quality sampling, sewer scope, pool/spa inspection, and radon testing
If your moisture meter or thermal camera flags something during your own walkthrough, that is exactly the kind of finding that warrants a pre-listing or pre-purchase inspection from a licensed professional. Trinity carries $1M in E&O insurance and $2M in general liability, so you are covered if anything comes up.
Call 251-210-7376 or visit Trinityinspectionsllc to schedule your inspection.
Sources
These are the primary references used throughout this guide.
FAQ
Can I perform my own home inspection?
Yes, but with important limits. A homeowner walkthrough with a flashlight, moisture meter, and outlet tester can catch obvious defects, but it does not produce a legally defensible report and cannot assess structural integrity, radon, mold, or sewer lines.
What tools do home inspectors use most often?
Licensed inspectors rely on a flashlight, moisture meter, non-contact voltage tester, outlet tester, and thermal camera as their core kit, per ASHI and InterNACHI standards. Gas detectors, borescopes, and radon monitors are common additions.
What is the difference between a pin and pinless moisture meter?
A pinless meter scans surfaces non-invasively to flag suspect areas; a pin meter inserts probes into the material to measure exact moisture percentage. Use pinless for screening and pin for confirmation, as the Delmhorst BD-10 and Klein ET145 combo illustrates.
How do I know when to stop DIYing and hire a licensed inspector?
Hire a licensed inspector any time you are making a purchase decision, need documentation for negotiations, or your tools flag moisture, electrical faults, or gas readings you cannot explain. A pre-purchase or pre-listing inspection from Trinity Home Inspections provides the formal report your transaction requires.
How often should I test my home for radon?
The EPA recommends testing every two years in previously tested homes and after any major renovation. Homeowners in higher-risk areas benefit from a continuous monitor like the Corentium Home or AirThings View Plus, which tracks hourly levels rather than providing a single snapshot.
Recommended