
Printable Home Inspection Checklist for Confident Homebuyers
- Matt Cameron

- Feb 3
- 8 min read

Buying your first home along the Gulf Coast brings excitement but also plenty of questions about what to check before you sign. Without clear guidance, you might worry about missing hidden problems that could cost you later. A detailed printable home inspection checklist puts power in your hands, helping you ask the right questions, examine every room, and collect essential information so you can move forward with confidence.
Table of Contents
Quick Summary
Key Point | Explanation |
1. Gather Comprehensive Home Information | Collect details like construction year, type, and previous inspection reports for informed decision-making. |
2. Create a Personalized Inspection Checklist | Customize templates with specific property features to ensure thorough inspection. |
3. Conduct Systematic Room-by-Room Inspections | Evaluate each room critically to uncover hidden issues that may require costly repairs. |
4. Prioritize Action Items Post-Inspection | Categorize findings by urgency to address safety and structural concerns effectively. |
5. Organize Inspection Documentation Effectively | Maintain detailed records of all findings and repairs for future reference and legal protection. |
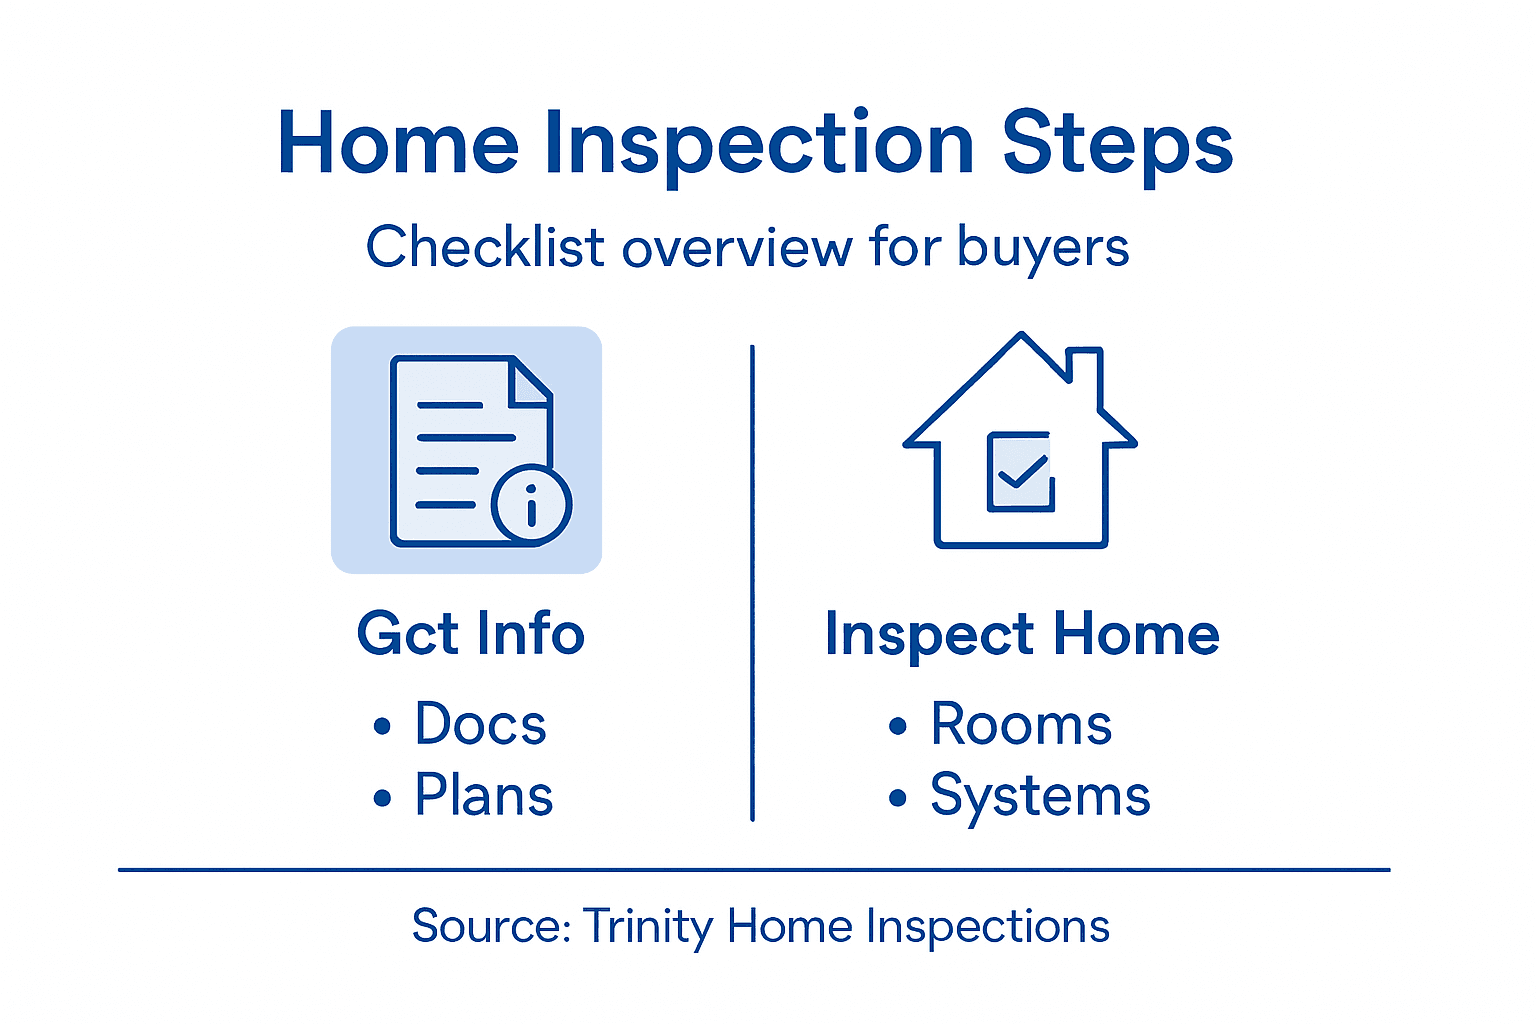
Step 1: Gather Essential Home Information
Before diving into your home inspection, strategic information gathering is crucial. You need a comprehensive snapshot of the property’s fundamental characteristics that will guide your entire inspection process.
Start by collecting critical details about the home, such as its construction year, total square footage, and property type. These foundational facts help inspectors understand the home’s potential unique challenges. The InterNACHI home inspection standards recommend documenting specific property attributes including:
Construction type (wood frame, brick, concrete)
Approximate year of construction
Total number of units (for multi-family properties)
Ownership status
Previous renovation history
Additionally, compile all available property documentation like previous inspection reports, tax records, and seller disclosure statements. These documents offer valuable context about the home’s maintenance history and potential hidden issues.
Here is a summary of the most impactful property documents to gather for a successful home inspection:
Document Type | Why It Matters | Use During Inspection |
Previous Inspection Reports | Reveal prior issues and resolutions | Reference for recurring concerns |
Tax Records | Confirm ownership and property value | Validate property details |
Seller Disclosure Statements | Uncover known defects or repairs | Identify areas needing scrutiny |
Blueprints/Plans | Show hidden structural features | Check against visible elements |
Renovation History | Track updates or major changes | Assess quality of modifications |
Comprehensive documentation transforms your home inspection from a basic assessment into a strategic decision-making tool.
If possible, request access to the home’s original blueprints or architectural plans. These can reveal critical structural details that might not be immediately visible during a standard walkthrough.
Pro tip: Create a dedicated digital folder to organize all property documents, ensuring quick access and easy reference during your home inspection process.
Step 2: Download and Personalize Your Printable Checklist
Now that you have gathered essential property information, it is time to prepare your personalized home inspection checklist. Professional home inspection organizations offer standardized inspection templates that you can easily download and customize to suit your specific property needs.
To create your personalized checklist, follow these strategic steps:
Select a reputable template from a professional organization like InterNACHI
Download the checklist in PDF or editable Word format
Review the standard sections and add property-specific notes
Print multiple copies for on-site documentation
When personalizing your checklist, focus on adding unique details about your specific property. This might include special architectural features, previous renovation areas, or unique home system configurations. Some key sections to customize include:
Structural elements specific to your home’s construction
Mechanical systems and their age
Recent upgrades or repairs
Specific concerns identified during initial property review
A truly effective home inspection checklist is not just a generic document, but a tailored tool designed for your specific property.
Consider consulting with your Trinity Home Inspections professional to help refine your checklist and ensure you capture all critical inspection points relevant to your specific property.
Pro tip: Create digital and physical backup copies of your personalized checklist to ensure you have comprehensive documentation before, during, and after the home inspection.
Step 3: Perform Room-by-Room Inspection Tasks
A systematic room-by-room inspection is your roadmap to understanding a property’s true condition. Using comprehensive safety checklists, you can methodically evaluate each space and uncover potential issues that might escape casual observation.
Begin your room-by-room inspection with a structured approach. Focus on these critical areas:
Living Areas
Kitchen
Bathrooms
Bedrooms
Basement
Attic
Exterior Spaces
For each room, systematically examine key elements like:
Structural integrity of walls and ceilings
Electrical outlet functionality and placement
Plumbing fixtures and potential water damage
Window and door condition
Flooring stability and potential wear
Thoroughness in your room-by-room inspection can reveal hidden problems that could cost thousands in future repairs.
Pay special attention to areas with potential moisture issues, electrical irregularities, or structural concerns. Look for signs of water stains, electrical outlet wear, foundation cracks, and potential microbial growth.
Pro tip: Carry a bright flashlight, notebook, and camera during your inspection to document and illuminate hard-to-see spaces effectively.
Step 4: Assess Structural, Safety and Utility Features
A thorough home inspection demands comprehensive evaluation of critical property systems. By examining structured inspection protocols, you can systematically assess structural integrity, safety components, and essential utility features that impact the home’s overall condition.
Focus your assessment on these key structural and utility areas:
Foundation and Structural Framework
Electrical System
Plumbing Infrastructure
Heating and Cooling Systems
Roof and Exterior Envelope
Fire Safety Equipment
During your evaluation, prioritize these critical inspection points:
Check foundation for visible cracks or shifting
Inspect electrical panel for outdated or unsafe components
Test all plumbing fixtures for proper water pressure
Examine HVAC system age and functionality
Verify smoke and carbon monoxide detector placement and operation
Small overlooked details during structural assessment can translate into significant future repair costs.
Special attention should be given to potential safety hazards like electrical panel issues, potential water damage, structural stress points, and utility system inefficiencies. Understanding these elements provides crucial insights into the property’s long-term livability and maintenance requirements.
Pro tip: Request thermal imaging during your inspection to uncover hidden structural and utility system anomalies that are invisible to the naked eye.
Step 5: Review Findings and Prioritize Action Items
Transforming your home inspection notes into a strategic action plan requires careful analysis and systematic prioritization. Professional inspection reports offer a structured approach to categorizing and addressing potential property issues effectively.
When reviewing your inspection findings, organize observations into these critical categories:
Immediate Safety Concerns
Critical Structural Defects
Major System Repairs
Minor Maintenance Issues
Cosmetic Improvements
Prioritize your action items using this systematic approach:
The following table compares three main priorities identified from inspection findings and their recommended next steps:
Priority Level | Examples | Immediate Action Required |
Safety Concerns | Faulty wiring, gas leaks | Resolve before occupancy |
Structural Defects | Foundation cracks, sagging beams | Schedule professional review |
System Repairs | Failing HVAC, leaky plumbing | Plan timely replacement |
Address safety hazards immediately
Evaluate structural integrity issues
Assess major system functionality
Plan preventative maintenance
Consider optional improvements
Not all findings are equal - strategic prioritization can save you thousands in future repair costs.
Consult with professional contractors to get precise repair estimates and understand the complexity of addressing each identified issue. Some problems might seem minor but could indicate larger underlying concerns that require expert evaluation.
Pro tip: Request written estimates from at least three licensed contractors to ensure comprehensive and competitive pricing for recommended repairs.
Step 6: Verify and Organize Inspection Documentation
Careful documentation management is crucial in protecting your home investment. Professional inspection documentation protocols provide a systematic approach to preserving and organizing critical property assessment records.
Compile and verify your inspection documentation by gathering these essential elements:
Comprehensive Inspection Report
Photographic Evidence
Professional Assessments
Repair Estimates
Property Disclosure Statements
Organize your documentation using these strategic steps:
Create digital and physical file copies
Label documents with inspection date
Scan original documents
Store files in secure, multiple locations
Maintain chronological order
Meticulous documentation serves as your legal and financial protection throughout the homebuying process.
Ensure your documentation includes detailed annotations about specific findings, recommended repairs, and potential future maintenance requirements. This comprehensive approach provides a clear historical record of the property’s condition at the time of inspection.
Pro tip: Use cloud storage and external hard drives to create redundant backups of all critical inspection documents, protecting against potential loss.
Gain Confidence with a Professional Home Inspection Partner
Navigating the home inspection process can feel overwhelming, especially when you want to be sure your decisions are well-informed and based on thorough data. This article highlights the importance of detailed checklists, organized documentation, and prioritizing action items to avoid costly surprises. If you want clarity on structural integrity, safety features, and utility assessments, partnering with professionals who use advanced tools like thermal imaging and provide same-day photo and video-rich reports is essential.
At Trinity Home Inspections, we specialize in giving Gulf Coast Alabama homebuyers, sellers, and homeowners exactly that confidence. Our InterNACHI-certified inspectors bring deep expertise and faith-based values to every inspection. We go beyond basic checklists: you get personalized, actionable reports that clearly tell you what needs immediate attention and what can wait. Whether you are reviewing your printable inspection checklist or preparing for your inspection day, our services complement your efforts to achieve a comprehensive property evaluation.

Don’t wait until after closing to uncover surprises. Connect with Trinity today to schedule your professional inspection and receive an easy-to-understand, thorough report the same day. Visit our site, explore our detailed inspection process, and get the confident insights you need to make the smartest home buying or selling decisions now.
Explore more about how we help at Trinity Home Inspections and learn about our add-on services to cover every detail. Your peace of mind starts here.
Frequently Asked Questions
What should I include in my printable home inspection checklist?
Include essential details such as the construction year, total square footage, property type, and specific features like renovations and architectural plans. Create a checklist that is tailored to your home’s unique characteristics for a thorough inspection.
How can I personalize my home inspection checklist?
To personalize your checklist, start by downloading a professional template and adding notes specific to your property, like special architectural features or areas that need attention. This ensures your checklist is relevant to your home’s unique aspects, enhancing the effectiveness of your inspection.
What are common inspection priorities I should focus on?
Prioritize immediate safety concerns, structural defects, and major system repairs. Identify these categories during your inspection to streamline the decision-making process, and address the highest-priority items first, like any safety hazards, without delay.
How do I document findings from my home inspection effectively?
Organize your documentation by creating physical and digital copies of the inspection report, photographs, and repair estimates. Ensure all documents are labeled and stored chronologically to simplify access and reference during negotiations or future maintenance.
What steps should I take after completing the home inspection?
After completing the inspection, review your findings and prioritize action items based on their urgency and impact. Schedule necessary repairs and consider obtaining estimates from professionals within a week to ensure timely addressing of any significant issues.
Recommended