
How to Replace Durapex Plumbing Pipes Safely
- Matt Cameron

- Feb 8
- 8 min read
Water spots on your walls or a sudden drop in water pressure can leave Gulf Coast homeowners in Baldwin and Mobile counties feeling frustrated and concerned. Aging Durapex pipes are a common culprit for costly leaks and hidden damage, making repair decisions both urgent and confusing. This guide breaks down each critical step, from assessing potential hazards to safely removing and replacing your pipes, empowering you to tackle Durapex plumbing repair with confidence and clear direction.
Table of Contents
Quick Summary
Key Takeaway | Explanation |
1. Assess Durapex Pipe Conditions | Check for recalls and visible damage before replacement to avoid costly repairs. |
2. Properly Shut Off Water | Locate and turn off the main water valve, then drain all faucets before starting work. |
3. Execute Careful Pipe Removal | Remove old pipes meticulously to prevent damage to your home’s plumbing infrastructure. |
4. Follow Installation Procedures | Adhere to professional guidelines to ensure proper installation and avoid leaks. |
5. Conduct Thorough Leak Testing | Test new plumbing connections for leaks to ensure system integrity before use. |
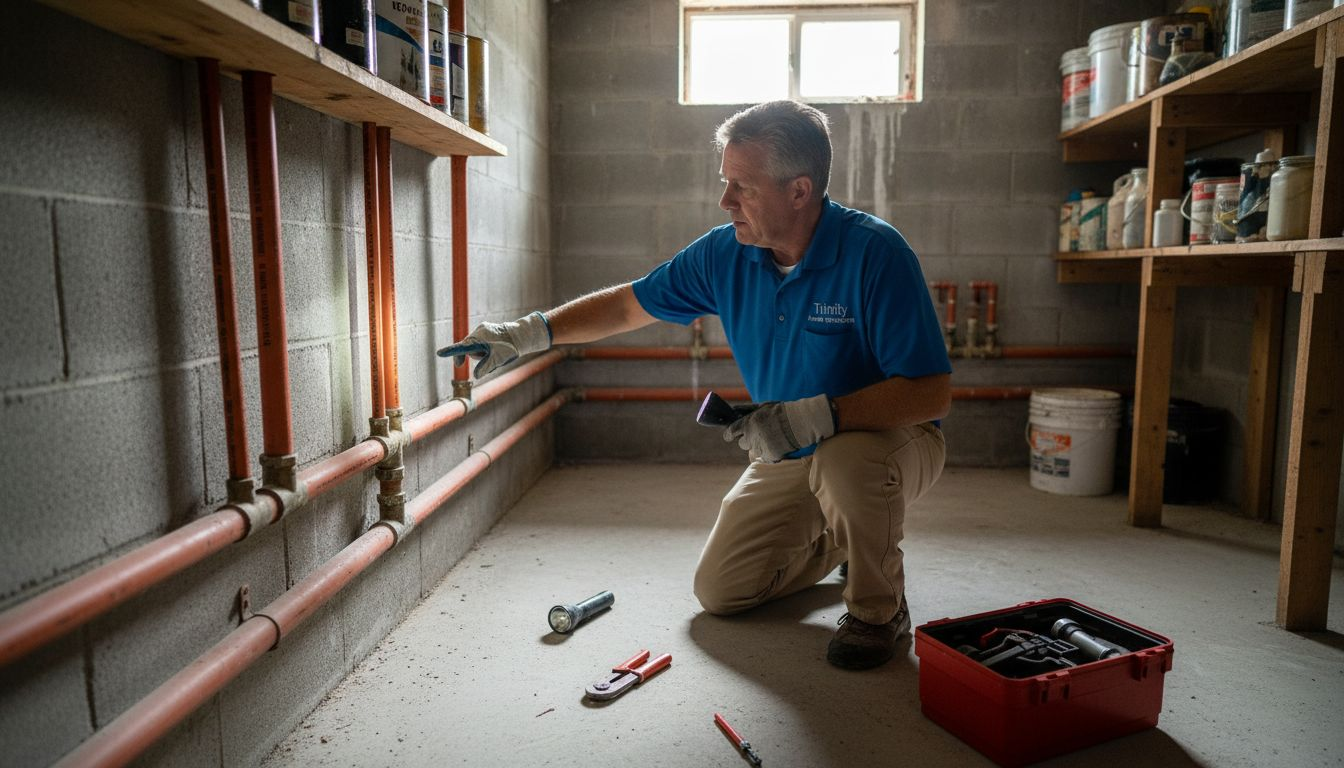
Step 1: Assess Durapex Pipe Issues and Recall Status
Understanding the potential risks associated with Durapex plumbing pipes is crucial for homeowners in Baldwin and Mobile counties. These problematic pipes have been known to cause significant water damage and structural issues, making a thorough assessment essential before deciding on replacement.
To begin evaluating your Durapex pipes, start by checking official recall databases. The U.S. Consumer Product Safety Commission recall database provides comprehensive information about active safety notices and product defects. You’ll want to look specifically for any Durapex pipe recalls that might impact your home’s plumbing system.
Key steps in assessing Durapex pipe issues include:
Inspect visible pipe sections for signs of deterioration
Check pipe manufacturing date and installation period
Review any warranty documentation from original installation
Contact the manufacturer directly for specific recall information
Consult a professional home inspector familiar with Durapex pipe problems
Important: Not all Durapex pipes are automatically defective, but understanding their potential risks can save you thousands in potential water damage repairs.
If you discover your home has Durapex pipes, don’t panic. Professional home inspectors like those at Trinity Home Inspections can provide a comprehensive assessment of your specific plumbing situation. They can help determine whether immediate replacement is necessary or if monitoring the pipes is a viable short-term strategy.
Pro tip: Keep detailed records of your pipe inspection findings and any professional assessments to help with potential insurance claims or future home maintenance decisions.
Step 2: Shut Off Water and Prepare the Work Area
Preparing to replace Durapex plumbing pipes requires careful planning and precise water system shutdown. Your goal is to create a safe, dry workspace while preventing potential water damage during the pipe replacement process.
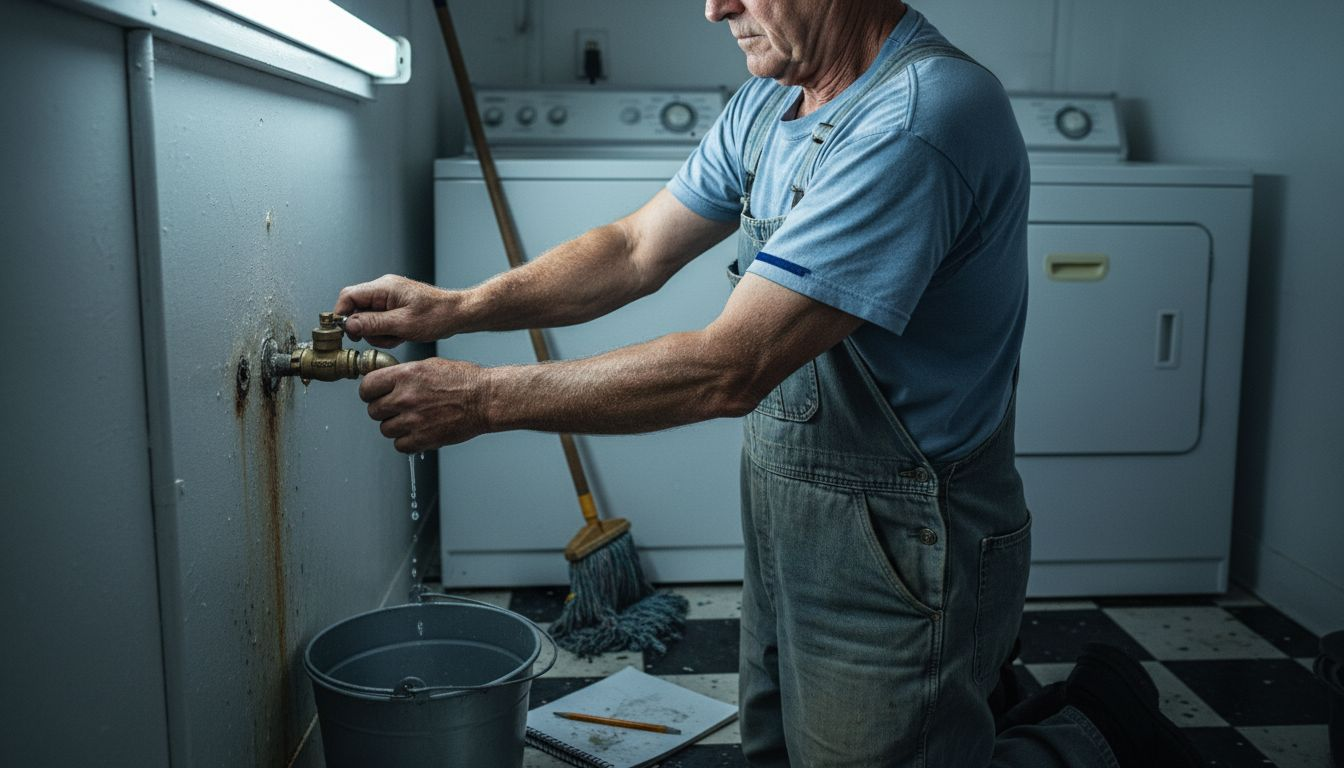
First, locate your home’s main water shut-off valve. Detailed water shut-off instructions recommend checking typical locations such as the basement, garage, or crawl space. You’ll want to identify whether you have a gate valve or ball valve, as each requires slightly different turning techniques.
Critical steps for water shut-off and work area preparation include:
Locate the main water shut-off valve
Turn the valve completely clockwise to stop water flow
Open multiple faucets throughout the house to drain residual water
Disconnect any appliances connected to the water lines you’ll be replacing
Clear the work area of furniture, rugs, and other potential obstacles
Lay down protective drop cloths to prevent water or debris damage
Important: Always test that water is fully shut off by running faucets and checking for water flow before beginning pipe replacement.
Be sure to communicate with all household members about the water shut-off and planned work to avoid confusion. If you’re not completely comfortable with the process, consider consulting a professional plumber who can safely manage the water system shutdown and pipe replacement.
Pro tip: Take photos of your shut-off valve and work area before starting to help you remember the original setup and document your repair process.
Step 3: Remove Old Durapex Water Lines Carefully
Removing old Durapex water lines requires precision, patience, and careful planning to prevent damage to your home’s existing infrastructure. Professional inspection forums highlight the critical importance of methodical pipe removal techniques that minimize potential structural complications.
Before beginning the removal process, gather essential tools and protective equipment. You’ll need:
Pipe cutters designed for plastic piping
Adjustable wrenches
Protective safety glasses
Heavy-duty work gloves
Plastic drop cloths
Bucket for collecting water and pipe fragments
Marking pen for tracking pipe sections
Key steps for careful pipe removal include:
Verify complete water system shutdown
Carefully cut pipes using specialized plastic pipe cutters
Support surrounding pipes during removal
Remove pipe sections in manageable segments
Inspect surrounding areas for potential water damage
Clean removal area thoroughly
Critical: Work slowly and systematically to prevent unnecessary damage to surrounding plumbing and structural components.
Understanding the condition of your existing pipes is crucial. Some Durapex pipes might be brittle or deteriorated, requiring extra caution during removal. If you encounter significant resistance or notice extensive pipe degradation, consider consulting a professional plumber to complete the job safely.
Pro tip: Take photographs of each pipe section and removal process to document potential issues and create a visual reference for future maintenance.
Step 4: Install and Secure New Replacement Plumbing
Installing new plumbing pipes requires precision and adherence to professional standards to ensure a safe and reliable water system. National Standard Plumbing Code guidelines provide critical recommendations for proper pipe installation and securing techniques.
Here’s a comparison of common replacement pipe materials for Durapex:
Pipe Material | Durability | Installation Complexity | Typical Cost |
PEX | Highly resistant to corrosion | Easy to install, flexible | Moderate, budget-friendly |
Copper | Long-lasting, withstands pressure | Requires skill, soldering needed | Higher, premium option |
CPVC | Good for hot and cold water | Moderate difficulty, glue connection | Affordable, but less durable |
This table can help you evaluate which pipe material fits your needs best when replacing Durapex pipes.
Before beginning the installation, gather your replacement materials and essential tools:
Approved replacement pipes (PEX or copper)
Pipe cutters
Pipe supports and hangers
Pipe sealant
Measuring tape
Level
Pipe wrench
Pipe insulation
Marker for pipe labeling
Key steps for secure pipe installation include:
Measure and cut pipes precisely
Clean and prepare pipe connection points
Use appropriate pipe supports and hangers
Align pipes carefully to prevent stress
Apply proper pipe sealant
Secure pipes to prevent movement
Test connections for leaks
Important: Ensure all pipe connections meet local building code requirements and manufacturer specifications.
Pay close attention to pipe support spacing and connection techniques. Improper installation can lead to future leaks, water damage, and potential structural issues. If you’re uncertain about any part of the installation process, consulting a professional plumber is always recommended.
Pro tip: Take photographs of your installation process and document each connection for future reference and potential warranty purposes.
Step 5: Test the System and Inspect for Leaks
After installing your new plumbing, thoroughly testing the system is crucial to ensure a safe and reliable water supply. Hydrostatic leak testing standards provide essential guidelines for verifying the integrity of your new pipe installation.
To conduct a comprehensive leak test, you’ll need the following equipment:
For quick reference, here’s a summary of leak test equipment and its purpose:
Equipment | Main Function | Importance in Testing |
Pressure gauge | Measures system pressure | Ensures safe levels |
Air compressor | Provides pressure to system | Detects weak spots |
Soap solution | Reveals leaks visually | Locates faulty joints |
Understanding these tools will improve the accuracy and reliability of your plumbing leak tests.
Pressure gauge
Air compressor or hand pump
Soap solution or leak detection fluid
Towels and cleaning cloths
Notebook for documenting results
Flashlight
Key steps for testing your new plumbing system include:
Pressurize the entire system
Monitor pressure levels
Check for visual signs of leakage
Apply soap solution to connections
Inspect all pipe joints carefully
Document any detected issues
Allow system to stabilize for 24 hours
Critical: Pressure tests should simulate actual operating conditions to reveal potential weak points in your new plumbing installation.
Pay close attention to connection points and areas where different pipe materials meet. Small leaks can develop into significant problems if left undetected. If you discover any issues during testing, address them immediately or consult a professional plumber for comprehensive repair.
Pro tip: Take multiple photographs of your leak testing process to maintain a visual record for future reference and potential warranty claims.
Protect Your Home From Durapex Pipe Risks With Expert Inspection
If you are facing the challenge of replacing Durapex plumbing pipes after discovering their potential for leaks and deterioration, you understand how critical a thorough and professional evaluation is to avoid costly water damage. Key concerns like proper water shut-off, safe removal of old pipes, and secure installation require expert knowledge to keep your home safe and your system reliable.
At Trinity Home Inspections, we provide InterNACHI-certified home inspections designed to give you clear answers about your plumbing and overall home condition. Using advanced tools like thermal imaging and moisture meters, we can help identify hidden issues in your plumbing system before you start costly replacements. Our same-day detailed reports, packed with photos and videos, empower you to make informed decisions with confidence.
Explore our comprehensive home inspection services to get started today.

Don’t wait until minor Durapex pipe problems turn into major household repairs. Schedule a professional inspection with Trinity Home Inspections now and gain peace of mind with an actionable, easy-to-understand report focused on what truly matters for your home. Visit us online or call today to take the crucial step toward a safer, more secure home plumbing system.
Frequently Asked Questions
How can I assess whether my Durapex pipes are affected by a recall?
To assess if your Durapex pipes are impacted by a recall, check the U.S. Consumer Product Safety Commission recall database. Search specifically for Durapex recalls and note the manufacturing dates of your pipes to determine if they fall within affected ranges.
What steps should I take to shut off the water supply before replacing Durapex pipes?
Begin by locating the main water shut-off valve in your home and turning it completely clockwise to stop the water flow. After shutting off the water, open multiple faucets throughout the house to drain any residual water from the pipes.
What tools do I need to safely remove old Durapex plumbing lines?
You’ll need pipe cutters designed for plastic piping, adjustable wrenches, protective safety glasses, and heavy-duty work gloves for safe removal. Additionally, have a bucket on hand for catching water and pipe fragments during the removal process.
How do I ensure that the new pipes are installed securely?
To secure your new pipes, measure and cut them precisely, and use appropriate supports and hangers. Ensure all connections are properly sealed and aligned to prevent stress on the pipes, which can lead to leaks.
What should I do to test my new plumbing system after installation?
After installing new pipes, pressurize the entire system to monitor pressure levels for leaks. Apply a soap solution to all connection points, watching for bubbles, and document any issues found during testing to address them promptly.
How can I prevent potential water damage during the pipe replacement process?
Clear the work area of furniture and obstacles to create a safe and dry workspace. Use protective drop cloths to shield surfaces and immediately collect any water or debris to minimize the risk of damage during the replacement process.
Recommended
