
Safely Remove Mold Inside Walls: Alabama Homeowner Guide
- Matt Cameron
- Apr 12
- 11 min read

TL;DR:
Alabama’s humid climate fosters hidden mold growth inside walls after water leaks.
Proper cleanup requires fixing moisture sources, containment, PPE, and professional testing for success.
DIY removal risks incomplete containment and unseen mold, so professional assessment is often recommended.
You pull back a section of baseboard after a slow plumbing leak, and there it is: a dark, fuzzy patch spreading across the inside of your drywall. For Alabama homeowners, this moment is more common than you might think. Our Gulf Coast climate, with its high humidity and frequent heavy rains, creates near-perfect conditions for mold to grow silently behind walls. According to EPA mold cleanup guidelines, mold can trigger allergies, worsen asthma, and cause serious health risks for immunocompromised family members, while also threatening the structural integrity of your home’s wood framing. This guide walks you through every step, from understanding the danger to safely removing mold and keeping it from coming back.
Key Takeaways
Point | Details |
Hidden mold is dangerous | Mold inside walls can harm your health and your home’s structure if overlooked. |
Removal needs preparation | Containment, proper PPE, and the right tools are critical before starting. |
DIY has strict limits | Only small, accessible areas are safe for DIY; call professionals for anything bigger or hidden. |
Testing confirms success | Independent air and surface sampling is the gold standard for post-remediation safety. |
Moisture control prevents recurrence | Addressing leaks and humidity will stop mold from coming back inside your walls. |
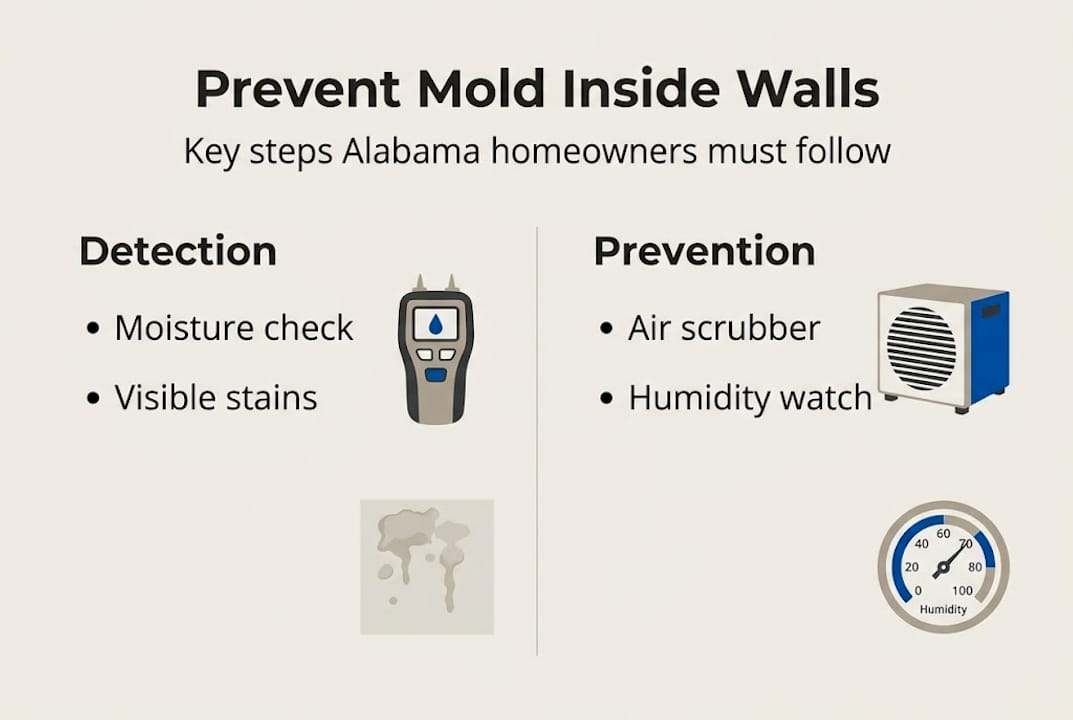
How mold grows inside walls: Health and property risks
Mold is not picky. It needs three things: moisture, an organic food source like wood or drywall paper, and warmth. Alabama provides all three in abundance. When a pipe sweats, a roof leaks, or floodwater seeps into a wall cavity, the interior of your wall becomes a dark, damp environment where mold colonies can establish themselves within 24 to 48 hours. The problem is that you often cannot see it until the damage is already significant.
Understanding the mold hazards in homes is critical before you take any action. Mold spores travel through your home’s air every time a door opens or an HVAC system runs. Once airborne, those spores land in your lungs, on your furniture, and in your ductwork. For healthy adults, this might mean sneezing, itchy eyes, or a persistent cough. For children, the elderly, and anyone with a compromised immune system, the health consequences can be far more serious.
Here is what hidden wall mold can do to your family and your home:
Allergic reactions: Runny nose, skin rashes, and eye irritation that seem to have no clear cause
Worsened asthma: Mold spores are a known asthma trigger, and enclosed spaces concentrate exposure
Respiratory infections: Prolonged exposure increases risk, especially for vulnerable household members
Wood framing damage: Mold feeds on the cellulose in wood studs, weakening structural members over time
Insulation degradation: Fiberglass and foam insulation lose their effectiveness when saturated and contaminated
Drywall destruction: Paper-faced drywall is one of mold’s favorite food sources, and affected panels must be removed entirely
Important: The CDC and NIOSH recommend drying any wet building materials within 48 hours to prevent mold growth. When hidden mold is suspected, investigation using moisture meters and thermal imaging is essential to locate the full extent of contamination before any removal begins.
The structural risk is real and often underestimated. A single wall cavity with untreated mold can spread to adjacent stud bays through shared insulation. Over months or years, load-bearing studs can lose enough integrity to become a genuine safety concern. Catching it early and treating it correctly is always less expensive and less disruptive than dealing with advanced structural damage later.
With the risks clear, understanding mold’s sneaky behavior is the first step. Now, let’s prepare to tackle it safely.
Essential tools and materials for safe mold removal
Equipped with an understanding of why hidden mold is risky, Alabama homeowners must get the right tools before starting any removal operation. Walking into a mold-affected wall cavity without proper protection is one of the most common and costly mistakes homeowners make. You will stir up thousands of spores, breathe them in, and spread contamination to clean areas of your home.
The EPA is clear on this point: DIY mold removal is appropriate for affected areas smaller than 10 square feet. Anything larger, or any situation involving mold hidden inside walls, should involve a certified professional following EPA and IICRC (Institute of Inspection, Cleaning and Restoration Certification) guidelines. Porous materials like drywall and insulation must be removed and discarded, not cleaned in place.
If your situation falls within the DIY range, here is what you need before you touch a single panel:
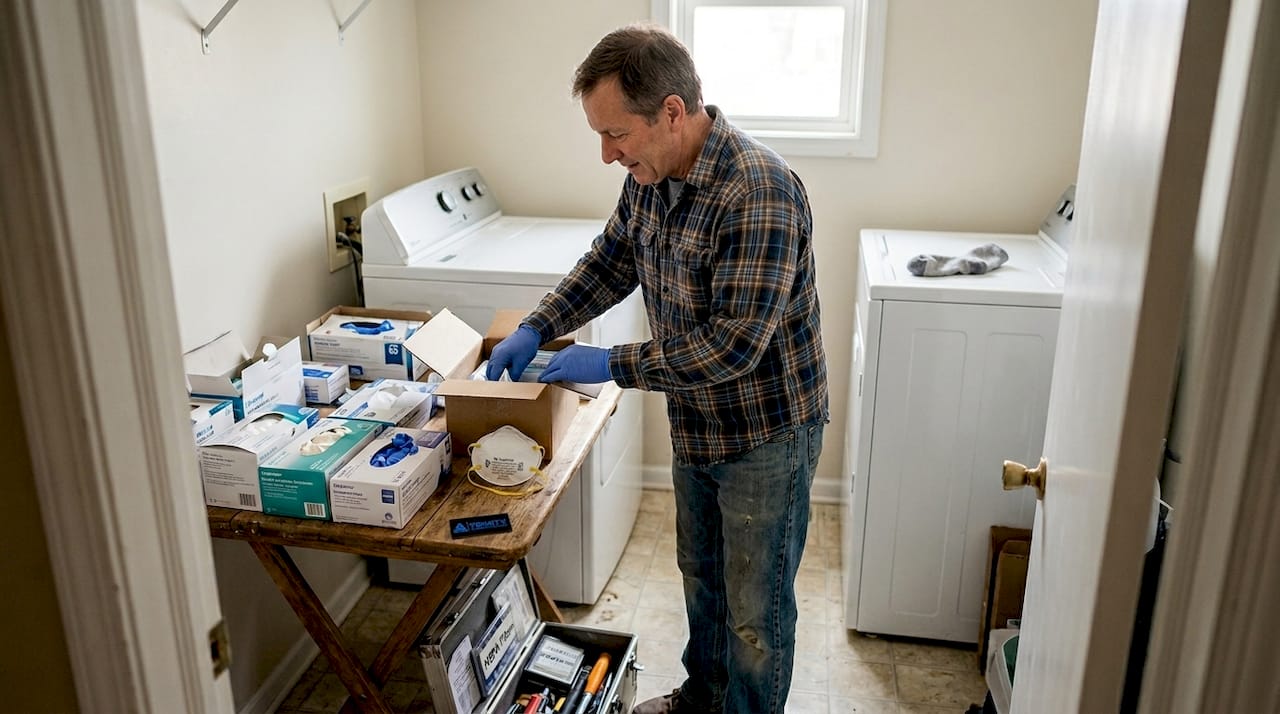
Personal protective equipment (PPE):
N95 or P100 respirator (not a basic dust mask)
Chemical-resistant gloves, extended to the forearm
Safety goggles with no ventilation gaps
Disposable coveralls or old clothing you can bag and discard
Tools and materials:
Plastic sheeting (6 mil) for containment barriers
Painter’s tape to seal plastic to walls and floors
HEPA vacuum with sealed bag disposal
Moisture meter to confirm dryness after remediation
Utility knife and pry bar for drywall removal
EPA-approved antimicrobial solution (not bleach on porous surfaces)
Heavy-duty plastic bags for debris disposal
Box fan or negative air machine with HEPA filter
Item | Purpose | Where to get it |
N95/P100 respirator | Blocks mold spores from lungs | Hardware store |
6 mil plastic sheeting | Containment barrier | Hardware store |
HEPA vacuum | Captures spores without spreading | Equipment rental |
Moisture meter | Confirms materials are dry | Hardware store |
Antimicrobial spray | Kills surface mold on studs | Hardware store |
Disposable coveralls | Prevents cross-contamination | Safety supply store |
Pro Tip: Rent a HEPA air scrubber rather than buying one. It filters airborne spores during the entire removal process and significantly reduces the risk of spreading contamination to other rooms. Many equipment rental shops in the Mobile and Baldwin County area carry them.
For guidance on detecting and preventing mold issues before they reach this stage, regular moisture monitoring is your best early warning system. A quality moisture meter costs less than $50 and can flag a problem wall long before mold becomes visible. You can also follow professional mold removal steps to understand how certified remediators approach larger jobs, which helps you recognize when a situation has grown beyond DIY scope.
Step-by-step: Removing mold inside wall cavities
With your gear and containment setup, follow these steps to safely remove mold within Alabama interior walls. The single most important rule before you start: fix the water source first. If the leak, condensation issue, or drainage problem that caused the mold is still active, everything you do next is temporary. Mold will return within weeks.
Follow the mold removal guidelines and the process outlined below, which mirrors the standard remediation process used by certified professionals:
Identify and fix the moisture source. Repair the leaking pipe, seal the roof penetration, or address the drainage issue. Confirm the area is dry using a moisture meter before proceeding.
Set up containment. Seal off the work area with 6 mil plastic sheeting on all doorways and HVAC vents. Tape plastic to the floor and ceiling. This prevents spores from migrating to clean areas.
Create negative air pressure. Place a box fan or HEPA air machine facing outward through a window or exterior door in the work zone. This pulls air out of the contained space rather than pushing contaminated air into your home.
Put on all PPE. Respirator, goggles, gloves, and coveralls go on before you cut into the wall. No exceptions.
Cut out affected drywall. Use a utility knife to score and remove drywall sections. Cut at least 12 inches beyond any visible mold growth in all directions. Bag all debris immediately in heavy-duty plastic bags and seal them.
HEPA vacuum all exposed surfaces. Vacuum wood studs, floor plates, and any remaining insulation. This removes loose spore colonies before applying any treatment.
Remove contaminated insulation. Bag it and seal it. Insulation cannot be cleaned effectively and must be replaced.
Apply antimicrobial solution to studs. Use an EPA-approved product and follow label directions. Allow it to penetrate and dry fully.
Dry the cavity thoroughly. Use fans and a dehumidifier. Target a moisture reading below 12 to 16 percent in wood framing before any reconstruction begins.
Critical reminder: Skipping step one, fixing the moisture source, is the single biggest reason mold returns after remediation. No cleaning product or technique will prevent regrowth if the underlying water problem is still present.
For homes with mold related to crawl space moisture, fixing crawl space moisture is often the root cause that needs to be addressed before wall remediation will hold long-term.
Approach | When to use | Outcome |
DIY removal | Less than 10 sq ft, accessible wall | Safe if PPE and containment used correctly |
Professional remediation | Over 10 sq ft, inside walls, HVAC involved | Certified clearance testing available |
Encapsulation only | Never appropriate for active mold | Mold will continue growing underneath |
Pro Tip: After removing drywall, use a bright work light and shine it at a low angle across the wood studs. This raking light technique reveals surface mold colonies that are not yet visible in normal lighting, helping you confirm you have removed all affected material before closing the wall back up.
Post-remediation: Verifying success and preventing mold comeback
Successfully removing mold is only half the battle. You must check results and keep future mold away. Many homeowners make the mistake of patching the wall, painting over it, and assuming the problem is solved. Without verification, you have no way of knowing whether mold colonies remain active inside the cavity or whether spore counts in your indoor air have returned to safe levels.
Post-remediation verification involves two types of testing. Air sampling captures spore counts in the treated area and compares them to outdoor baseline levels. Surface sampling uses tape lifts or swabs on treated studs to check for residual mold colonies. According to post-remediation verification standards, there are no universally accepted numerical benchmarks for spore reduction, but the goal is for indoor air samples to show mold counts below ambient outdoor levels, with no elevated concentrations of the specific species that was remediated.
For independent mold testing, always use a different company or inspector than the one who performed the remediation. This eliminates any conflict of interest and gives you an unbiased result that holds up in real estate transactions or insurance claims.
Here is how to confirm your home is safe after remediation:
Wait 24 to 48 hours after the final drying phase before testing.
Hire an independent inspector to collect air and surface samples.
Send samples to a certified lab with chain of custody documentation.
Review results: indoor spore counts should be at or below outdoor levels.
Confirm no musty odor remains in the treated area or adjacent rooms.
Visually inspect studs and floor plates one final time before closing the wall.
Once clearance is confirmed, your focus shifts to prevention. Alabama’s Gulf Coast humidity is not going away, so long-term moisture management is essential. Use these strategies to keep mold from returning:
Maintain indoor humidity between 30 and 50 percent. A whole-home dehumidifier is worth the investment in coastal Alabama.
Inspect plumbing annually. Slow leaks behind walls are the leading cause of recurring mold in Gulf Coast homes.
Ensure proper attic and crawl space ventilation. Trapped moisture migrates into wall cavities.
Check caulking and flashing around windows and doors every year. Failed seals allow water intrusion during heavy rain events.
Run bathroom and kitchen exhaust fans during and after use. These spaces generate significant moisture that enters wall cavities.
Prevention strategy | How often | Estimated cost |
Humidity monitoring | Ongoing | $20 to $50 for a hygrometer |
Plumbing inspection | Annually | $75 to $150 |
Crawl space inspection | Annually | $100 to $200 |
Caulking and flashing check | Annually | DIY or $50 to $100 |
HVAC filter replacement | Every 1 to 3 months | $10 to $30 per filter |
For more detail on managing moisture in this region, the Alabama humidity control tips resource covers Gulf Coast-specific strategies that apply directly to homes in Mobile, Baldwin, and surrounding counties. The CDC mold remediation advice also provides solid guidance on long-term prevention practices.
The uncomfortable truth about DIY mold removal inside walls
Here is what most guides do not say: even careful, well-intentioned homeowners regularly make mistakes during DIY mold removal that leave their families at risk. We see this in Alabama homes regularly, and the patterns are consistent.
The most common error is incomplete containment. Homeowners seal the doorway but forget to cover the HVAC return vent in the same room. The system kicks on, pulls in mold-laden air, and distributes spores to every room in the house. What started as a localized wall problem becomes a whole-home air quality issue. Certified professionals use negative air pressure containment specifically to prevent this, but it takes training and equipment to do it correctly.
The second most common mistake is skipping post-remediation clearance testing. You cannot see mold spores. You cannot smell a low-level spore count. Homeowners close up the wall, feel good about the work they did, and then wonder six months later why family members are still having allergy symptoms. Clearance testing is not optional if you want real confidence that the job is done.
We have also seen cases where hidden mold extended far beyond what was initially visible. A homeowner removes one section of drywall, treats what they see, and patches it back up. But the mold colony extended three stud bays in each direction, and the untreated sections continue to grow behind the new drywall. This is exactly why professional assessment matters, particularly when buying or selling a home.
If you are dealing with mold in the Mobile area, connecting with Mobile AL mold testing pros gives you access to certified testing that protects both your health and your investment. The cost of professional testing is small compared to the cost of doing the job twice.
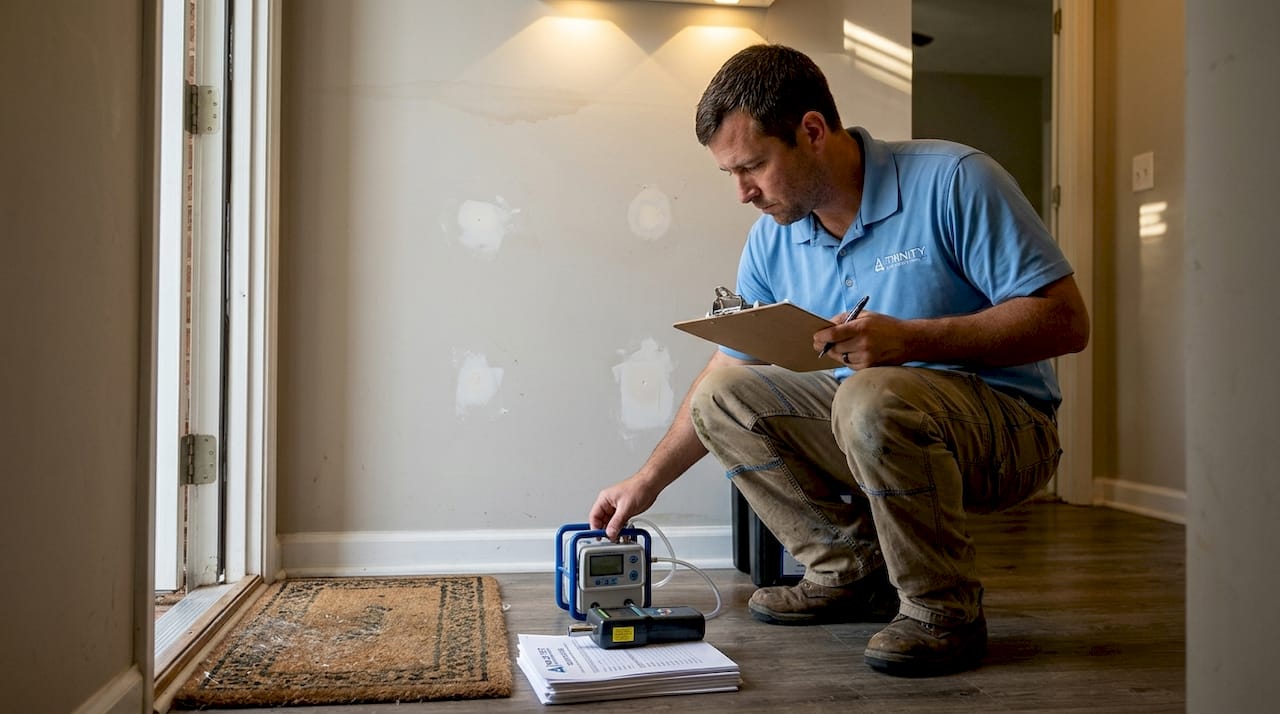
Professional mold inspection: The safest choice for Alabama homes
If you are buying, selling, or simply unsure about what is hiding behind your walls, a professional mold inspection gives you answers you can trust and documentation you can use.

At Trinity Home Inspections, we use moisture meters, thermal imaging, and certified lab sampling to locate and document mold issues that visual inspection alone would miss. Our mold testing services include indoor air quality sampling with certified lab reports and full chain of custody documentation, which is exactly what lenders, buyers, and insurance companies need. For homeowners in Mobile and Baldwin County, our Mold Inspection Mobile AL service gives you the clearest picture of your home’s condition. We are InterNACHI-certified, locally owned, and committed to giving you honest answers, not just the ones you want to hear. Reach out today to schedule your inspection.
Frequently asked questions
Can I remove mold inside walls myself, or do I need a professional?
You can safely handle mold under 10 sq ft with proper PPE and containment. Larger areas or mold hidden inside wall cavities should be managed by a certified professional following EPA and IICRC guidelines.
Should drywall and insulation be removed if mold is found inside walls?
Yes. Affected drywall and insulation must be removed and discarded because surface cleaning does not reach mold roots in porous materials. Cut out contaminated sections extending at least 12 inches beyond visible mold growth.
What cleaning products are safe for killing mold in wall cavities?
Use EPA-approved antimicrobial solutions on exposed wood studs. Avoid bleach on porous surfaces like drywall because it does not penetrate deeply enough to kill mold at the root level.
How do I know if mold removal inside walls was successful?
Success is confirmed through independent air and surface sampling. Post-remediation verification should show indoor mold spore counts at or below ambient outdoor levels, with no elevated concentration of the remediated species.
What’s the most common cause of mold returning after remediation?
Unresolved moisture is the reason mold comes back. Always fix the moisture source before or during remediation, and monitor humidity levels in the treated area for several weeks after the work is complete.
Recommended

