
Spring HVAC Maintenance Tips 2026: Save 15% Energy on Gulf Coast
- Matt Cameron

- Mar 1
- 11 min read
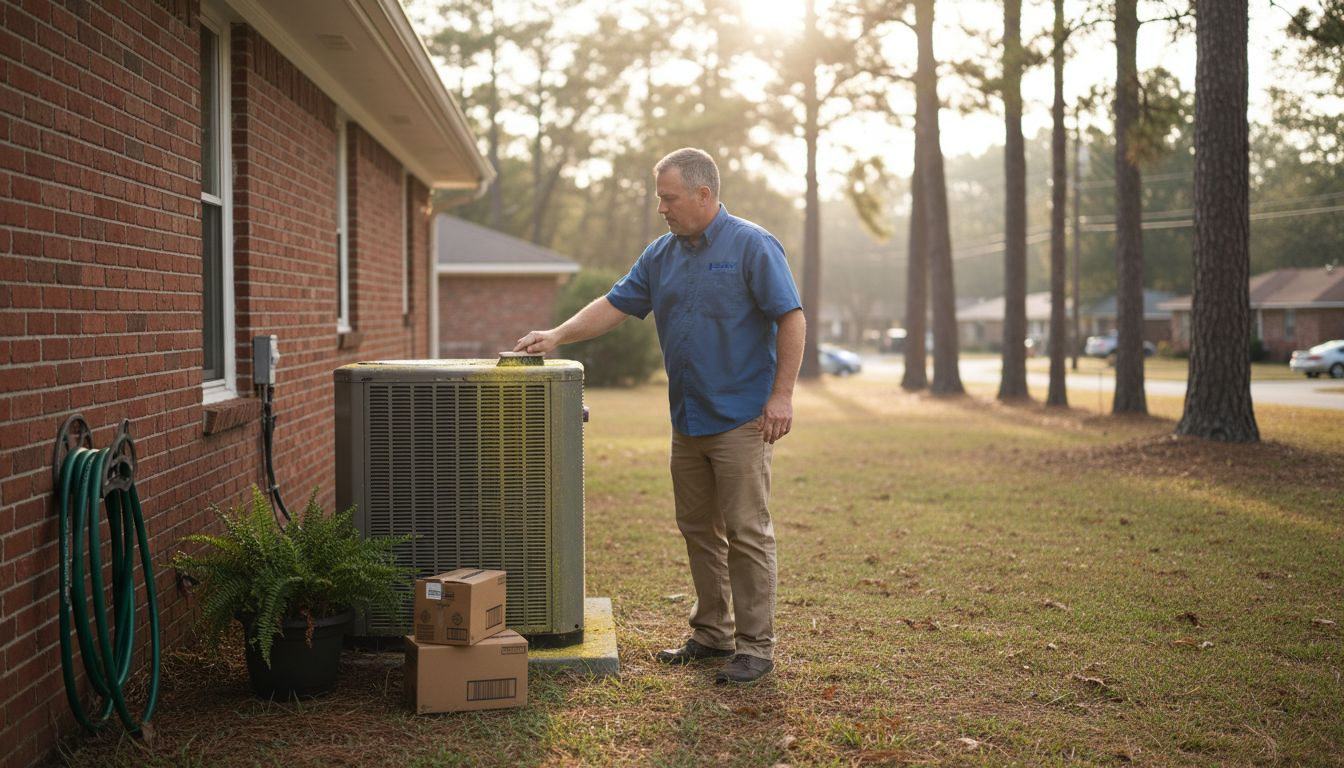
Your Gulf Coast home faces unique HVAC challenges each spring. High humidity and heavy pollen put serious strain on your cooling system right when you need it most. By following a few proven maintenance steps now, you can cut energy bills, improve indoor air quality, and prevent costly breakdowns during the hot months ahead. This Alabama home maintenance guide shows you exactly what to do.
Key Takeaways
Point | Details |
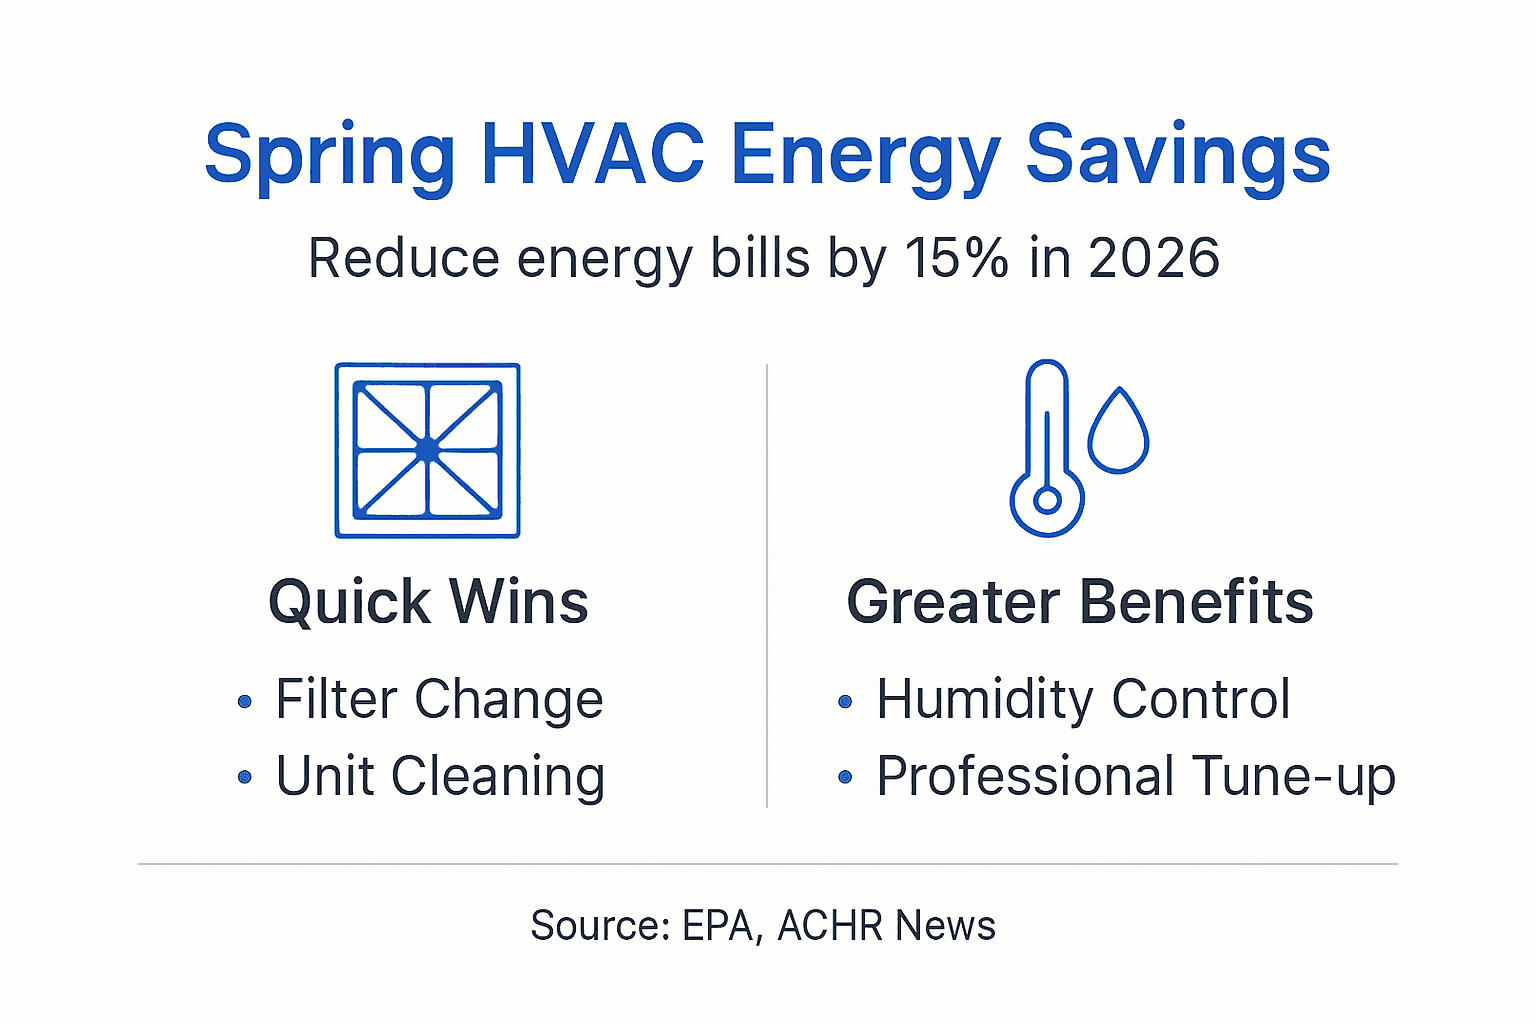
Filter changes save energy | Replacing filters every 3 months can reduce energy consumption by up to 15% |
Clean outdoor units last longer | Regular condenser cleaning extends equipment lifespan by up to 20% |
Thermostat calibration matters | Proper spring temperature settings optimize comfort while cutting unnecessary cooling costs |
Humidity control protects systems | Keeping indoor humidity below 60% prevents mold growth and reduces HVAC workload |
Professional tune-ups prevent failures | Annual expert maintenance reduces emergency breakdown risk by 30% |
Why Spring HVAC Maintenance Matters in the Gulf Coast
Spring weather in Alabama’s Gulf Coast region creates perfect conditions for HVAC stress. Humidity routinely climbs above 60%, forcing your system to work harder to maintain comfort. Moisture promotes mold growth in ductwork and reduces indoor air quality.
Pollen counts spike between March and May, clogging filters faster than in other seasons. When filters get blocked, airflow drops. Your system runs longer cycles to reach set temperatures, wasting energy and increasing wear on components.
Spring HVAC maintenance prevents 30% of emergency breakdowns and improves energy efficiency notably, making it critical. Catching minor issues now saves you from expensive repairs during peak summer heat. A well-maintained system also filters allergens better, protecting your family’s respiratory health.
This Gulf Coast climate home maintenance guide and these HVAC inspections explain regional challenges in detail. Understanding your system’s vulnerabilities helps you prioritize the right maintenance tasks.
Key benefits of spring HVAC care include:
Lower monthly utility bills through improved efficiency
Fewer allergens and better air quality indoors
Extended equipment lifespan and reliability
Peace of mind before summer heat arrives
The EPA Indoor Air Quality resource confirms that proper HVAC maintenance directly impacts health and comfort in humid climates.
Prerequisites: What You Need Before Starting HVAC Maintenance
Gathering the right tools and taking safety precautions prevents accidents and ensures effective maintenance. You need basic hand tools, cleaning supplies, and safety gear before touching your HVAC system.
Essential tools and materials:
Screwdrivers (flathead and Phillips)
Replacement air filters in the correct size
HVAC coil cleaner spray
Garden hose with spray nozzle
Voltage tester or multimeter
Work gloves and safety glasses
Fin comb for straightening bent condenser fins
Safety comes first. 25% of DIY HVAC accidents occur from not shutting off power before maintenance, highlighting safety importance. Always locate your electrical panel and flip the breaker for your HVAC system to the off position. Use a voltage tester to confirm power is truly disconnected before opening any panels or touching components.
Preparation Step | Why It Matters |
Turn off power at breaker | Prevents electrical shock and equipment damage |
Verify zero voltage | Confirms safe working conditions |
Gather correct filter size | Ensures proper fit and airflow |
Check system age and type | Helps identify specific maintenance needs |
Know your system basics before starting. Locate your thermostat type, filter compartment, outdoor condenser unit, and indoor air handler. Check your system’s manual or manufacturer label for model details and filter specifications.
Pro Tip: Take photos of your system before disassembly so you can reference wire locations and component positions during reassembly.
This DIY HVAC maintenance guide walks through preparation steps with detailed visuals to help you get started safely.
Step 1: Filter Cleaning and Replacement
Your HVAC filter is the first line of defense against pollen, dust, and allergens. During Gulf Coast spring, pollen loads increase dramatically, clogging filters faster than usual. A dirty filter forces your system to work harder, driving up energy costs.

Replacing HVAC filters every 3 months improves efficiency and cuts energy consumption by up to 15%. In spring, check your filter monthly and replace it sooner if it looks dark or clogged.
Follow these steps to replace your filter correctly:
Turn off your HVAC system at the thermostat and breaker
Locate the filter compartment (usually near the air handler or return vent)
Note the airflow direction arrow on the old filter frame
Remove the old filter and inspect it for heavy buildup
Insert the new filter with arrows pointing toward the blower motor
Secure the access panel and restore power
Run the system briefly to confirm proper airflow
Choose the right filter for your needs. MERV ratings between 8 and 11 work well for most homes, capturing pollen and dust without restricting airflow. Higher MERV ratings offer better filtration but require more frequent changes and may strain older systems.
Pro Tip: Write the installation date on the filter frame with a marker so you know exactly when to replace it next.
Clogged filters reduce airflow, increase energy bills, and risk system damage. They also allow allergens to circulate freely, reducing indoor air quality when you need protection most. This filter replacement guide provides additional details on sizing and selection. The Energy.gov filter guidance explains efficiency impacts clearly.
Step 2: Outdoor Unit Cleaning and Inspection
Your outdoor condenser unit releases heat from inside your home. When debris blocks airflow around the unit, cooling efficiency drops significantly. Spring storms and pollen create perfect conditions for buildup.
Cleaning outdoor units bi-annually reduces workload and extends equipment lifespan by up to 20%. A clean condenser transfers heat better, reducing energy consumption and preventing premature component failure.
Follow this cleaning sequence:
Turn off power to the outdoor unit at the disconnect box and breaker
Remove leaves, grass clippings, and debris from around the unit
Unscrew and remove the top fan guard
Spray the coil fins from inside out using a garden hose (low pressure)
Apply HVAC coil cleaner according to product instructions
Rinse thoroughly and allow to dry completely
Inspect fins for bending or damage
Use a fin comb to carefully straighten bent fins
Reassemble the unit and restore power
Maintain proper clearance around your condenser. Remove vegetation, stored items, and debris within a 2-foot radius. Airflow restrictions force the compressor to run hotter and work harder, shortening its lifespan.
Component | What to Check | Action Needed |
Coil fins | Bent or damaged fins | Straighten with fin comb |
Electrical connections | Loose wires or corrosion | Tighten or call professional |
Fan blades | Cracks or imbalance | Replace if damaged |
Concrete pad | Settling or tilting | Level to prevent strain |
Inspect for signs of wear. Look for rust on the cabinet, oil residue near the compressor, or unusual sounds when the unit starts. These symptoms indicate problems requiring professional attention.
These outdoor unit cleaning tips and this outdoor HVAC inspection guide offer visual guidance. The ACHR News outdoor unit cleaning article explains the maintenance impact on system longevity.
Step 3: Thermostat Calibration and System Settings
Your thermostat controls when and how long your HVAC system runs. Incorrect settings or calibration issues waste energy and reduce comfort. Spring is the perfect time to optimize your thermostat for the coming cooling season.
Adjust your thermostat settings for spring conditions:
Test thermostat accuracy by comparing its reading to a separate thermometer
Recalibrate if the temperature difference exceeds 2 degrees
Program cooling schedules that reduce runtime when you’re away
Set home temperature to 78°F for optimal comfort and efficiency
Enable auto mode so the system switches between heating and cooling as needed
Replace thermostat batteries if applicable
Clean dust from the thermostat sensor with compressed air
Programmable and smart thermostats offer the greatest savings potential. Program higher temperatures during work hours and while sleeping. Each degree above 72°F saves about 3% on cooling costs.
Recommended spring temperature settings:
Home and active: 78°F
Away during day: 82-85°F
Sleeping at night: 78-80°F
Verify your system cycles correctly after making adjustments. It should run for 10 to 15 minutes per cycle, not short cycling every few minutes. Short cycling indicates airflow problems or refrigerant issues requiring professional diagnosis.
Pro Tip: Install your thermostat on an interior wall away from direct sunlight, drafts, and heat sources for the most accurate temperature readings.
This thermostat settings guide explains programming strategies in detail. Proper calibration ensures your system runs only when necessary, maximizing energy savings throughout the season.
Step 4: Humidity Control Considerations
Gulf Coast humidity creates serious challenges for HVAC systems and indoor comfort. When indoor humidity exceeds 60%, your air feels muggy even at comfortable temperatures. Your system must work harder to remove moisture, increasing energy consumption.
Maintaining indoor humidity below 60% prevents HVAC strain and mold risk in humid spring climates. Controlling moisture protects your home and makes conditioned air feel more comfortable at higher thermostat settings.
Take these steps to manage humidity:
Purchase an inexpensive hygrometer to monitor indoor humidity levels
Run exhaust fans in bathrooms and kitchens during and after use
Use a standalone dehumidifier in basements or especially humid rooms
Seal air leaks around windows, doors, and ductwork
Ensure your HVAC system drain line flows freely without clogs
Consider upgrading to a whole-house dehumidifier if humidity stays high
Your air conditioner removes some moisture during normal operation, but it’s not designed as a primary dehumidifier. When humidity stays high despite adequate cooling, you need supplemental moisture control.
Pro Tip: Run your HVAC fan on auto mode rather than continuous. Constant fan operation reintroduces moisture that condenses on the coils back into your living space.
Excess moisture promotes mold growth in ductwork, on walls, and in hidden spaces. It also makes your home feel warmer than the actual temperature, tempting you to lower the thermostat and waste energy. The EPA humidity control guidance explains the health impacts of poor moisture management.
Step 5: When and Why to Call a Professional
DIY maintenance handles routine care, but some tasks require professional expertise and specialized tools. Knowing when to call an expert prevents costly mistakes and ensures your system receives proper attention.
Signs you need professional HVAC service:
Unusual noises like grinding, squealing, or banging
Visible refrigerant leaks or ice buildup on lines
System fails to reach set temperatures
Thermostat becomes unresponsive or displays errors
Electrical burning smell near the unit
Water pooling around indoor or outdoor components
Dramatic increase in energy bills without usage changes
Professional HVAC tune-ups cost between $75 and $200 and typically take 1 to 2 hours. Technicians perform diagnostics beyond DIY capabilities, including refrigerant pressure checks, electrical testing, and component lubrication.
Service Type | DIY Capability | Professional Service |
Filter replacement | Easy, monthly | Not needed |
Outdoor cleaning | Moderate, seasonal | Includes coil deep clean |
Thermostat programming | Easy, as needed | Includes calibration testing |
Refrigerant check | Impossible without certification | Required annually |
Electrical testing | Dangerous without training | Identifies hidden issues |
Ductwork inspection | Limited visibility | Uses cameras and sensors |
Annual professional tune-ups reduce HVAC emergency breakdowns by 30%. Technicians catch small problems before they become expensive failures. They also optimize system settings for peak efficiency.
Schedule professional service in early spring before peak cooling season. Technicians are less busy and can often accommodate your preferred schedule. The professional HVAC tune-ups guide explains what to expect during service calls.
Common Mistakes and Troubleshooting Tips
Even experienced homeowners make HVAC maintenance errors that reduce effectiveness or create safety hazards. Avoiding these mistakes protects your system and ensures your effort produces real results.
Frequent DIY maintenance mistakes:
Working on powered equipment without verifying the breaker is off
Using excessive water pressure that bends delicate coil fins
Installing filters backward, blocking airflow completely
Neglecting to clear the condensate drain line, causing water damage
Over-tightening electrical connections, damaging terminals
Skipping filter changes during high pollen season
Ignoring strange sounds hoping they’ll resolve on their own
If your system doesn’t perform properly after maintenance, troubleshoot systematically. Check that the filter is installed correctly with arrows pointing toward the blower. Verify the thermostat is set to cool mode with the temperature below current room temperature. Confirm the outdoor disconnect switch is in the on position.
Watch for these warning signs after maintenance:
System runs constantly without reaching set temperature
Airflow from vents feels weak or inconsistent
Water leaks appear near the indoor unit
Outdoor unit makes clicking sounds but doesn’t start
Pro Tip: If you suspect hidden issues like duct leaks or insulation problems, thermal imaging can reveal temperature anomalies invisible to the naked eye. Professional inspectors use this technology to diagnose efficiency losses.
This common HVAC maintenance mistakes guide provides detailed troubleshooting steps. When in doubt, call a professional rather than risk damaging components or voiding warranties through improper repairs.
Expected Results and Benefits of Spring HVAC Maintenance
Consistent spring maintenance produces measurable improvements in system performance, energy costs, and indoor comfort. You’ll notice benefits immediately and throughout the entire cooling season.
Key advantages of proper spring HVAC care:
Up to 15% reduction in energy bills due to clean filters and proper maintenance
30% fewer emergency breakdowns with annual professional maintenance
Improved indoor air quality, reducing allergens from pollen and humidity
Prolonged HVAC system lifespan and reliable cooling performance throughout spring and summer
Your system will cool your home faster and more evenly. You’ll feel comfortable at higher thermostat settings because humidity stays controlled. Equipment runs quieter with properly maintained components and balanced airflow.
Energy savings become apparent on your first utility bill after maintenance. A system that struggled with clogged filters and dirty coils suddenly operates at design efficiency. The difference can amount to $20 to $40 monthly during peak cooling months.
Your family breathes cleaner air when filters trap pollen and your system removes humidity effectively. This matters especially for household members with allergies or respiratory conditions. Proper maintenance creates a healthier indoor environment during the challenging spring allergy season.
System longevity increases significantly with regular care. HVAC equipment represents a major investment, typically costing $5,000 to $10,000 to replace. Spring maintenance helps you maximize return on that investment by preventing premature failure and extending useful life by several years.
Get Professional HVAC Inspection and Maintenance in Alabama’s Gulf Coast
While DIY maintenance covers essential tasks, professional inspection catches issues you might miss and ensures optimal system performance. Trinity Home Inspections provides comprehensive HVAC evaluations throughout Baldwin, Mobile, and surrounding Gulf Coast Alabama counties.
Our InterNACHI-certified inspectors use thermal imaging to identify insulation gaps, moisture issues, and overheated electrical components invisible during standard visual checks. We deliver same-day photo and video-rich reports so you understand exactly what your system needs. These professional HVAC inspection services go beyond basic maintenance.

Spring is also the perfect time to assess indoor air quality. High pollen counts and humidity impact the air your family breathes daily. Our indoor air quality testing in Alabama includes certified lab analysis with complete chain of custody documentation. Combined with HVAC maintenance, IAQ testing ensures your home’s air is clean and safe.
Whether you need a pre-purchase inspection, annual maintenance check, or specialized testing, our real estate home inspection services provide the clarity you need. We serve Gulf Coast homeowners with the same integrity and attention to detail we’d want for our own families.
FAQ
How often should I change my HVAC filters during the Gulf Coast spring?
Replace every 3 months or more frequently during high pollen seasons. Check monthly in spring and swap the filter sooner if it looks clogged. Regular replacement ensures optimal system efficiency and air quality throughout the heaviest allergy season.
What safety precautions should I take before performing HVAC maintenance?
Always shut off power at the breaker and verify with a voltage tester. 25% of DIY HVAC accidents occur from not shutting off power before maintenance. Wear gloves and eye protection when handling components or cleaning coils to protect against sharp fins and chemical exposure.
Can I rely solely on DIY spring HVAC maintenance or should I hire a professional?
DIY is effective for filter changes, outdoor cleaning, and thermostat adjustments. Professional tune-ups are advised annually or when unusual symptoms occur to prevent breakdowns. Technicians check refrigerant levels and electrical connections that require specialized tools and certification.
How does managing indoor humidity benefit my HVAC system in spring?
Keeping indoor humidity below 60% prevents mold and reduces HVAC strain. Lower humidity protects your system from overworking and prevents mold growth in ductwork. It also improves overall indoor air quality and comfort, allowing you to set the thermostat higher while feeling comfortable.
Recommended