Termite Damage in Floor Joists: Signs, Severity, Repairs
- Matt Cameron
- 2 hours ago
- 6 min read

A soft spot in your hallway floor or a subtle sag near a bathroom wall might seem minor, until you discover termite damage in floor joists hiding underneath. Floor joists carry the structural load of your entire home, and when termites feed on them undetected, the damage can range from cosmetic to downright dangerous. The problem is that most homeowners don't realize anything is wrong until the damage is already well underway.
Knowing what to look for, how to gauge severity, and when a repair like sistering is appropriate can save you thousands of dollars and prevent a small problem from becoming a structural failure. But it also matters to know when the damage is beyond a DIY fix and professional assessment is needed.
At Trinity Home Inspections, we regularly uncover termite damage during home inspections across Alabama's Gulf Coast, damage that buyers, sellers, and even longtime homeowners had no idea existed. Using thermal imaging and moisture meters, we catch the warning signs that are easy to miss with the naked eye. This guide walks you through how to identify termite damage in floor joists, assess how far it's progressed, and understand your repair options step by step.
What you need to know before you start
Before you pull up flooring or crawl under your house with a flashlight, it helps to understand what you're actually dealing with. Termite damage in floor joists rarely looks like a dramatic collapse. More often, it presents as hollowed-out wood that still appears intact from the outside, which is exactly why it catches homeowners completely off guard. Getting oriented before you start saves you time and keeps you from underestimating what you find.
The two termite types that attack floor joists
Not all termites behave the same way, and knowing which type you're dealing with changes how you approach both the repair and the treatment. Subterranean termites are the most destructive species across Alabama, building mud tubes up from the soil to reach wood above grade. They attack joists from the bottom and often leave a thin outer shell that looks solid until you press on it. Drywood termites, by contrast, live directly inside the wood and leave behind tiny pellet-shaped droppings called frass near entry holes.
Subterranean termites cause an estimated $5 billion in property damage across the U.S. each year, according to the USDA Forest Service.
Tools and safety basics before you go under the house
Crawl spaces carry real physical risks, so protective gear is not optional before you inspect anything. Gather the items below before you start, since going back and forth adds time and increases the chance you miss something. A bright headlamp beats a handheld flashlight because you need both hands free to probe and photograph what you find.
Safety glasses and an N95 dust mask
Knee pads and heavy work gloves
A sharp awl or flathead screwdriver to probe wood
Headlamp with fresh batteries
Moisture meter (useful but not required)
Step 1. Identify termite damage in joists and subfloor
Start in the crawl space and work systematically from one end to the other. Termite damage in floor joists often hides behind a deceptively solid exterior, so visual inspection alone is not enough. You need to physically probe the wood as you move through the space.
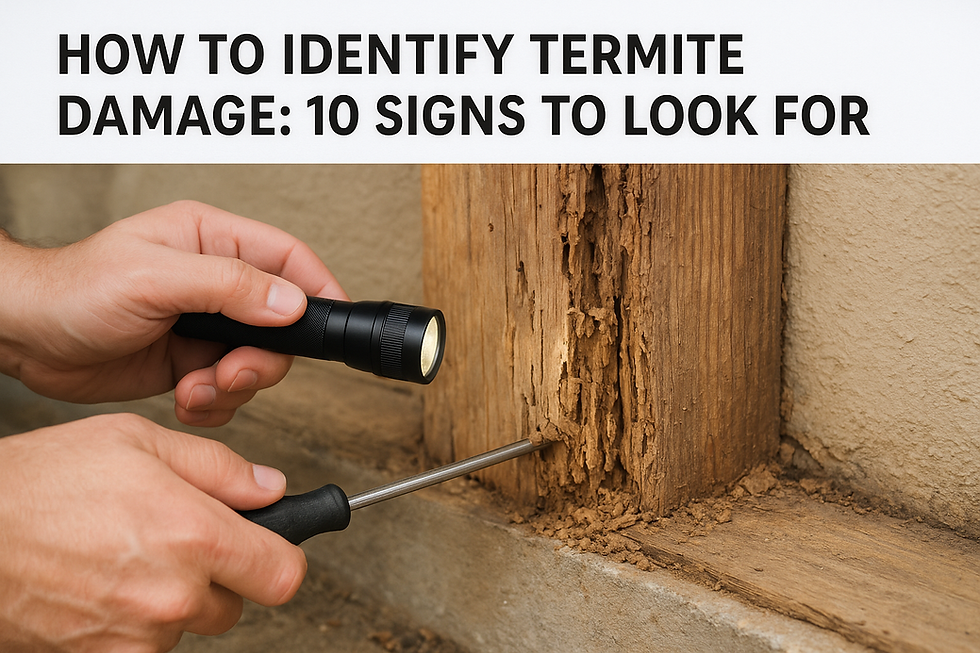
What to look for on the wood surface
Focus on these four specific signs as you scan each joist. Ignoring any one of them increases the chance you miss active damage hiding just below the surface.
Mud tubes on foundation walls or joists
Hollow sound when tapping the wood
Frass (small pellet droppings) near the wood
Blistered, darkened, or buckled grain
If the wood crumbles when you press a screwdriver into it, stop and mark that joist before moving on.
Probing the subfloor
Push your awl into any discolored or soft area with moderate pressure. Healthy wood resists the point; damaged wood lets it sink in with almost no effort.
Check the subfloor panels from below for staining or areas where the wood grain has buckled inward. Termites frequently move from joists into subfloor panels before anyone notices.
Step 2. Judge severity and decide DIY vs pro help
Once you've marked every damaged joist, your next task is rating how bad the damage is before committing to a repair path. Not every instance of termite damage in floor joists requires a contractor, but misjudging severity in either direction wastes money or creates real safety risks.
How to rate the damage you found
Probe each marked joist and estimate what percentage of the cross-section is compromised. A joist that's soft on one edge differs significantly from one that crumbles across its entire face.
Damage Level | Cross-Section Loss | Typical Action |
|---|---|---|
Minor | Less than 25% | DIY sistering |
Moderate | 25% to 50% | DIY with care or contractor |
Severe | More than 50% | Licensed contractor required |
When to call a structural engineer
Call a licensed structural engineer when you find more than two consecutive joists with over 30% loss, any beam or sill plate damage, or visible floor deflection from above. These conditions go beyond what sistering can safely fix.
If multiple adjacent joists show moderate to severe damage in the same bay, treat that as a systemic problem, not an isolated repair.
Step 3. Stop the cause before you repair
Repairing termite damage in floor joists before eliminating the termites is like patching a leaking pipe without turning off the water. Your new lumber will be at risk the moment you install it. Treat the infestation first, and confirm it's fully resolved before any wood repair begins.
Get a licensed pest control inspection
A [licensed pest control operator](https://www.trinityinspectionsllc.com/post/how-to-identify-termite-damage) needs to confirm the infestation is active and identify the species before treatment starts. Subterranean termites typically require soil treatment or a bait station system around your foundation perimeter. Drywood termites may need localized spot treatment or tent fumigation depending on how far they've spread.
Do not skip the pest inspection step. Replacing joists while termites remain active wastes both materials and labor.
Fix moisture problems that attract termites
Termites thrive in damp, poorly ventilated crawl spaces. Check for plumbing leaks, improper grading, and clogged or missing crawl space vents before you close things up. Dry wood is far less attractive to termites than wood that consistently holds moisture.
Step 4. Repair the joist with sistering or replacement
With the termites gone and moisture under control, you can now fix the termite damage in floor joists directly. Sistering is the most practical DIY repair method: you fasten a new, full-length joist alongside the damaged one to restore the structural capacity that termites removed.
How to sister a damaged joist
Cut pressure-treated lumber to match the exact length of the original joist. Apply construction adhesive along the face, press it firmly against the damaged joist, and fasten it every 12 inches with structural screws or 16d nails in a staggered pattern. The new joist must bear fully on the beam at each end to transfer load correctly.
Use the same dimensional lumber as the original. A 2x10 placed next to a 2x8 does not sister correctly and will not carry the load evenly.
When full replacement is necessary
If a joist has lost more than 50% of its cross-section, sistering alone will not restore adequate strength. Remove the damaged joist entirely and install a new pressure-treated board in its place, securing it to the beam with joist hangers rated for the load.
Step 5. Prevent termite damage from coming back
Now that the damage is repaired, keeping termite damage in floor joists from returning requires active maintenance, not a one-time fix. Termites return to homes where conditions remain favorable, so your goal is to make your crawl space consistently hostile to reinfestation.
Physical barriers and chemical treatments
Install borate-treated lumber for any future framing work in your crawl space, since borate penetrates the wood fiber and makes it toxic to termites over time. Ask your pest control operator about bait station systems placed around your foundation perimeter; these systems intercept termite colonies before they reach your structure.
A crawl space vapor barrier reduces moisture significantly, which is one of the strongest natural deterrents against termite activity.
Annual inspection habits
Schedule a professional termite inspection every 12 months, and do your own visual walkthrough twice a year. Walk the crawl space perimeter and look for these warning signs each time:
New mud tubes on foundation walls
Frass accumulation near wood members
Soft spots developing in previously solid joists
Next steps for a safer floor
Termite damage in floor joists is a serious structural issue, but it's one you can address systematically when you follow the right sequence: inspect thoroughly, rate severity honestly, eliminate the infestation, make the repair, and build habits that keep termites out for good. Skipping any step puts your repair at risk before the wood screws are even set.
Your crawl space deserves regular attention, not just when something feels soft underfoot. Scheduling a professional inspection at least once a year gives you an outside set of eyes on areas that are easy to overlook. If you're buying or selling a home on Alabama's Gulf Coast, a thorough inspection is the fastest way to get a clear picture of what's hiding under your floors. Book a professional new home inspection with Trinity Home Inspections and walk into your transaction knowing exactly what you're dealing with.