
Adjusting Garage Door Sensors: Quick Steps for Homeowners

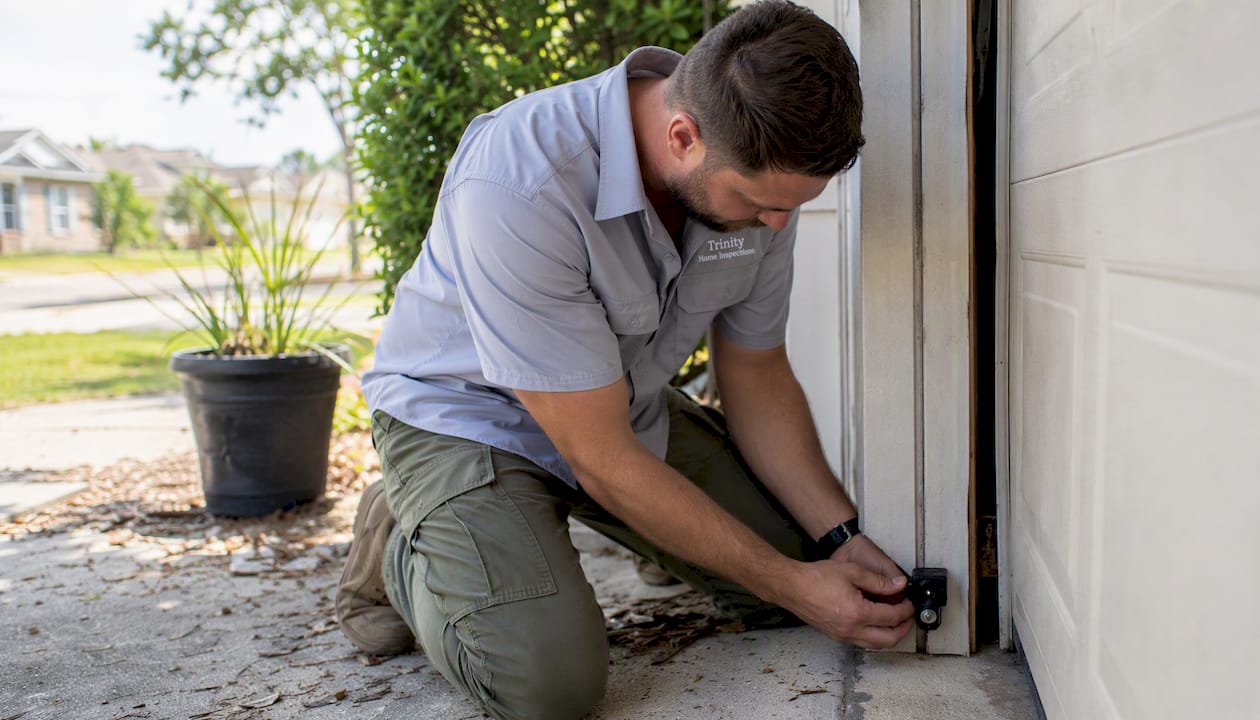
Adjusting garage door sensors takes three steps: cut power to the opener, wipe both lenses clean with a microfiber cloth, then gently pivot each sensor housing until both indicator LEDs glow steady. Tighten the mounting brackets, restore power, and run a closing test. Most sensor problems homeowners face resolve right there, without replacing any parts.
Here is what to do right now:
Cut power first. Unplug the opener or flip its circuit breaker before touching any sensor hardware.
Clean both lenses. Spider webs and dust are the leading cause of sensor faults. Wipe the sending and receiving lenses before you move a single bracket.
Reposition until LEDs are steady. Loosen the wing nut, pivot the sensor housing slowly, and stop when the light holds solid. Then tighten.
Safety note: Never hold the wall button down to force the door closed when sensors are faulting. That bypasses the safety system entirely. The sensors exist to stop the door from closing on a person or pet, and defeating them, even temporarily, removes that protection.
Key Takeaways
Adjusting garage door sensors correctly requires cutting power first, cleaning both lenses, realigning to steady LEDs, and confirming the 6-inch mounting height before tightening any bracket.
Point | Details |
Clean before you adjust | Wipe both lenses first; contamination causes most sensor faults and requires no bracket work. |
Steady LEDs confirm alignment | Both LEDs must glow solid after adjustment; a dim or blinking receiver means the beam path is still off. |
Six-inch mounting rule | Sensor centers must sit no higher than 6 inches above the floor to meet UL 325 and federal safety requirements. |
Test with a broom and a 2x4 | A beam-interrupt test and a force-reverse test confirm real-world function beyond LED appearance alone. |
Trinity Home Inspections | Provides same-day, photo-rich garage safety inspections across Gulf Coast Alabama, including sensor height, wiring, and force calibration checks. |
Tools and Safety Precautions Before Adjusting Sensors
Getting the right tools together before you start saves a second trip down the ladder and keeps the job safe.
What you need:
Stepladder (stable, rated for your weight)
Microfiber cloth or lint-free rag
Flathead or Phillips screwdriver (check your bracket hardware first)
A 4-foot level or a length of taut string
Insulated work gloves
Non-contact voltage tester, or simply confirm the breaker is off before touching wiring
Safety checklist before you touch anything:
Unplug the opener motor unit or turn off the dedicated circuit at the breaker. Confirm power is off with your voltage tester near the sensor terminals.
Set the ladder on level ground and have a second person steady it if the floor is uneven.
Stay clear of the torsion spring and cables above the door. Those components are under extreme tension and are not part of this repair.
Do not use the wall button or remote to test the door while your hands are near the sensor brackets.
Pro Tip: Clean both sensor lenses before you loosen a single bracket. According to DASMA’s guidance, many alignment service calls are resolved by removing cobwebs or dirt rather than moving any hardware at all. Save yourself the extra work.
How Photo-Eye Sensors Work and What the LEDs Tell You
Your garage door opener uses a matched pair of photo-eye sensors, one on each side of the door opening, mounted near the floor. The sending sensor (typically amber LED) emits a modulated infrared beam across the opening. The receiving sensor (typically green LED) detects that beam continuously. When the beam path is clear and the sensors are coaxially aligned, the receiver produces a steady signal and the opener operates normally.
The moment something interrupts or weakens that beam, the opener’s logic board reads a fault and either refuses to close the door or reverses it mid-travel.
What each LED state typically means:
Both LEDs steady and solid: Beam path is clear, alignment is good, system is ready.
Receiver LED dim, flickering, or off while sender stays lit: Misalignment, obstruction, or lens contamination on the receiving side. This is the most common fault pattern, per Chamberlain’s alignment guidance.
Both LEDs off: Wiring fault, power interruption, or a failed logic board connection.
Sender LED off, receiver unaffected: Less common; check the sending sensor’s wiring and terminal connection.
The beam alignment tolerance is tighter than most people expect. Sensor lens centers need to be level within roughly ±¼ inch across the full width of the opening. A small bump from a bike handlebar or a lawn mower bag is enough to shift a sensor outside that tolerance and trigger a fault.
Step-by-Step Sensor Alignment Using a String or Level
The goal is simple: both LEDs glow steady and the door closes without reversing. Here is how to get there.
Cut power. Unplug the opener or switch off the breaker. Confirm with a non-contact voltage tester near the sensor wires.
Clean both lenses. Use a dry microfiber cloth. If lenses are greasy, a small amount of rubbing alcohol on the cloth works well. Let them dry completely before proceeding.
Loosen the mounting bracket. Most sensors hang on a wing nut or a small bolt. Loosen it just enough so the sensor housing can pivot freely, but not so much that it drops.
Run a string or laser level. Stretch a taut string from the center of one sensor lens to the center of the other, or hold a 4-foot level horizontally across both housings. Both sensor centers should sit at the same height, within ¼ inch.
Adjust horizontally and vertically. Pivot each housing slowly. Watch the LEDs as you move. Stop the moment the receiver LED goes from dim or blinking to a solid, steady glow. That is your alignment point.
Tighten carefully. Hold the housing in position with one hand and snug the wing nut with the other. Do not overtighten. Overtightening can torque the bracket and shift the sensor off alignment the moment you let go.
Restore power and test. Plug the opener back in. Press the wall button to close the door and watch both LEDs through the full travel. Both should stay solid.
Common mistakes to avoid: Tightening the wing nut too fast while the housing is still moving, or tightening from only one side of the bracket, which torques the sensor off-axis.
Pro Tip: If the alignment drifts again within a few days, the bracket itself is the problem, not your technique. Secure the bracket to a stiffer anchor point on the track assembly, or replace the bracket hardware. A loose bracket will keep vibrating out of position no matter how carefully you set it.
How to Test Sensors and Read the Results
Once power is restored, run three quick tests before calling the job done. Garage Door Science recommends running a photo-eye reversal test and a force-reversal test monthly as basic home maintenance.
Three tests to run after realignment:
Wall-button close test. Press the wall button and let the door travel fully closed. If it reverses before closing, the beam is still interrupted or the LEDs are not truly steady.
Broom-handle beam-interrupt test. With the door closing, pass a broom handle through the beam path near the sensors. The door should immediately stop and reverse. If it does not, the sensors are not functioning correctly regardless of LED appearance.
2x4 force-reverse test. Lay a 2x4 flat on the floor in the door’s path. The door should reverse when it contacts the board. If it does not, the opener’s force setting needs adjustment, which is a separate issue from sensor alignment.
Sunlight interference is a frequently overlooked fault. If sensors fail only during certain hours of the day but LEDs look fine at night, direct sunlight may be saturating the receiver’s photoelectric element. The CPSC confirms that shading the receiver or slightly rotating its housing often resolves day-only faults without any mechanical realignment.
Common Causes and How to Fix Them
Most sensor failures trace back to one of five root causes. Knowing which one you are dealing with saves time and prevents unnecessary parts replacement.
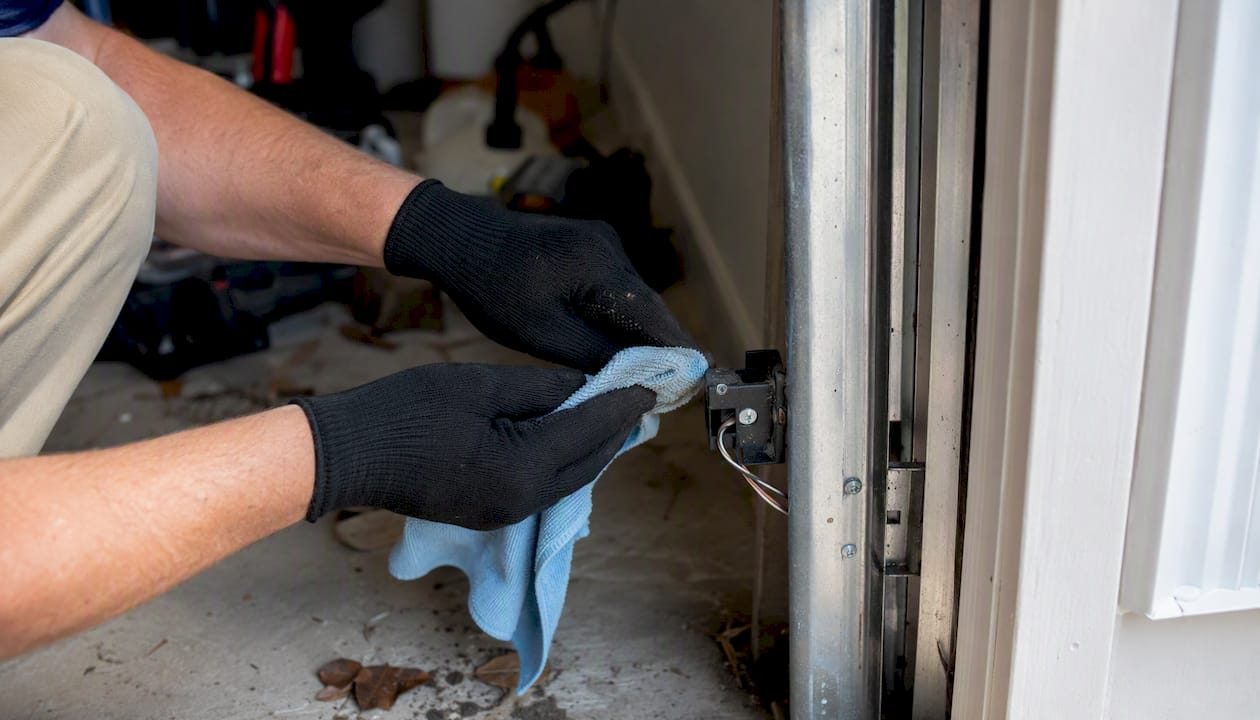
Contamination (dirt, webs, moisture): Wipe both lenses clean first, every time. This resolves a surprising number of faults that look like alignment problems.
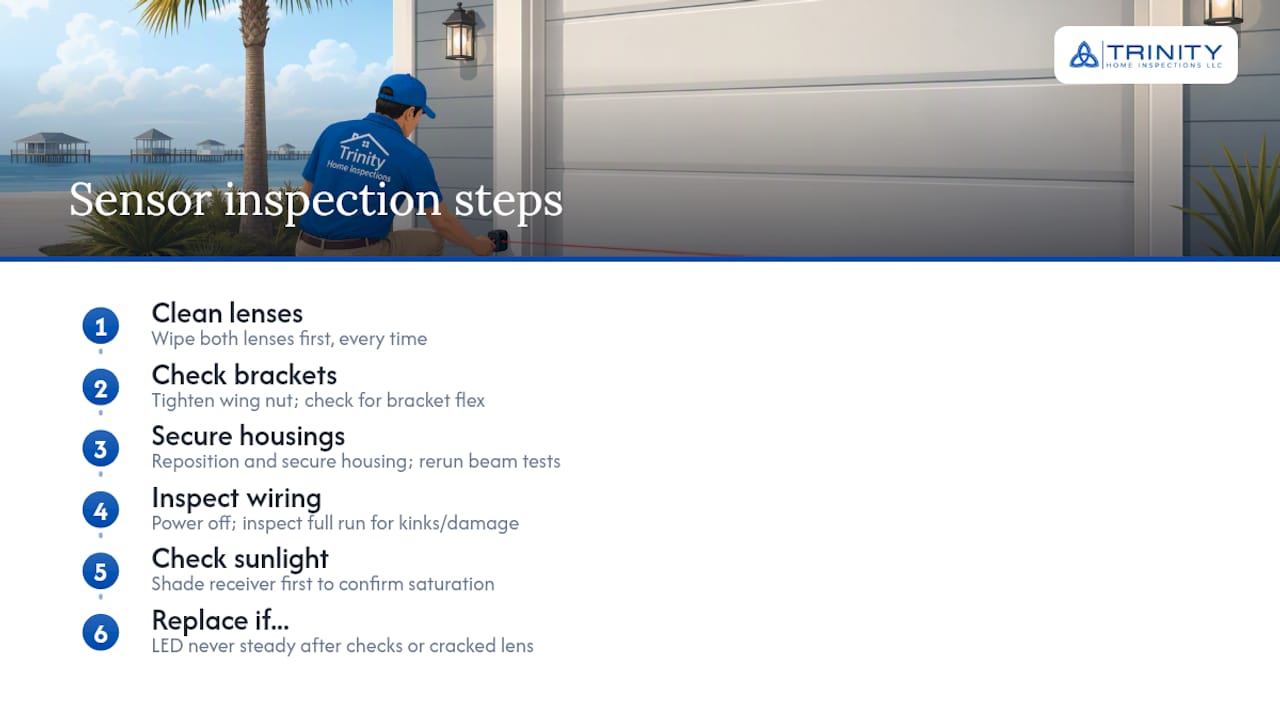
Loose brackets from vibration: Tighten the wing nut and check whether the bracket itself moves when you push it. If the bracket flexes, reinforce it or relocate it to a stiffer point on the track.
Bumped housings: A bike, trash can, or lawn equipment can shift a sensor housing enough to break the beam. Reposition and secure the housing, then run the three tests above.
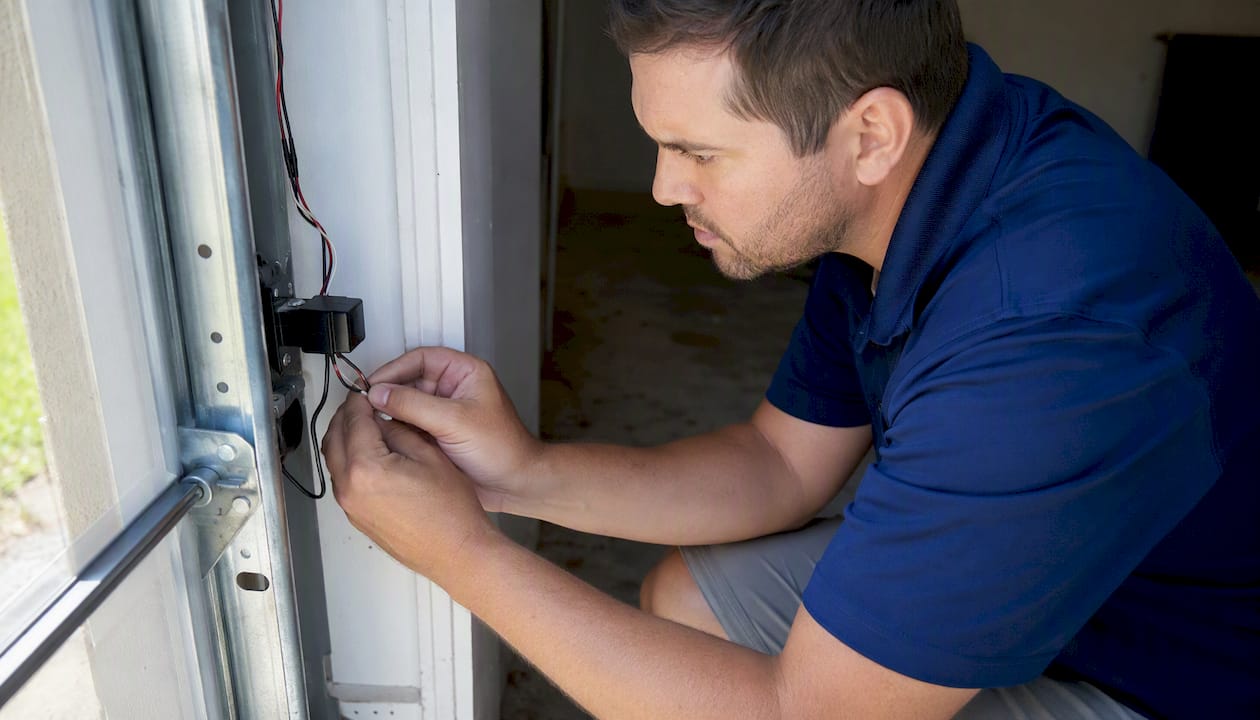
Wiring damage: Wiring faults, including pinched, chewed, or corroded connections, can mimic misalignment and are a frequent root cause. With power off, visually inspect the full wire run from each sensor to the motor unit. Look for kinks, bare spots, or loose terminal connections. If you find damage, that wire needs repair or replacement before any alignment work will hold.
Sunlight saturation: Covered in the testing section above. Shade the receiver first to confirm the diagnosis before making any physical changes.
When to replace rather than realign: If the receiver LED never holds steady after cleaning, alignment, and wiring checks, or if you can see a cracked lens or physically damaged housing, replacement is the right call. Sensor pairs typically cost $15–$30 and are widely available for most opener brands.
Pro Tip: Before reaching for a multimeter, do a full visual inspection of the wiring with power off. Rodent damage and pinched wires near the door track are common and easy to spot. A multimeter continuity check is the next step only if the visual inspection turns up nothing obvious.
For a broader look at DIY door work risks and where sensor placement mistakes can create code issues, that resource is worth a read before you start.
Why Sensor Height Matters: The Six-Inch Rule
Photo-eye sensors must be mounted no higher than 6 inches above the floor. That specific height is not arbitrary. At 6 inches or below, the beam reliably detects a small child crawling under a closing door, which is the exact entrapment scenario the sensors were designed to prevent.
UL 325 and U.S. federal safety standards have required two photo-eye sensors mounted near the floor since the early 1990s. The practical installation target is 4–6 inches above the floor, measured from the floor to the center of the sensor lens. Mounting sensors higher to avoid bumps from equipment or vehicles defeats their safety purpose entirely.
The DASMA six-inch rule states: “Photo eyes must be located not more than 6 inches (152 mm) above the floor.” Raising sensors above that limit to avoid accidental contact is explicitly warned against because it removes the entrapment protection the sensor provides for small children.
Revisions to UL 325 in 2019 and 2023 tightened test heights and sensor sensitivity requirements, strengthening how inspectors and technicians validate entrapment protection. The federal baseline is set by 16 C.F.R. Part 1211, which governs performance and entrapment-protection requirements for all residential garage door openers sold and installed in the United States.
If your sensors are currently mounted above 6 inches, lower them before doing anything else.
When Should You Call a Garage Door Technician?
Some sensor problems go beyond what a screwdriver and a microfiber cloth can fix. Here is a clear decision list.
Call a pro when you see any of these:
Receiver LED never holds steady after cleaning, alignment, and wiring inspection
Visible wire damage (chewed insulation, bare conductors, corroded terminals) that you are not comfortable repairing
Cracked sensor housing or physically damaged lens
Door fails the 2x4 force-reverse test, indicating the opener’s force calibration is off
Any sign of spring or cable damage (fraying, gaps in the coil, visible rust on cables)
A qualified technician will check wiring continuity with a multimeter, inspect the logic board for fault codes, verify bracket and frame integrity, calibrate the opener’s force settings, and confirm sensor sensitivity meets the current UL 325 standard.
For a straightforward sensor realignment and inspection, most technicians complete the work in 30–60 minutes. Expect to pay roughly $75–$150 for a service call that includes diagnosis and alignment. Sensor replacement, if needed, typically adds $20–$60 in parts on top of labor, though rates vary by region and provider.
If you are also seeing issues with your garage-to-home entry door safety, that is worth addressing at the same time. A self-closing door between the garage and living space is a separate but related safety layer that inspectors check alongside sensor function.
An Inspector’s Perspective on Sensor Failures
Most homeowners who call about a sensor problem have already tried the obvious fix: they pushed the sensor housing back into position and called it done. What they skipped was confirming that the bracket itself is rigid. A sensor mounted on a loose bracket will drift back out of alignment within days, sometimes hours, depending on how much vibration the door produces during normal operation.
When I evaluate garage door sensors during a home inspection, the first thing I check is bracket stiffness. I push the housing laterally with two fingers. If it moves more than a fraction of an inch without the wing nut loosening, the bracket anchor point is the problem. The fix is to relocate the bracket to a stiffer section of the track assembly or add a backing plate behind the mounting point.
The second thing I document is the wiring run. Sensor wires that drape loosely near the door track get pinched over time as the door cycles. I photograph the full wire path and flag any section where the wire contacts a moving part. That kind of slow damage is invisible until the wire fails completely, and by then the homeowner has usually replaced the sensors twice without solving the real problem.
I also check the GFCI protection on the garage circuit while I am there. Sensor wiring runs on low voltage, but the opener itself draws from a standard outlet, and that outlet needs proper GFCI protection under current electrical code. It is a quick check that catches a real safety gap.
Finally, I run all three functional tests: wall-button close, beam interrupt, and 2x4 force-reverse. A sensor that looks aligned but fails the beam-interrupt test is not protecting anyone. That test result goes into the written report with a photo.
Get a Professional Sensor and Safety Inspection From Trinity Home Inspections
If you have worked through the steps above and the door still is not behaving, or if you want a professional set of eyes on the full garage system before a sale or after a purchase, Trinity Home Inspections covers it all in one visit.
What’s included in a Trinity Home Inspections garage and safety inspection:
Photo and video documentation of sensor position, LED behavior, and bracket condition
Full functional test: beam interrupt, force-reverse, and wall-button close
Wiring inspection from sensor terminals to motor unit
Sensor mounting height verification against the 6-inch rule
Written, same-day report with color-coded findings and recommended next steps
Trinity Home Inspections serves Mobile, Baldwin, Escambia, Washington, Monroe, and surrounding Gulf Coast Alabama counties. Every inspection is InterNACHI-certified, and reports land in your inbox the same day. For homeowners preparing to list, a pre-listing inspection catches sensor and safety issues before buyers do.
Call 251-210-7376 or visit Trinityinspectionsllc to schedule.
Sources
The following references were used in this article and are worth bookmarking for manufacturer instructions, regulatory text, and safety standards:
FAQ
What is the easiest way to align garage door sensors?
Loosen the wing nut on each sensor bracket, pivot the housing slowly until the receiver LED glows steady and solid, then tighten. Clean both lenses first, since contamination is the most common cause of a faulting receiver.
How do I reset my garage door sensors?
Most openers do not have a dedicated sensor reset button. Unplug the opener for 30 seconds, then restore power. If the LEDs return to a steady state, the system is operational. If not, the sensors need physical realignment or a wiring check.
Why is one garage sensor yellow and the other green?
The amber (yellow) LED marks the sending sensor, which emits the infrared beam. The green LED marks the receiving sensor. Both should glow steady during normal operation. A blinking or dim green LED means the receiver is not detecting a clean beam signal.
How do I know if my garage door sensors are misaligned?
The clearest sign is a receiver LED that dims, flickers, or goes out while the sender stays lit, as confirmed by Chamberlain’s alignment documentation. The door will also refuse to close or reverse immediately after starting its travel.
When should I replace sensors instead of realigning them?
Replace the sensor pair when the receiver LED never holds steady after cleaning, alignment, and wiring inspection, or when you see a cracked lens or physically damaged housing. Sensor pairs for most opener brands cost $15–$30 and install in under 30 minutes.
Recommended

