
How to Replace Garage Occupancy Door with Self Closing Hinges
- Matt Cameron

- Feb 21
- 10 min read
Replacing a garage occupancy door can feel daunting, especially with tough Baldwin County building code requirements. Homeowners across Alabama know mistakes with door hardware mean safety risks and failed inspections. By focusing on safe tool use and careful workspace preparation, you set the stage for a smooth installation. This guide shows you how to choose the right tools, maintain safety, and install self-closing hinges that protect your home and keep you compliant.
Quick Summary
Key Point | Explanation |
1. Organize your tools beforehand | Properly gathering and organizing tools saves time and prevents mistakes during installation. |
2. Remove old hinges carefully | Safely supporting the door and pin removal minimizes risk of damage and prepares for new hinges. |
3. Install hinges with proper alignment | Ensuring correct hinge position and tension is crucial for smooth door operation and safety compliance. |
4. Test and adjust the closing mechanism | Regularly test the door’s closure and adjust tension to meet safety and building code requirements. |
5. Lubricate hinges for longevity | Applying light machine oil extends the life of the hinges and ensures smooth operation over time. |
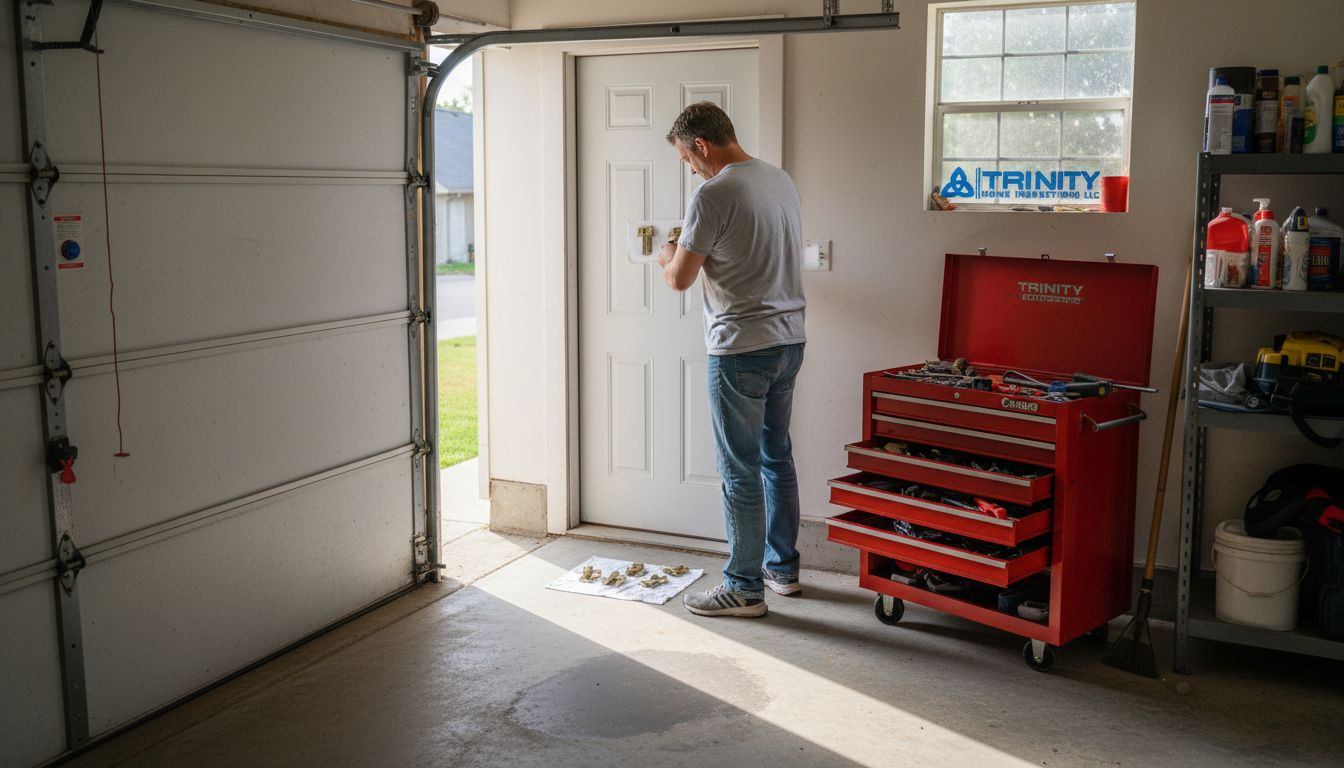
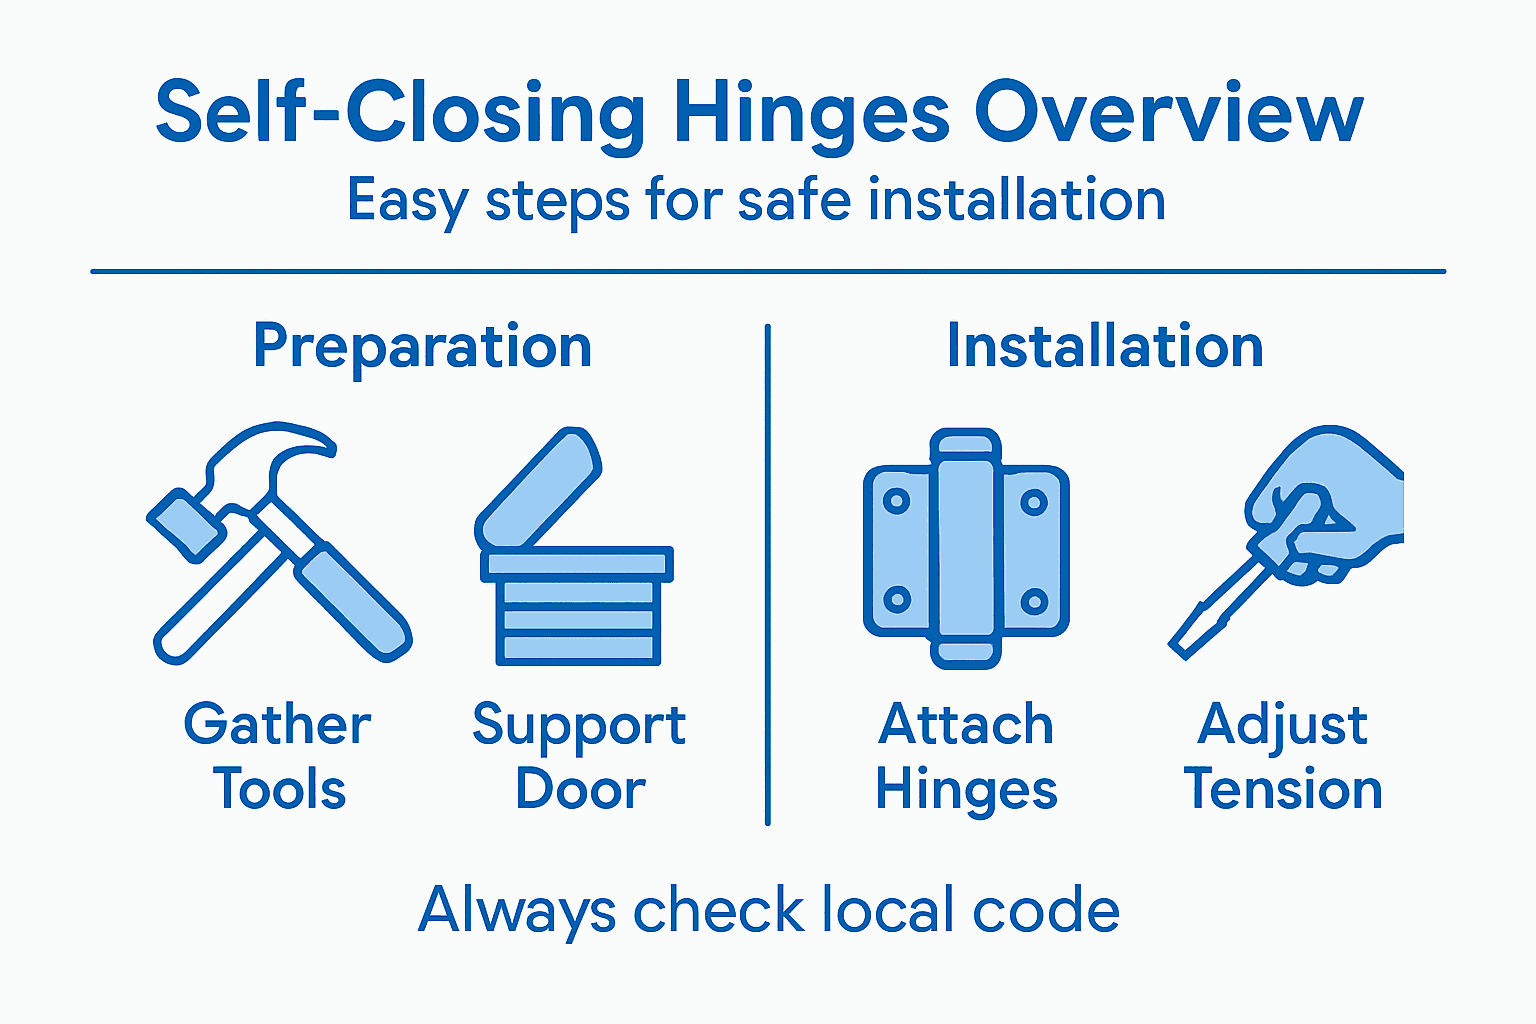
Step 1: Gather Tools and Prepare the Work Area
Before you touch a single hinge, you need the right equipment and a clean, organized workspace. Taking time to set up properly prevents mistakes, injuries, and wasted effort. This step is where successful door replacement projects begin.
Start by assembling the tools you’ll actually use. You’ll need a power drill with various bits, a screwdriver set (both Phillips and flathead), a tape measure, a level, a socket wrench set, and possibly a reciprocating saw if you’re removing the old door frame. Grab a ladder or step stool for reaching upper hinges safely. For your self-closing hinges specifically, you may need hex keys or Allen wrenches depending on the hinge design. Add a pencil for marking, safety glasses for eye protection, and work gloves to protect your hands.
Inspecting your tools before use is non-negotiable. According to guidance on hand and power tools safety, you should check each tool for damage, dull blades, or loose handles. A damaged drill bit or a dull saw wastes time and creates safety hazards. Look at power cords for cuts or fraying. Make sure batteries are charged if you’re using cordless tools.
Compare tool functions essential for this project:
Tool Name | Main Function | Impact on Project Success |
Power drill | Drilling pilot holes | Prevents frame splitting |
Level | Checks door alignment | Ensures hinges sit flush |
Socket wrench set | Removes stubborn bolts | Speeds up hinge removal |
Hex key/Allen wrench | Adjusts self-closing hinges | Fine-tunes spring tension |
Tape measure | Measures hinge placement | Achieves even spacing |
Now prepare your workspace:
Clear the garage of obstacles and trip hazards
Ensure you have adequate lighting to see the door clearly
Lay down a drop cloth or tarp to catch debris and protect your floor
Keep your tools within arm’s reach on a work bench or table
Verify the area around the door allows you to open it fully without interference
A well-organized work area cuts your project time in half and prevents costly mistakes that require callbacks.
Check that your ladder is stable and positioned correctly before you use it. Position your work surface so you’re not straining your back or neck. If you’re working with a helper, brief them on what you’re doing and where you’ll be positioned. Ventilation matters too—if you’re cutting or drilling, ensure dust has somewhere to go.
Alabama homeowners should also verify they have the correct garage occupancy door specifications for Baldwin County. Local building codes may require specific hinge ratings or fire-resistance features. If you’re unsure about compliance requirements, Trinity Home Inspections can review your project plans or inspect your work once complete at 251-210-7376.
Pro tip: Lay out all your tools and materials on a nearby table before you start, organized in the order you’ll use them—this keeps you focused and prevents those frustrating moments when you need to hunt for the right drill bit mid-project.
Step 2: Remove the Existing Door Hinges Safely
Removing the old door hinges is the critical step that sets up everything that follows. Do this correctly and you’ll have a clean foundation for installing your new self-closing hinges. Rush this step, and you risk damaging your door frame or the door itself, which becomes expensive to repair.
Start by closing the door and supporting its weight from below with a jack or sturdy support block. You don’t want the door falling on you or the frame once hinges are removed. This is where an extra pair of hands becomes invaluable.
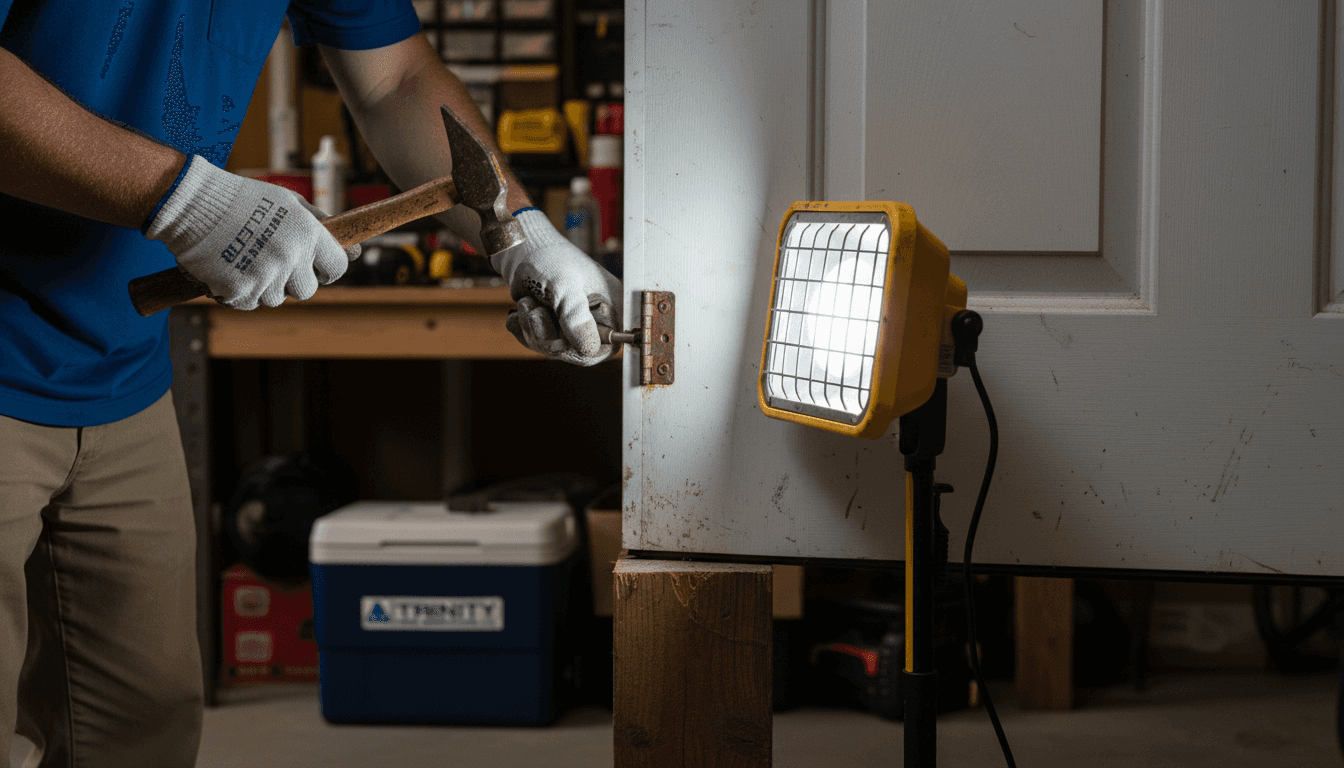
Now remove the hinge pins. Most hinge pins can be driven out from the bottom using a punch or a nail and a hammer. Tap gently at first—if the pin is stuck, apply some penetrating oil and wait a few minutes for it to loosen. Drive the pin up through the top of the hinge until it slides out completely.
Once all pins are removed, the door becomes free from the hinges. Carefully lift it away from the frame and set it aside on a flat surface where it won’t shift or roll. Take a moment to inspect the hinge mortises—these are the recessed areas where hinges sit. Look for damage, rust, or splintering that might affect how your new self-closing hinges align.
When examining the hinge positions, note that identifying hinge alignment and binding issues helps you avoid installing problems before they start. Take photos of how the old hinges were positioned, especially the spacing from the top and bottom of the door frame.
Check the hinge leaves that remain attached to the frame:
Inspect each leaf for rust or corrosion
Verify the screw holes aren’t stripped or enlarged
Clean away any debris or paint buildup
Note any gaps between the hinge leaf and the frame
Documenting the old hinge placement with photos and measurements saves you hours when it’s time to position the new self-closing hinges.
If you find that old screw holes are damaged or enlarged, you may need to use larger diameter screws or fill the holes with wooden toothpicks and epoxy before remounting. This prevents your new hinges from sagging or misaligning once installed.
As you prepare to remove the old hinge leaves from the frame, take your time unscrewing them one at a time. Support the hinge leaf with your other hand so it doesn’t drop or damage the surrounding wood.
Pro tip: Use a headlamp or work light pointed directly at the hinges while removing pins and screws—shadows from the hinge itself make it hard to see what you’re doing, and you’ll strip fewer screw heads when you can actually see them clearly.
Step 3: Install New Self Closing Door Hinges
This is where your garage door upgrade truly happens. Installing self-closing hinges transforms how your door functions, adding automatic closure and compliance with Baldwin County building codes. The installation process itself is straightforward if you follow the correct alignment and tensioning procedures.
Before you install anything, verify that your new hinges match the fire rating of your garage occupancy door. Self-closing hinges contain internal springs that hold tension, and that tension must align with your door’s safety specifications. Check the hinge documentation to confirm it meets local code requirements for your area.
Start by positioning the first hinge on the top of the door frame. Most garage doors use two or three hinges spaced evenly. Mark the screw hole locations using a pencil, ensuring the hinge sits flush against the frame with no gaps. This is where proper hinge alignment prevents binding and ensures smooth operation of your self-closing mechanism.
Drill pilot holes carefully to prevent wood splitting. Use screws that match your hinge specifications—typically heavy-duty wood screws for residential frames. Tighten screws firmly but not aggressively, as over-tightening strips the wood and weakens your connection.
Install hinges in this sequence:
Secure the top hinge first with all screws fully fastened
Install the middle hinge (if you have one) ensuring equal spacing
Mount the bottom hinge, maintaining consistent setback from the door edge
Hang the door by reinserting hinge pins from bottom to top
Once the door hangs, test its closure by opening it halfway and releasing. The self-closing mechanism should pull the door closed smoothly without slamming. If the door resists closing or closes too slowly, your spring tension may need adjustment—consult your hinge manufacturer’s instructions.
Check that the door closes fully and latches properly without binding against the frame. Run your hand around the perimeter to feel for any rubbing or gaps.
Self-closing hinges require balanced tension to function correctly, so resist the urge to over-tighten springs during installation.
If you notice the door hangs unevenly or binds against the frame, you may need to use shims to adjust hinge position. Steel shims work best for fire-rated applications and maintain the door’s safety rating without compromise.
Pro tip: After installation, let the door operate freely for a full day before making any tension adjustments—the springs need time to settle into their natural position, and premature tweaking often causes problems you’ll need to redo.
Step 4: Adjust and Test Self Closing Door Function
Your hinges are installed, the door hangs straight, and now comes the critical phase: making sure your self-closing mechanism works exactly as it should. Proper adjustment prevents slamming while ensuring the door closes completely every time. This is what separates a quality installation from a rushed one.
Start by opening the door slowly and observing how it moves. The self-closing spring should provide consistent resistance as you swing the door open. If the door swings freely without resistance, your spring tension is too loose. If it feels stiff or sticky, the tension may be too tight.
Test the closing action by opening the door to 90 degrees and releasing it. The door should pull itself closed smoothly without slamming shut. A properly adjusted self-closing mechanism closes at a controlled speed that allows people to safely pass through without the door hitting them.
When adjusting tension, most self-closing hinges have an adjustment screw or valve located on the hinge body. Refer to your hinge manufacturer’s documentation for the exact location and adjustment direction. Typically, turning clockwise increases tension and counterclockwise decreases it. Make small adjustments—a quarter turn at a time—and test the door between each change.
Eliminating hinge bind and smooth door operation requires checking for any rubbing or resistance as the door opens and closes. Run your hand along the door edges and frame to feel for contact points. If you notice binding, the hinges may need shimming to adjust their position slightly.
Perform these critical tests:
Open the door fully and check it doesn’t stick or bind
Release from halfway and verify smooth closing
Listen for squeaking or grinding sounds
Confirm the door latches completely without excessive force
Test multiple times to ensure consistent performance
A self-closing door that closes too fast creates a safety hazard, while one that closes too slowly fails to meet building code requirements.
If you notice the door won’t fully close on its own, increase spring tension slightly. If it slams shut, decrease tension. Baldwin County building codes require your garage occupancy door to close reliably, so this step directly impacts compliance and safety for your household.
Once the door closes properly, apply a small amount of light machine oil to the hinge pivot points and springs. This reduces wear and ensures years of smooth operation. Wipe away excess oil to prevent dust accumulation.
Here’s a quick reference comparing common hinge problems and their solutions:
Issue Detected | Likely Cause | Recommended Solution |
Door sags after install | Stripped screw holes | Fill holes or use larger screws |
Door binds when closing | Misaligned hinges | Shim hinges for proper alignment |
Door slams shut | Excessive spring tension | Decrease hinge spring tension |
Door closes too slowly | Insufficient tension | Increase hinge spring tension |
Hinges squeak or grind | Lack of lubrication | Apply light machine oil |
Pro tip: Test your door’s closing force during different times of day when temperature varies—springs adjust with temperature changes, and what feels perfect in the morning might feel different in the evening, so you’ll know if your adjustment is truly stable.
Ensure Your Garage Door Replacement Is Safe and Code Compliant with Expert Inspection
Replacing garage occupancy doors with self-closing hinges involves precise alignment, spring tension adjustments, and code compliance that are essential for safety and functionality. If you are tackling issues like hinge binding, uneven door hanging, or meeting Baldwin County’s building codes, professional inspection can give you the peace of mind you deserve. Key challenges highlighted in the guide include maintaining proper hinge alignment, verifying screw hole integrity, and ensuring your self-closing mechanism works reliably every time.

At Trinity Home Inspections, we help homeowners like you verify that your door upgrades meet safety standards and perform flawlessly. Our InterNACHI-certified inspectors bring expert knowledge and modern tools to detect hidden issues such as improper door installation, frame damage, or malfunctioning self-closing hardware. We provide detailed same-day reports with photos and videos, making it easy to identify what needs attention before problems arise. Don’t wait until a door failure causes inconvenience or hazard—take action now by scheduling your home inspection at Trinity Home Inspections. Whether you are replacing a garage door, buying a home, or prepping a property for sale, our trusted inspections cover every detail to keep you secure and compliant. Learn more about our comprehensive services and local expertise on our main services page today.
Frequently Asked Questions
How do I gather tools for replacing a garage occupancy door with self-closing hinges?
Start by collecting a power drill, screwdriver set, tape measure, level, socket wrench set, and, if necessary, a reciprocating saw. Organize your workspace by clearing any obstacles and ensuring proper lighting to make the installation smoother.
What steps should I follow to remove old door hinges safely?
To remove old door hinges, close the door and support its weight before taking out the hinge pins with a punch or nail. Make sure to inspect the hinge mortises for damage once the door is removed, as this will help in properly positioning the new hinges.
How do I install new self-closing door hinges?
First, ensure your new hinges meet fire rating requirements and then mark screw hole locations on the door frame for proper alignment. Drill pilot holes and install the hinges in order (top, middle, bottom) with the door hung last, ensuring everything is flush and secure.
How can I adjust the tension on self-closing hinges?
Adjust the tension by locating the adjustment screw or valve on the hinge and turning it clockwise to increase tension or counterclockwise to decrease it. Make small adjustments and test the door’s closing mechanism after each change to ensure smooth operation.
What should I do if the new door binds or does not close properly?
If the door binds, check the hinge alignment and use shims to correct the position as needed. For doors that don’t close properly, assess and adjust the spring tension until it closes fully and latches without resistance.
How can I maintain my self-closing door hinges for longevity?
Apply a small amount of light machine oil to the hinge pivot points and springs after installation to reduce wear. It’s also a good idea to test the door’s operation occasionally, especially during temperature changes, to ensure consistent performance.
Recommended