
How To Fix a Self-Closing Door Hinge That Won't Close Right

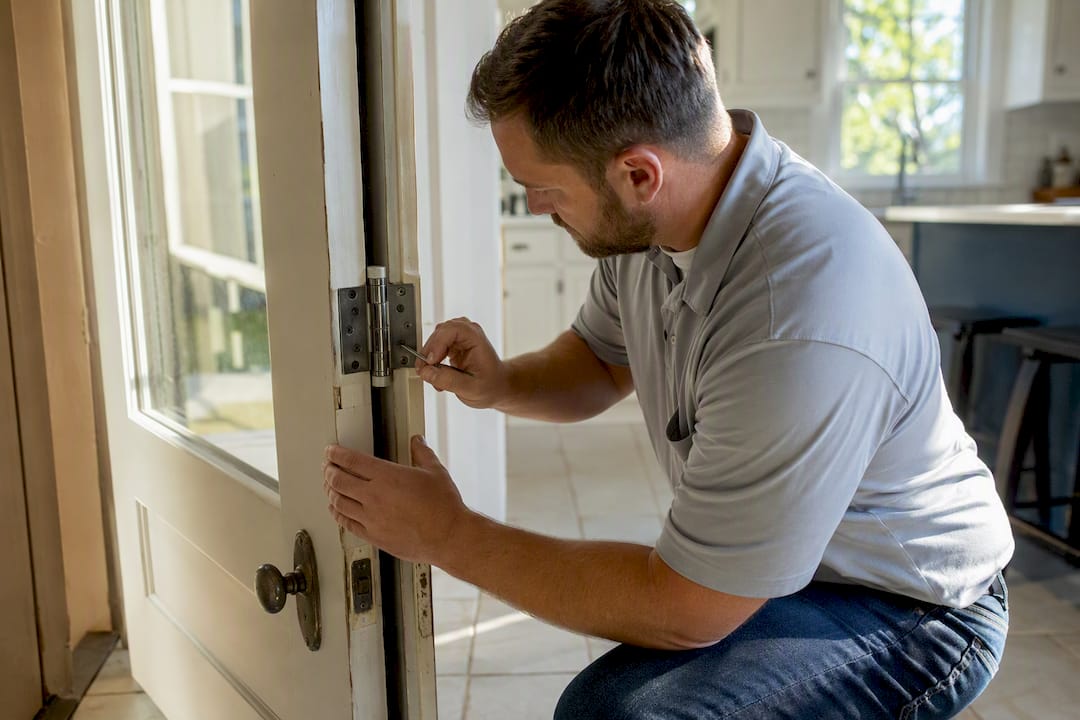
To fix a self-closing door that slams or won’t latch, insert the correct hex or Allen key into the hinge’s tension hole (or tension screw) and make small, single-click adjustments, testing the door after each one until it latches gently without slamming.
Most self-closing hinges fall into one of three families, and knowing which one is on your door tells you exactly where to put the wrench:
Pin-and-hole hinges: a locking pin sits in one of several holes around the barrel; moving it changes spring preload.
Tension-screw hinges: a screw at the bottom or side of the barrel increases or decreases closing force with a quarter-turn.
Numeric-adjuster hinges (like the Waterson brand): a visible numbered scale lets you dial in exact tension with a 5mm hex wrench.
Adjustment usually solves the problem. Small, incremental tension changes tested over 3 to 5 cycles fix the vast majority of slamming, weak-latch, and slow-close complaints. Where adjustment won’t help: a broken spring, a bent hinge leaf, or a door that slams even at the lowest setting, which usually points to a missing damper rather than a tension problem.
Key Takeaways
Self-closing hinges are adjusted safely by working in small increments, testing 3 to 5 cycles between changes, and ruling out alignment and friction problems before touching spring tension.
Point | Details |
Identify your hinge type first | Pin-and-hole, tension-screw, and numeric-adjuster hinges each need a different tool and procedure. |
Diagnose before you adjust | Check strike plate alignment, weatherstripping, and floor drag before changing spring tension. |
Adjust in small steps | Move one hole, one quarter-turn, or one click at a time, testing 3 to 5 cycles after each change. |
Use the lowest working setting | Settings above roughly 5 of 7 on numeric adjusters shorten spring life without added benefit. |
Know when to stop DIYing | Broken springs, bent leaves, or fire-rated egress doors call for Trinity Home Inspections or a qualified pro. |
Tools You Need for Self-Closing Hinge Adjustment
Before you touch a hinge, gather everything within reach. Stopping mid-adjustment to hunt for a screwdriver is how strip screws and stripped patience happen.
Hex/Allen wrench set covering 3mm and 5mm, since most residential and commercial spring hinges use one of these two sizes.
Tension rod or pin punch for pin-and-hole hinges, used to drive the locking pin in and out of the barrel.
Needle-nose pliers to grip a stubborn pin or hold a spring-loaded piece steady.
A clean rag to wipe old grease and grit off the barrel before you lubricate.
Masking tape to mark your current setting before changing anything.
Lithium grease or silicone spray to lubricate once the adjustment is done.
Some numeric-adjuster hinges, including Waterson models, ship with their own dedicated hex wrench in the packaging. Check the original box or the hinge leaf itself for a size stamp before buying a new set.
Alt text example for a project photo: “Home inspector in khaki pants and blue Trinity Home Inspections shirt holding a 5mm hex wrench next to a Waterson-style adjustable hinge on a Gulf Coast Alabama home.”
How Do You Safely Prepare a Door Before Adjusting the Hinge?
A self-closing hinge stores real mechanical energy in its spring, and that energy has to go somewhere the moment you loosen it. Treat the barrel with the same respect you’d give a wound-up jack-in-the-box.
Keep the door closed or propped firmly against a wall. Never make adjustments with the door swung open past 90 degrees, since that position puts maximum stored tension on the hinge you’re about to loosen.
Grip the hex key with a full hand, not just fingertips, and use two hands on stiffer hinges so the tool can’t spin free and bark your knuckles.
Wear eye protection, and keep fingers away from the barrel opening where the pin or adjuster sits.
Mark your starting position with a strip of masking tape on the hinge leaf before you turn anything.
Pro Tip: On a heavy exterior door, have a second person hold it steady from the latch side while you work the hinge. A held door can’t swing shut on your hand mid-adjustment, and it keeps the barrel at a consistent angle so your tension changes are actually consistent.
Why Won’t My Self-Closing Door Close or Latch Properly?
Before you touch the spring at all, rule out the problems that have nothing to do with hinge tension. A shocking number of “weak hinge” complaints are actually alignment or friction issues, and cranking up tension on a misaligned door just makes it slam harder into the same bad strike plate.
Run through this checklist first:
Check every hinge screw for looseness; a sagging door from loose screws mimics low spring tension.
Look for scrape marks on the strike plate, which signal the latch bolt is grazing metal instead of sliding cleanly into the opening.
Press on the weatherstripping around the frame; heavily compressed or swollen stripping adds resistance a spring has to fight.
Watch the bottom edge of the door for rub marks on the flooring or threshold.
Then test the door’s behavior at three release points: 20 degrees, 45 degrees, and fully open at 90 degrees. Note whether it latches from each angle, and whether it speeds up or slows down as it approaches the frame. A spring hinge only supplies return force, not speed control, so a door that slams from every angle often needs a mechanical fix, not more tension.
Fix problems in this order: binding and alignment first, lubrication second, tension adjustment last. Skipping ahead to tension is the single most common DIY mistake with self-closing hardware.
How Many Self-Closing Hinges Does a Door Need?
Most residential doors run two or three hinges, with a rough rule of one hinge per 30 inches of door height; taller or heavier commercial doors often use four for extra support and even tension distribution.
Adjust the top hinge first on lighter interior doors, since it carries less weight and shows tension changes faster. On heavier exterior doors, tension the bottom hinge first because it does more of the structural work. When a door uses multiple spring hinges, change each one by the same small increment during tuning, and mark every setting with tape so you’re balancing tension evenly rather than fighting one overpowered hinge against two weak ones.
Step-by-Step Instructions for Each Hinge Type
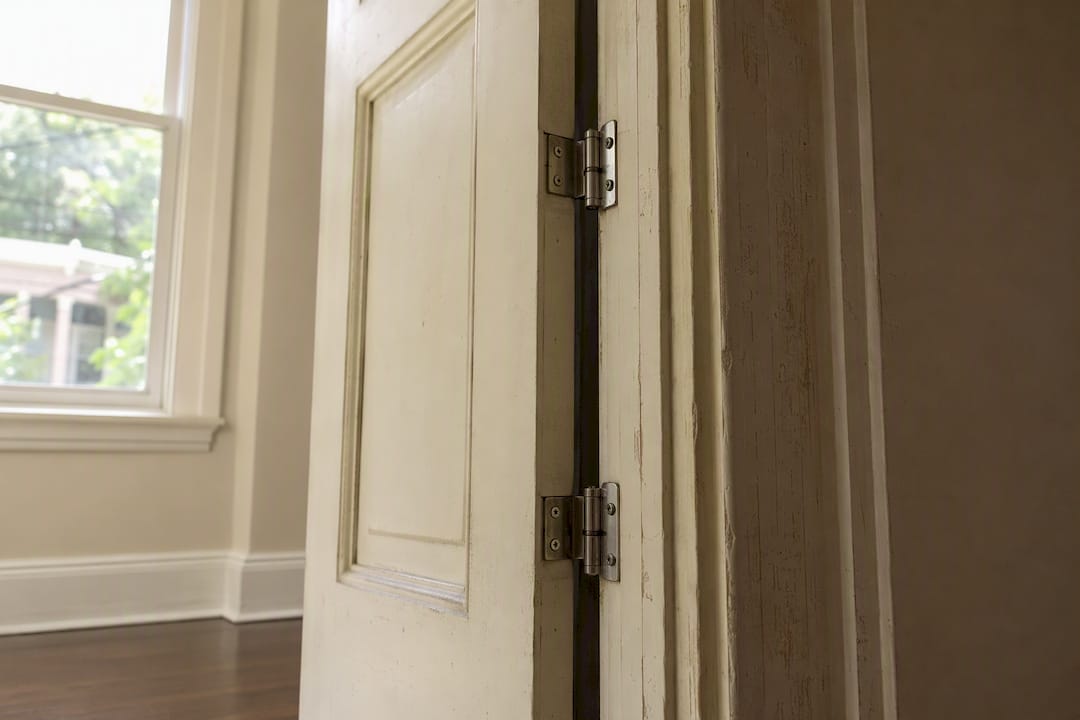
Your exact procedure depends entirely on which of the three hinge styles is installed. Here’s how to work each one.
Pin-and-hole hinges (common on residential interior doors)
Close the door and hold it against the frame to relieve pressure on the hinge you’re adjusting.
Seat your hex key or tension rod into the current locking pin and press inward to release it from its hole.
Remove the pin fully once tension is relieved, using pliers if it’s tight.
Rotate the barrel one hole in the direction that increases tension (to fix a weak latch) or decreases it (to fix slamming).
Re-insert the pin into the new hole and release the door.
Test the door through a full open-close cycle before deciding whether to adjust further.
Move only one hole at a time. Skipping holes to save steps is exactly how homeowners end up with a door that slams the frame instead of latching softly.
Tension-screw hinges (common on commercial and some residential doors)
Locate the tension screw, usually at the bottom of the barrel or along the hinge edge, and confirm the correct hex size before you start.
Turn the screw a quarter turn clockwise to increase closing force, or counterclockwise to reduce it.
Test the door through 3 to 5 full cycles before making another quarter-turn change.
Repeat in quarter-turn increments until the door latches cleanly without slamming.
Quarter turns matter more than they sound like they should. A tension screw’s effective range is short, so a full turn often overshoots from “won’t latch” straight to “slams every time.”
Numeric-adjuster hinges (Waterson and similar brands)
Find the numbered scale printed or stamped on the hinge barrel, typically ranging from a low setting to 7.
Use the correct 5mm hex wrench, insert it into the adjustment point, and press down to lower the number or lift to raise it, depending on the model’s design.
Start at the lowest setting and test whether the door closes fully from a 20-degree opening. This is the “minimum closing power” test, and it tells you the lowest tension that will still do the job.
Increase one click at a time only if the door fails to latch from that 20-degree test.
Stop as soon as the door latches consistently. Going higher than needed just wastes spring life for no functional benefit.
Across every hinge type, the same two safety rules apply: never over-tension past what’s needed to latch reliably, and never adjust with the door open beyond 90 degrees. Keep your hands clear of the barrel opening at all times, since a released pin or adjuster can move faster than you expect.
If an adjuster binds or refuses to turn, don’t force it. Relieve pressure by closing the door fully first, then apply a drop of lithium grease to the adjustment point and try again.
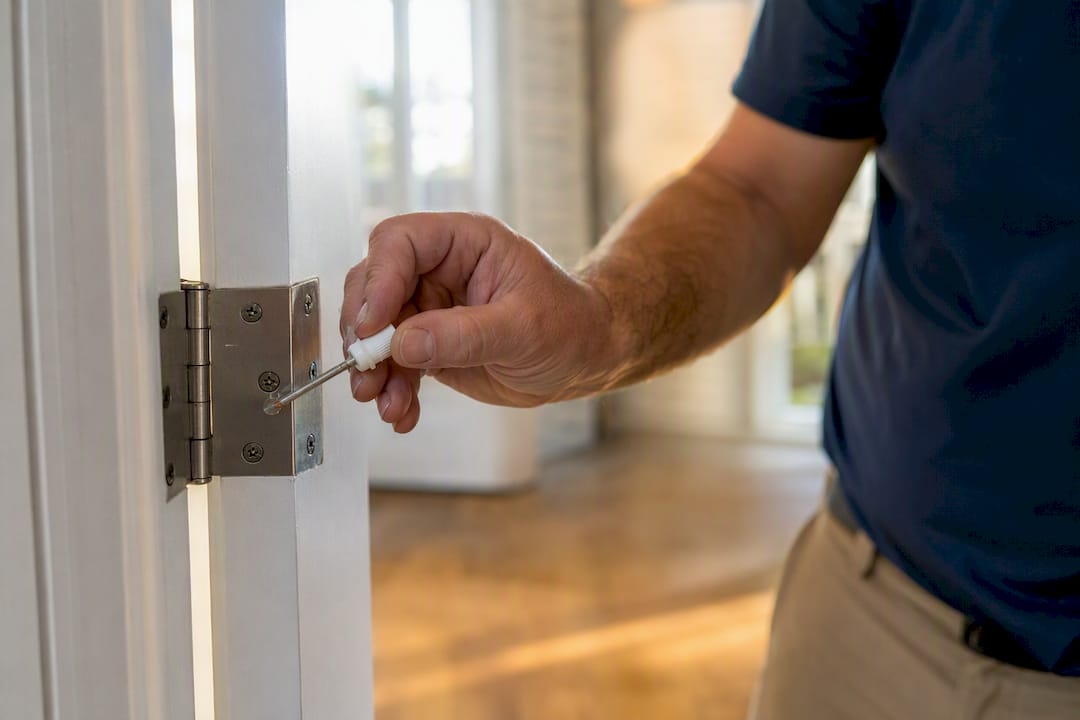
Pro Tip: Wrap a small piece of masking tape around each hinge leaf and write the current setting on it in pen before you start. If your third adjustment makes things worse, you’ll know exactly what to dial back to instead of guessing.
What Is the Right Way To Test Hinge Adjustments?
Professional installers don’t eyeball a single swing and call it done. They follow a repeatable loop:
Set the hinge to its lowest reasonable tension for the door’s weight and use case.
Make one increment of change, either a single click on a numeric adjuster or a quarter turn on a screw type.
Swing the door open to 20 degrees, 45 degrees, and 90 degrees, releasing it from each position and watching how it closes.
Repeat the full test 3 to 5 times before deciding whether another adjustment is needed.
You’re aiming for a specific feel: the door should close reliably from anywhere between 20 and 90 degrees, moving a bit slower through the middle of its swing and picking up just enough speed at the very end to seat the latch. That’s the two-speed close pattern a properly tensioned hinge produces naturally.
One number worth remembering: settings above roughly 5 out of 7 on adjustable models noticeably shorten spring lifespan. Always use the lowest setting that reliably closes and latches the door rather than defaulting to a higher number “to be safe.” A spring under constant excess load wears out faster, and you’ll be back here making this same adjustment again within a year or two.
Fixing the Most Common Self-Closing Door Problems
Match your symptom to the fix below before you start turning wrenches at random.
Door slams shut: back off tension by one increment first. If it still slams at the lowest setting, the hinge likely lacks any damping mechanism, and a hydraulic or soft-close hinge is the real fix, not further adjustment.
Door won’t latch: increase tension by one increment, then check the strike plate for scrape marks that suggest misalignment rather than weak spring force.
Door is stiff or hard to open: this is rarely a tension problem. Check for compressed weatherstripping, a rubbing threshold, or a binding hinge barrel, and lubricate and realign before adding any tension.
Door closes unevenly or twists as it shuts: balance tension across all hinges rather than over-tensioning one, and check every fastener for looseness, since a lifted or sagging leaf throws off the whole swing.
If you’ve worked through tension, alignment, and lubrication and the door still misbehaves, you’re likely dealing with a mechanical limit rather than a setting you haven’t found yet.
How Often Should You Lubricate a Self-Closing Hinge?
Dirt and dried-out grease inside the barrel create friction that feels exactly like a weak spring, which sends a lot of homeowners chasing a tension fix for what’s really a cleaning problem.
Brush out the barrel and pin with an old toothbrush or small wire brush to clear grit and hardened grease before applying anything new.
Use white lithium grease on heavy exterior doors and high-traffic commercial doors, where sustained friction and weight demand a heavier lubricant.
Use silicone spray or a light machine oil on lighter interior doors, where lithium grease can attract more dust than it’s worth.
Inspect and re-lubricate once a year as routine maintenance, and check settings again after major seasonal humidity swings, since wood doors and frames shift slightly with moisture.
When Should You Replace the Hinge Instead of Adjusting It?
Adjustment has a ceiling. Once you hit it, more tinkering just wastes time.
Replace the hinge if the spring is visibly broken, a leaf is bent, the fastener holes have worn into ovals, or you’ve run the adjuster to its maximum setting with no improvement.
Call a professional if multiple hinges on the same door show fatigue, or if the door is fire-rated or serves as a required egress door, since those openings must meet specific code requirements that go beyond a smooth close.
Upgrade to a hydraulic self-closing hinge if the door still slams after correct tensioning and alignment. A traditional spring hinge controls return force but not closing speed, so no amount of adjustment will add the damping a hydraulic closer provides.
If you’re weighing a full swap rather than a repair, our guide on replacing a garage occupancy door with self-closing hinges walks through what that project actually involves.
What Does a Home Inspector Check on Self-Closing Doors?
When Trinity Home Inspections evaluates a self-closing door, whether it’s a garage entry door or a fire-rated commercial opening, the process follows the same logic as the DIY steps above, just with a trained eye for what “acceptable” actually looks like.
Fasteners and leaf seating get checked for loose screws, lifted leaves, cracked welds, or elongated screw pockets that no amount of tightening will fix.
Return behavior gets tested from multiple release angles, watching for consistent latch engagement, reasonable opening effort, and zero binding through the swing.
Pre-adjustment performance and final settings both get documented, with a clear recommendation to replace if the hinge’s adjustment range is exhausted or the door affects life-safety egress.
Self-closing doors between a garage and living space are one of the most overlooked fire-safety details in a home. A door that doesn’t close and latch on its own can undermine the whole point of that fire-rated assembly, even when everything else about the door looks fine.
Matt Cameron, founder of Trinity Home Inspections, is InterNACHI certified and applies these same checks during residential inspections across the Gulf Coast. If you’re weighing whether a garage-to-home door meets that standard, our piece on why self-closing doors matter for safety covers the code reasoning in more depth.
A Local Inspector’s Take on Self-Closing Doors
We see the same pattern across Baldwin and Mobile County homes every season: humidity swings shift door frames just enough to throw off a hinge that was fine in the spring. Before you touch a wrench, document your original setting with a photo or a strip of tape. It costs nothing and saves you from guessing your way backward if an adjustment makes things worse.
Most self-closing door issues really are simple tension fixes. If yours isn’t cooperating after a few careful attempts, that’s exactly the kind of thing worth a second set of eyes.
Prefer a Professional Check on Your Doors and Hardware?
If you’d rather have a trained eye confirm your self-closing doors, latches, and overall hardware are in good shape, Trinity Home Inspections builds that review into every InterNACHI-certified inspection across Baldwin, Mobile, Escambia, Washington, Monroe, and Clarke counties, with same-day photo and video reports so you’re not waiting days for answers.
[

What’s included when door hardware comes up during your inspection:
Functional testing of self-closing mechanisms, hinges, and latch alignment
Photo and video documentation flagged by priority (DIY/Minor, Issue/Defect, Safety/Major)
Plain-English notes on what needs attention now versus what can wait
Free thermal imaging to catch related issues like drafts around door frames
If door and hardware problems turn up alongside bigger questions about a home you’re buying or selling, our pre-listing inspection service gives sellers a clear picture before it becomes a buyer’s negotiating point. Call 251-210-7376 or visit Trinityinspectionsllc to schedule.
Manufacturer and Professional Resources
For model-specific adjustment ranges, check these sources directly rather than guessing at settings:
Waterson’s own maintenance guidance on incremental tensioning and spring lifespan.
A step-by-step numeric-adjuster walkthrough for Waterson-style hinges.
A professional-grade adjustment protocol covering commercial hinge tools and safety rules.
If your issue turns out to be a worn closer rather than a hinge, this screen door closer repair guide from our partners at Rescreen Rescue covers a related but distinct mechanism.
Sources
FAQ
How do I adjust hinges so the door closes automatically?
Use the correct hex wrench or tension rod for your hinge type and increase tension in small increments, testing the door through several open-close cycles after each change until it latches on its own without slamming.
Why is my self-closing door hinge not closing properly?
The most common causes are strike-plate misalignment, compressed weatherstripping, or floor drag, not the spring itself; check these mechanical issues first before adjusting hinge tension.
What are the common problems with self-closing door hinges?
The most frequent issues are slamming, failure to latch, stiff opening, and uneven closing across multiple hinges, each of which usually points to a different fix, from tension adjustment to fastener tightening to lubrication.
How do you adjust the tension on self-closing cabinet or door hinges?
Locate the tension access point (a pin hole, screw, or numeric dial), make one small adjustment, and test the door 3 to 5 times before adjusting again, always using the lowest setting that reliably latches the door.
Can Trinity Home Inspections check my door hardware during a home inspection?
Yes, functional testing of self-closing mechanisms and hinge alignment is a standard part of every InterNACHI-certified inspection Trinity Home Inspections performs across the Gulf Coast.
Recommended

