
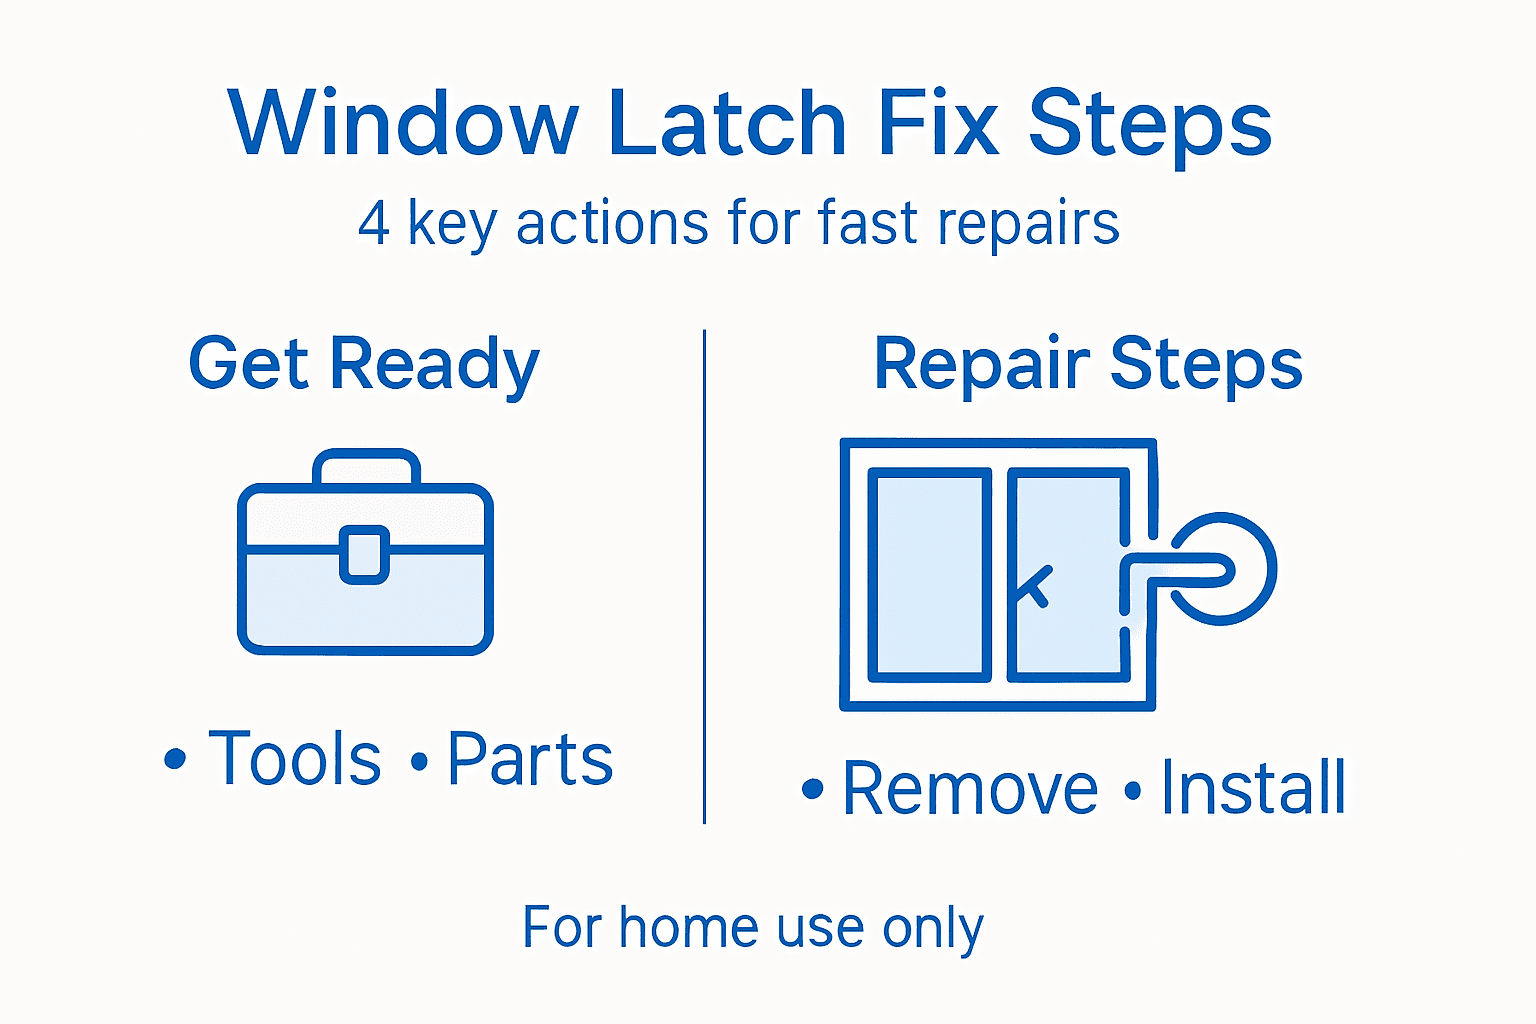
How to Fix Broken Latch on Window for Easy Home Repair
- Matt Cameron

- Feb 20
- 9 min read
Struggling with a stubborn window latch in your Baldwin or Mobile County home can be more than just a nuisance—it can affect your family’s safety and disrupt daily routines. Faulty installation or damaged latches risk compromising your home’s security, making it crucial to handle repairs correctly. This guide breaks down the repair process into clear steps and highlights the importance of using the right tools and practicing proper safety measures to restore peace of mind while improving your window’s function.
Quick Summary
Key Point | Explanation |
1. Assemble all necessary tools first | Gather screwdrivers, a power drill, a hammer, and safety glasses before starting your repair to avoid interruptions and ensure safety. |
2. Identify your latch type accurately | Take measurements and photos of your existing latch to ensure the new one fits your window correctly and functions as intended. |
3. Remove the broken latch carefully | Unscrew and detach the old latch with care to prevent damaging your window frame or losing small components during the process. |
4. Install the new latch securely | Position the new latch based on your reference photos and ensure all screws are tightened evenly for smooth operation and security. |
5. Test window operation and latch security | Open and close the window to check for smooth movement and verify the latch holds securely when locked, making adjustments as needed. |
Step 1: Gather the Right Tools and Replacement Parts
Before you tackle that broken window latch, you need the right equipment on hand. Having everything ready beforehand saves you time and prevents frustration halfway through the repair. Let’s walk through what you actually need and why each tool matters for Baldwin and Mobile County homeowners tackling this project.
Start with the basics. A screwdriver set with both Phillips and flathead options covers most latch mechanisms you’ll encounter. Your power drill becomes invaluable for removing stubborn screws or drilling new holes if you’re upgrading to a different latch style. A hammer helps gently tap components into place, and a measuring tape ensures your replacement latch matches your window’s dimensions.
Proper safety matters just as much as the right tools. General safety tips emphasize inspecting tools before use and wearing eye protection when drilling or hammering. Grab safety glasses from your toolbox—small debris flies faster than you’d expect.
Now for the replacement parts themselves:
Replacement latch assembly (matching your window type and size)
Screws (stainless steel prevents rust in our humid climate)
Cotter pins or fasteners (if your latch uses them)
Lubricant spray (silicone-based works best for window mechanisms)
Cloth or rag (for cleaning out old debris before installation)
Before buying replacement parts, identify your latch type. Casement window latches differ from double-hung latches. Take a photo of your existing latch and bring measurements to the hardware store, or snap a picture to compare online.
The key to avoiding a second trip to the hardware store is knowing your window type and latch dimensions before you shop.
You might need a utility knife to scrape away old caulk or paint around the latch housing. A flashlight or headlamp helps you see inside tight spaces where screws hide. Some older latches in the Baldwin area corrode heavily, so a wire brush cleans rust before reassembly.
Assembling everything before you start the actual repair prevents midway pauses when you realize you’re missing something. Lay out your tools and parts on a clean surface so you know what you’re working with.
Here’s a quick overview of tool purposes for easier selection:
Tool or Part | Purpose | Why It Matters |
Screwdriver set | Removes and installs screws | Works with most window latches |
Power drill | Drives screws, drills holes for new latches | Saves effort, enables upgrades |
Hammer | Taps parts into place | Prevents damage during repair |
Measuring tape | Confirms latch dimensions | Ensures correct replacement |
Safety glasses | Protects against flying debris | Essential for safe work |
Wire brush | Cleans rust from components | Prepares surfaces for assembly |
Utility knife | Cuts paint/caulk around latch | Eases removal, preserves trim |
Silicone lubricant | Reduces friction in moving parts | Extends latch lifespan |
Flashlight | Illuminates tight spaces | Helps find hidden fasteners |
Pro tip: Keep your original latch and fasteners in a labeled envelope until your new latch works perfectly, giving you an easy backup plan if the replacement doesn’t fit as expected.
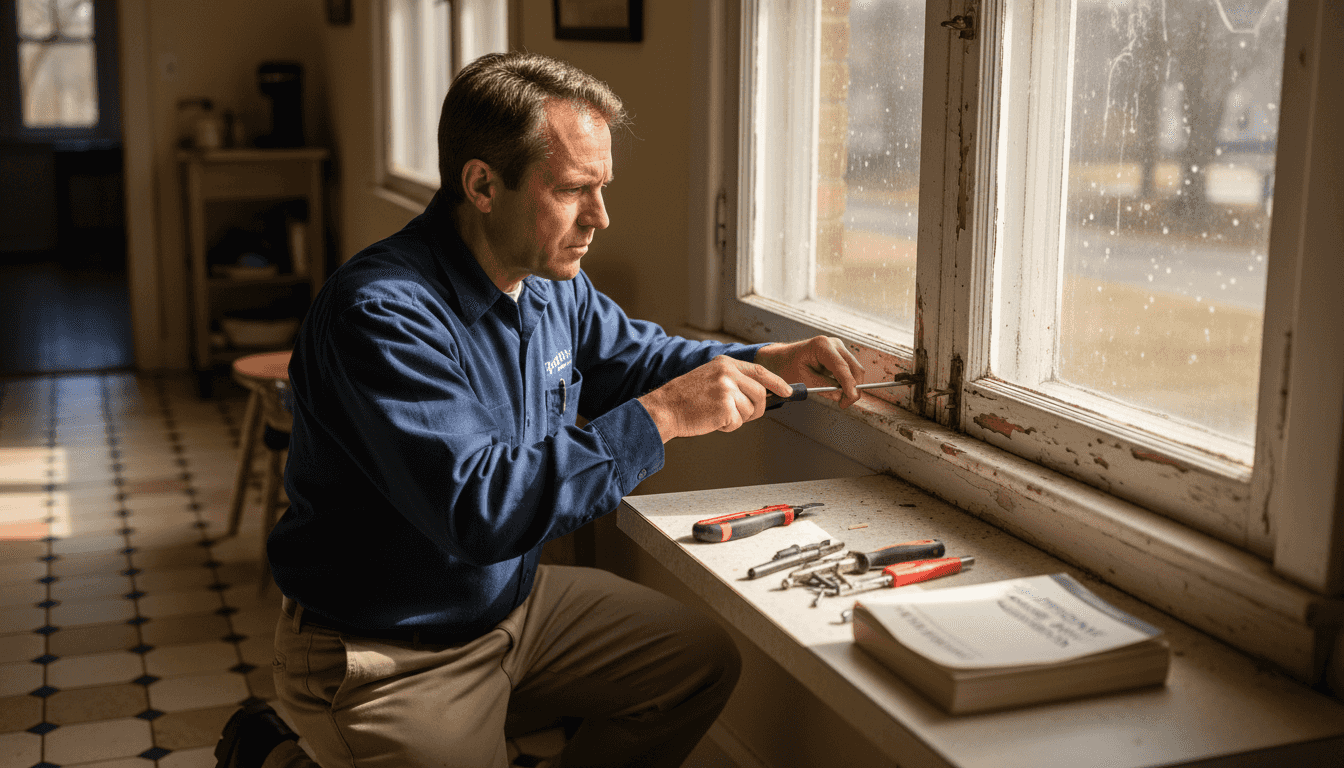
Step 2: Remove the Damaged Window Latch Carefully
Now that you have your tools ready, it’s time to carefully remove the broken latch. This step requires patience and attention to detail because rushing can damage the window frame or surrounding components. Let’s work through this methodically so nothing else gets harmed in the process.
Start by inspecting how the latch attaches to your window. Most latches in Alabama homes use screws that hold the mechanism to the frame. Look closely at where the latch meets the window to identify all attachment points, including any hidden screws beneath covers or trim pieces.
Unscrew the fasteners carefully. Use your screwdriver to remove each screw, keeping track of where they came from. Small, delicate springs or clips sometimes hide behind the latch assembly, so work slowly and watch for parts that might pop out unexpectedly. Removing components by unscrewing fasteners requires patience to preserve internal mechanisms that you may reuse.
If your window has a plastic track or cover, gently pop it off before accessing the latch itself. Use your utility knife or plastic pry tool to avoid cracking the trim. Some latches in older Baldwin County homes have paint sealed around them, so you might need to score the paint line first with your knife.
Here’s what you’re watching for during removal:
Springs or tension mechanisms that may shift when unscrewed
Small fasteners that can roll away and disappear
Paint or caulk that bonds the latch to the frame
The window handle, which may need adjustment to free the latch
Once all visible screws are out, gently wiggle the latch to loosen it from the window frame. Don’t force it. If it resists, check for fasteners you might have missed. Some latches have screws on the interior side of the frame that aren’t immediately visible.
Compare these common latch removal challenges and solutions:
Challenge | Common Cause | How to Overcome |
Hidden screws | Under trim or covers | Use flashlight, inspect edges |
Stuck due to paint/caulk | Old paint buildup | Score gently with utility knife |
Springs or clips popping | Under spring tension | Remove slowly, watch closely |
Rusted components | Exposure to humidity | Clean with wire brush, lubricate |
Take photos of the latch position before removal so you remember exactly how it sits when you install the replacement.
After the latch comes free, set it aside in a safe place. Even though it’s broken, examining it helps you understand how the mechanism works and ensures your new latch matches the original style.
Pro tip: Photograph the removed latch from multiple angles and note which direction the handle turned, because your new latch must function identically to operate your window correctly.
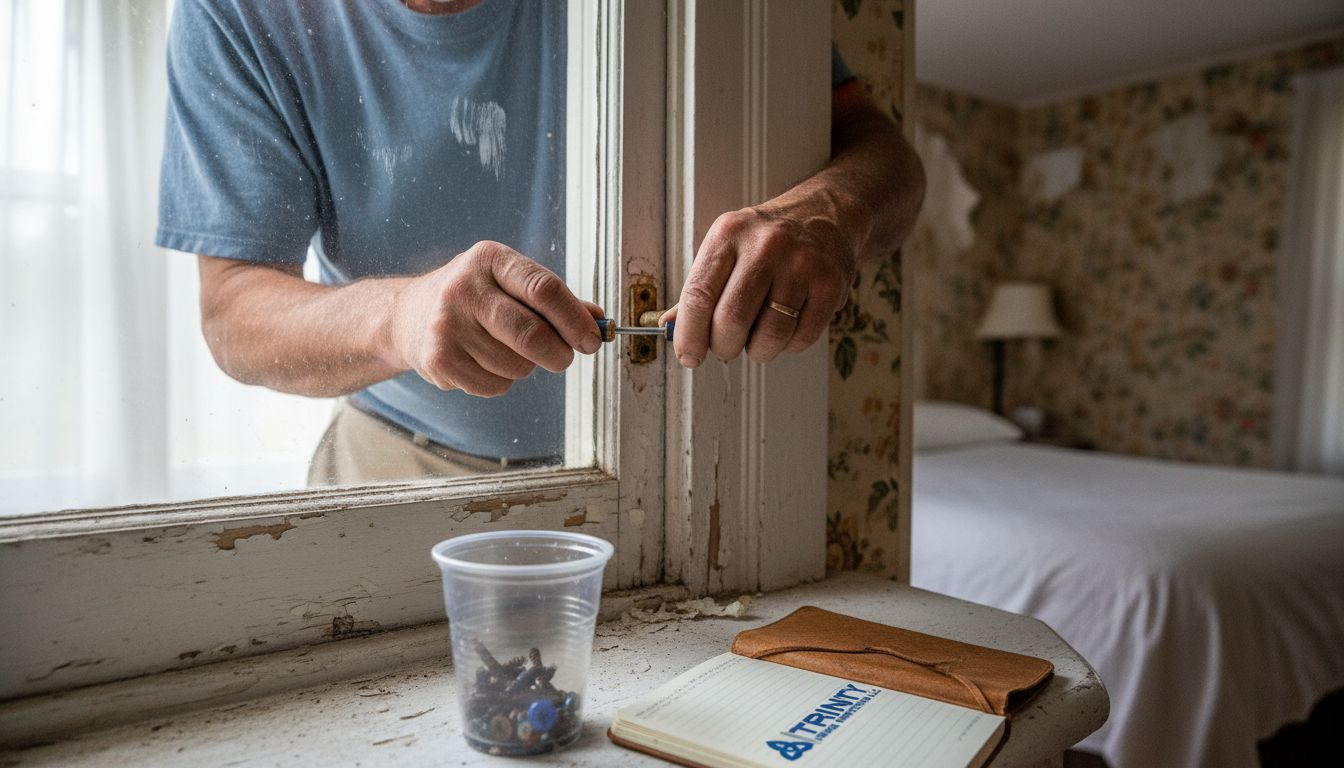
Step 3: Install the New Latch Securely
With the old latch removed, you’re ready to install the new one. This step determines whether your window will function smoothly and lock reliably for years to come. Take your time to align everything properly before driving screws home.
Start by positioning the new latch exactly where the old one sat. Use your reference photos from the removal step to guide placement. The latch should fit naturally into the window frame opening without forcing or twisting it into position.
Aligning the mounting holes is critical. Your new latch likely has pre-drilled holes that should match existing screw holes in the frame. If they don’t align perfectly, you may need to drill new holes using your power drill. Selecting a replacement latch that fits precisely prevents wobbling and ensures the mechanism engages correctly.
Once positioned correctly, insert your screws gradually. Don’t tighten them all the way immediately. Instead, thread each screw by hand first to avoid cross-threading. Then use your screwdriver to snug them down with firm, even pressure.
Follow this installation sequence:
Thread all screws by hand without tightening
Check alignment by examining how the latch sits in the frame
Tighten each screw in a diagonal pattern, like tightening wheel lugs
Apply consistent pressure to avoid over-tightening and stripping threads
Verify the latch doesn’t wobble when you gently shake it
Before declaring victory, test your new latch thoroughly. Operate the handle multiple times to ensure smooth movement. The latch should engage and disengage without resistance or grinding sounds. Testing the latch mechanism after installation confirms it locks securely and functions smoothly.
If the latch feels stiff or the handle requires excessive force, stop and investigate. You may need to adjust screw tension or realign the mechanism slightly. Small adjustments now prevent larger frustrations later.
A properly installed latch operates smoothly with minimal effort and engages with a satisfying, solid click.
Apply your silicone-based lubricant sparingly to the moving parts. This reduces friction and protects against our Gulf Coast humidity. A light coating is all you need.
Pro tip: After installation, operate the latch 20 times in succession to seat all components properly, then recheck screw tightness because vibration from repeated use sometimes loosens fasteners slightly.
Step 4: Test Window Operation and Latch Security
Your new latch is installed, but the real test comes now. You need to verify that your window operates smoothly and that the latch holds securely under normal use. This final step confirms your repair is complete and functional.
Begin by opening and closing the window several times with moderate, natural pressure. The sash should glide smoothly without sticking or binding partway through. Listen for any grinding, squeaking, or unusual sounds that might indicate misalignment. Your window should move with the same ease it had before the latch broke.
Now engage the latch firmly and test its security. Window locking devices should function correctly to prevent accidental openings and maintain home security. Push outward on the window while the latch is locked. It should resist your pressure without shifting or giving way.
Perform these specific security checks:
Push the window frame from outside while locked
Try to rattle the latch handle side to side
Attempt to slide the window open despite the engaged latch
Check that the latch returns smoothly to locked position after each test
If the window resists opening or the latch feels too tight, you may have over-tightened the fastening screws. Loosen them slightly and retest. The goal is a secure hold without excessive force required to operate the mechanism.
Test from both inside and outside your home if possible. Different angles and pressures reveal whether the installation truly succeeded. Pay attention to how the handle feels when engaging and disengaging the latch.
A properly functioning window latch requires moderate effort to engage and disengage, with zero play or wobbling when locked.
If you notice any issues, refer back to your photos from the removal step. Sometimes a half-turn adjustment on a single screw solves stiffness or misalignment. Don’t overlook small adjustments that make the difference between a mediocre and excellent repair.
Once everything feels right, clean away any debris from your work. Wipe down the window frame and latch with a dry cloth to remove dust from drilling or scraping.
Pro tip: Test your window latch monthly by operating it 10 times to ensure fasteners remain tight, because seasonal humidity changes in Baldwin County can cause metal to expand and contract, occasionally loosening screws over time.
Protect Your Home With Expert Inspection Beyond DIY Window Repairs
Fixing a broken window latch yourself can be rewarding but also challenging when unexpected issues arise or hidden damage lurks. Trinity Home Inspections is here to give you the full picture about your home’s safety and condition after your repair projects. Our InterNACHI-certified inspectors go beyond basic checks by using advanced tools like thermal imaging and moisture meters to uncover problems invisible to the naked eye.

Don’t wait for small window problems to turn into costly repairs or threaten your home’s security. Trust Trinity Home Inspections, a family-owned company built on integrity and local Gulf Coast values. Start with a thorough inspection that covers all windows, doors, and structural elements ensuring your repairs hold up in Baldwin, Mobile, and surrounding counties. Visit us today at Trinity Home Inspections and schedule your inspection to secure your investment with clarity and confidence.
Frequently Asked Questions
What tools do I need to fix a broken window latch?
To fix a broken window latch, you need a screwdriver set, power drill, hammer, measuring tape, and safety glasses. Gather a replacement latch assembly, screws, cotter pins, lubricant spray, and a cleaning rag to ensure a smooth repair process.
How do I remove a damaged window latch?
To remove a damaged window latch, first, locate the screws securing it to the window frame. Carefully unscrew the fasteners while watching for hidden components, and gently wiggle the latch to loosen it without forcing it out.
What is the proper way to install a new window latch?
Start by positioning the new latch where the old one was located, ensuring the mounting holes align correctly. Thread the screws by hand first, check the alignment, then tighten each screw gradually to avoid stripping.
How can I test if the new window latch is secure?
Test the new window latch by operating the window several times and engaging the latch firmly. Ensure it resists any outward pressure while locked and operates smoothly without excessive effort or any wobbling.
What should I do if the new latch doesn’t work smoothly?
If the new latch feels stiff or difficult to operate, check for over-tightened screws that may need loosening. Adjust the latch alignment if necessary and continue testing until it operates smoothly.
How can I maintain the window latch after installation?
To maintain the window latch, test its operation monthly by engaging and disengaging it several times. Apply a light coating of silicone-based lubricant to the moving parts to prevent stiffness and corrosion over time.
Recommended