
How to Change a Smoke Alarm Safely
- Matt Cameron

- 2 hours ago
- 8 min read
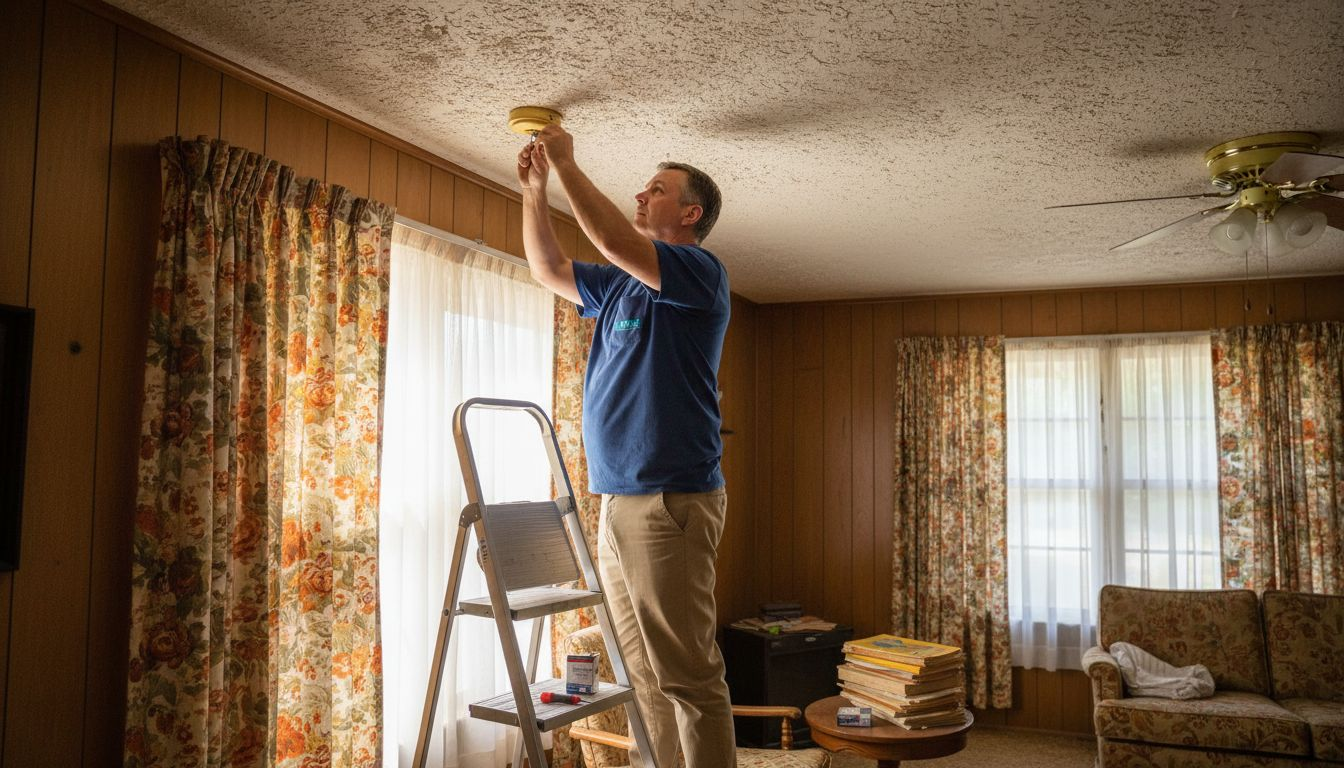
You reach up to test your smoke alarm and it chirps weakly or doesn’t respond at all. Many Gulf Coast Alabama homes have aging smoke alarms that quietly fail to protect families from fire hazards. Changing a smoke alarm is one of the simplest and most crucial home safety tasks you can do yourself. This guide walks you through every step to safely replace your smoke alarm, ensuring reliable fire detection for your home and family.
Key takeaways
Point | Details |
Safety first | Always turn off power at the breaker for hardwired units or remove batteries before touching any alarm components. |
Choose the right replacement | Match your new alarm to your existing type: battery-operated, hardwired, or combination units work differently. |
Follow step-by-step instructions | Proper removal, mounting, wiring, and testing ensure your new alarm works correctly from day one. |
Test and maintain regularly | Monthly testing and annual battery replacement keep your alarm reliable between the recommended 10-year replacement cycles. |
Avoid common mistakes | Never mix incompatible alarm types, ignore expiration dates, or skip the final test after installation. |
Why changing your smoke alarm matters for Gulf Coast Alabama homes
Regular smoke alarm replacement is vital to ensure reliable fire detection in homes. Smoke alarms contain sensors that degrade over time. After about 10 years, these sensors become less sensitive to smoke particles and may fail to alert you during an actual fire.
Gulf Coast Alabama’s humid coastal climate accelerates sensor degradation. Moisture in the air can corrode internal components and affect battery performance. You might think your alarm is working fine, but humidity can quietly reduce its effectiveness years before the standard replacement timeline.
Proper replacement also keeps you compliant with local safety codes and helps maintain favorable insurance rates. Insurance companies often ask about smoke alarm maintenance during claims investigations. An expired or non-functional alarm can complicate coverage disputes if fire damage occurs.
Replacing smoke alarms fits into your broader home maintenance tips every homeowner should follow regularly. Just like changing HVAC filters or inspecting your roof, smoke alarm replacement protects your investment and your family’s safety.
Key reasons to replace your smoke alarm on schedule:
Sensors lose sensitivity after 10 years of continuous operation
Coastal humidity damages electronics faster than in dry climates
Newer models offer better detection technology and fewer false alarms
Compliance with safety codes protects your insurance coverage
Regular replacement is cheaper than fire damage repairs
Pro Tip: Write the installation date on the back of your smoke alarm with a permanent marker. This simple step helps you track when the 10-year replacement window arrives, especially if you move into a home with existing alarms.
Preparation: what you need and safety precautions before changing your smoke alarm
Gathering the right materials before you start saves time and prevents mid-project trips to the hardware store. You need a screwdriver (Phillips or flathead depending on your model), a replacement smoke alarm that matches your current type, a sturdy ladder, work gloves, and a flashlight for visibility.
Smoke alarms come in three main types. Battery-operated units run entirely on replaceable batteries and mount with simple brackets. Hardwired alarms connect to your home’s electrical system with a backup battery. Combination units integrate smoke and carbon monoxide detection in one device. Check your existing alarm to identify which type you have before purchasing a replacement.
Safety precautions significantly reduce risks when changing electrical devices like smoke alarms. For hardwired units, locate your electrical panel and switch off the circuit breaker that controls the alarm. Use a voltage tester to confirm power is off before touching any wires. For battery-operated models, simply remove the battery before beginning work.
Location matters for proper smoke alarm function. Manufacturer instructions specify minimum distances from walls, corners, and air vents. Local building codes may require alarms in specific rooms like bedrooms, hallways, and on every floor. Review these requirements before installation to ensure your new alarm meets all standards.
Alarm Type | Required Tools | Safety Steps | Special Considerations |
Battery-operated | Screwdriver, new alarm, ladder, batteries | Remove old batteries first | No electrical work needed, easiest DIY option |
Hardwired | Screwdriver, new alarm, ladder, voltage tester | Turn off breaker, test for power | Requires basic electrical knowledge |
Combination (smoke/CO) | Screwdriver, new alarm, ladder, batteries or voltage tester | Follow power source safety steps | Must replace with same dual-function type |
Pro Tip: Take a photo of the wiring connections before disconnecting your old hardwired alarm. This reference image makes reconnecting the new alarm foolproof, especially if wire colors don’t match standard conventions in older homes.
Step-by-step guide to changing your smoke alarm
Following step-by-step instructions minimizes errors and safety hazards during smoke alarm replacement. These clear stages guide you from removal to final testing.
Turn off power or remove batteries before touching the alarm. For hardwired units, flip the breaker and verify power is off with a voltage tester. For battery models, twist the alarm off its mount and pull out the battery.
Remove the old smoke alarm from its mounting bracket. Most alarms twist counterclockwise to detach. If hardwired, gently pull the alarm away from the ceiling to access the wire connector. Squeeze the connector clip and pull the wires apart. For battery units, simply lift the alarm off the mounting plate.
Install the mounting bracket for your new alarm following the manufacturer’s template. Use the existing screw holes if the new bracket matches, or drill new pilot holes if needed. Secure the bracket firmly to the ceiling or wall with appropriate screws.
Connect wires or insert batteries in the new alarm. For hardwired models, match wire colors (black to black, white to white, and often a third ground wire). Push wires firmly into the connector until you hear a click. For battery units, insert fresh batteries matching the polarity marks inside the compartment.
Attach the new alarm securely to the mounting bracket. Align the alarm with the bracket slots and twist clockwise until it locks into place. You should feel resistance and hear a click when properly seated.
Restore power or close the battery compartment. Flip the breaker back on for hardwired units. For battery alarms, ensure the compartment door closes completely. Press the test button and hold for 3 to 5 seconds. A loud, continuous alarm sound confirms proper installation.
Step | Safety Tip | Common Pitfall to Avoid |
Power off | Double-check with voltage tester | Assuming breaker labels are accurate |
Remove old alarm | Support alarm weight while disconnecting | Pulling wires too hard, damaging connections |
Mount bracket | Use anchors in drywall for stability | Mounting to drywall alone without support |
Connect wires | Match colors exactly, secure connections | Reversing hot and neutral wires |
Attach alarm | Twist until fully locked | Leaving alarm loose on bracket |
Test alarm | Hold test button full duration | Quick tap that doesn’t fully verify function |
Each step builds on the previous one. Rushing through power shutoff or skipping the voltage test creates serious shock hazards. Taking time to properly secure the mounting bracket prevents the alarm from falling later. Careful wire connection ensures reliable operation for the full 10-year lifespan.
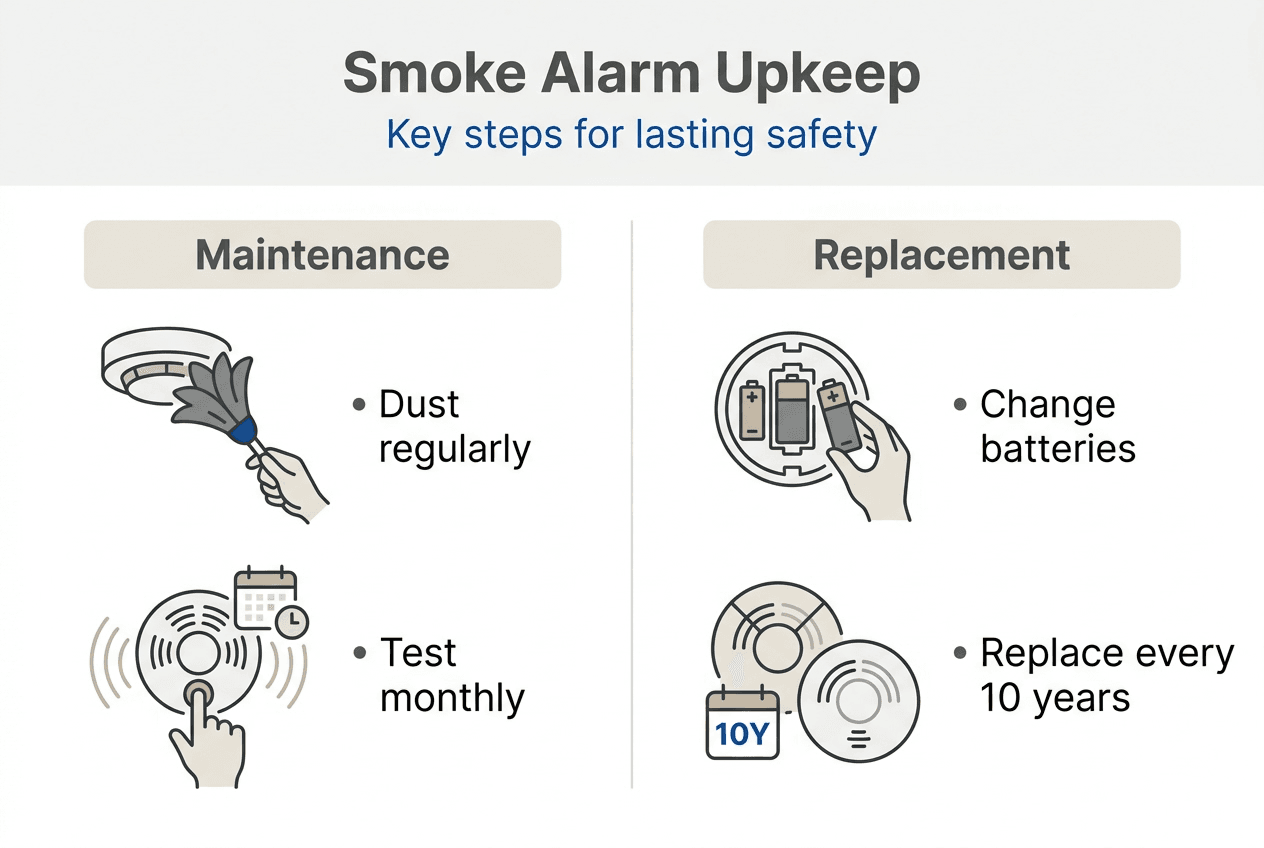
After changing your smoke alarm: testing, maintenance, and troubleshooting
Proper testing confirms your new alarm will actually wake you during a fire emergency. Press and hold the test button for at least 3 seconds. The alarm should emit a loud, piercing sound at approximately 85 decibels. If the sound is weak or absent, recheck your battery installation or electrical connections.
Some homeowners use smoke detector test spray for additional verification. These aerosol products simulate smoke particles to trigger the sensor. Hold the can 6 to 12 inches from the alarm and spray for 1 to 2 seconds. The alarm should sound within 10 seconds. This method validates sensor function beyond just the electrical test.
Routine testing and maintenance extend the life and reliability of smoke alarms. Schedule monthly tests on the same day each month, like the first Saturday. Replace batteries annually, even if they still have charge. Many people change batteries when clocks shift for daylight saving time as an easy reminder.
Common troubleshooting issues have simple fixes:
False alarms often result from dust buildup on sensors. Vacuum the alarm vents gently or wipe with a dry cloth every six months.
No power in hardwired units means checking the breaker first, then testing wire connections at the alarm.
Chirping sounds usually indicate low battery, even in hardwired models with battery backup. Replace the backup battery when chirping starts.
Intermittent beeping can mean the alarm reached its end of life. Check the manufacture date and replace if over 10 years old.
Maintenance tips for long-term reliability include keeping alarms away from bathrooms and kitchens where steam triggers false alarms. Don’t paint over smoke alarms, as paint clogs sensor vents. Ensure nothing blocks the alarm, including furniture, curtains, or decorations within 12 inches of the unit.
Pro Tip: Create a simple maintenance log in your phone’s notes app or on paper. Record the installation date, battery replacement dates, and monthly test results. This log helps you spot patterns like recurring false alarms that might indicate a faulty unit needing earlier replacement. When you sell your home, this documentation demonstrates responsible home maintenance to potential buyers.
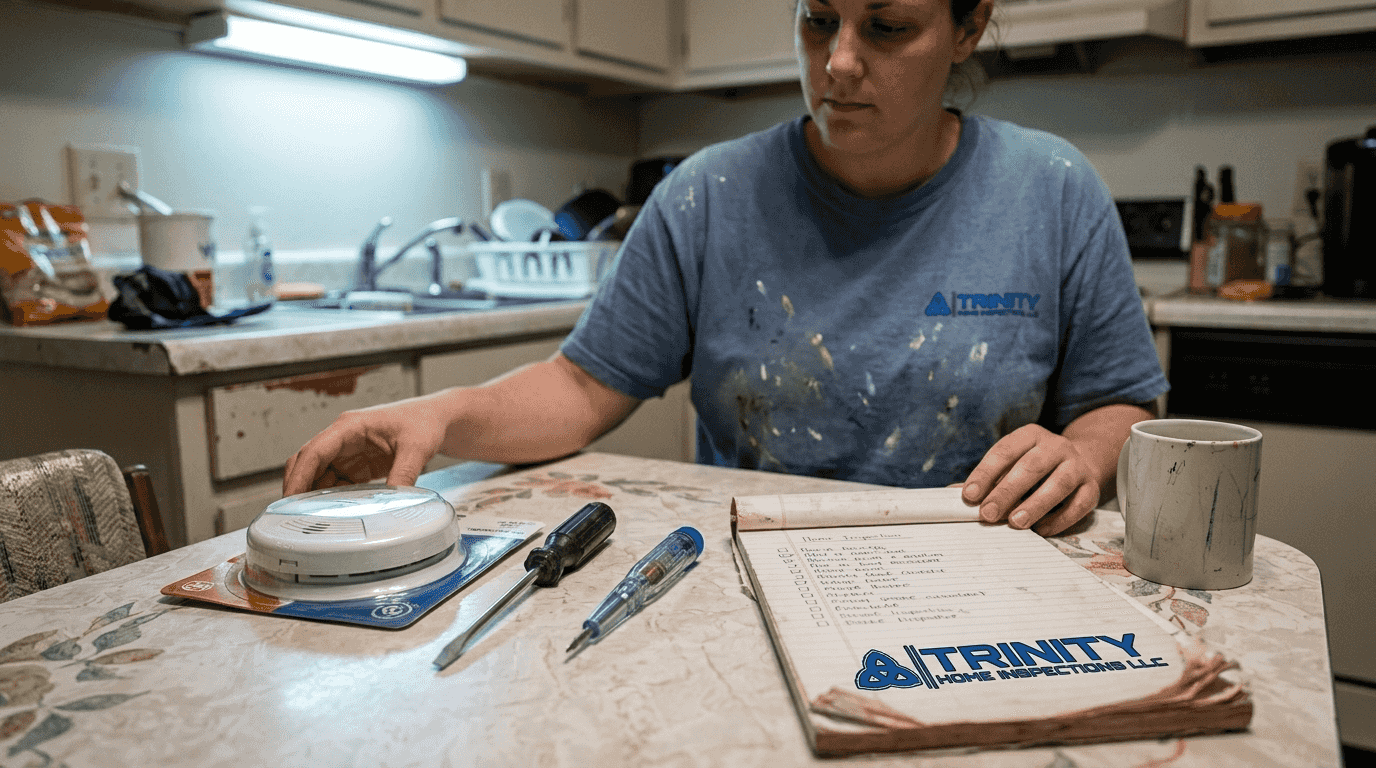
Protect your home with professional inspection and air quality services
Changing your smoke alarm is just one part of keeping your Gulf Coast Alabama home safe and healthy. While you can handle alarm replacement yourself, some safety concerns require professional expertise and specialized equipment.

Trinity Home Inspections combines InterNACHI-certified training with modern tools to give you a complete picture of your home’s condition. We use thermal imaging to spot hidden moisture, overheated electrical components, and insulation gaps that affect safety and energy costs. Our same-day reports include photos and videos so you see exactly what we found.
Beyond standard inspections, we offer specialized services that complement your smoke alarm maintenance. Our real estate home permit search deed search service helps you verify that electrical work and other modifications were done legally and safely. If you’re concerned about air quality affecting your family’s health, our indoor air quality iaq testing near me alabama service provides certified lab analysis. When you notice musty odors or visible moisture problems, our mold inspections test services identify the extent and type of contamination.
We serve Mobile, Baldwin, Escambia, Washington, and Monroe counties with the same integrity and care we’d want for our own families. Your home deserves more than guesswork.
Frequently asked questions
How often should I change my smoke alarm batteries?
Replace batteries at least once every year, even if the alarm hasn’t chirped to indicate low power. Many experts recommend changing batteries when you adjust clocks for daylight saving time as an easy reminder. Hardwired alarms also have backup batteries that need annual replacement to ensure protection during power outages. If your alarm chirps before the year is up, replace the battery immediately rather than waiting for your scheduled replacement date.
Can I replace a hardwired smoke alarm myself?
Yes, you can replace a hardwired smoke alarm yourself if you turn off power at the circuit breaker and follow safety instructions carefully. Use a voltage tester to confirm the power is actually off before touching any wires. Match wire colors exactly when connecting the new alarm. If you feel uncomfortable working with electrical wiring or if your home has unusual wiring configurations, consult a licensed electrician to avoid shock hazards and ensure proper installation.
What smoke alarm type is best for Gulf Coast Alabama homes?
Photoelectric alarms work best for Gulf Coast Alabama’s humid climate because they detect smoldering fires more reliably and handle moisture better than ionization models. These alarms sense smoke particles using a light beam, making them less prone to false alarms from cooking or steam. For maximum protection, choose combination alarms that include both photoelectric and ionization sensors in one unit, giving you broad coverage against both fast-burning and slow-smoldering fires.
Why does my smoke alarm keep chirping after battery replacement?
Chirping after battery replacement usually means the battery isn’t seated correctly in the compartment or dust has accumulated on the sensor contacts. Remove the battery and check that the contact points are clean and free of corrosion. Reinsert the battery firmly, ensuring proper polarity alignment. Many alarms require a reset after battery changes. Press and hold the test button for 15 to 20 seconds to clear any residual charge and stop the chirping.
Recommended
