
How to Adjust a Toilet Float: Save Up to 200 Gallons Daily
- Matt Cameron

- Feb 28
- 9 min read
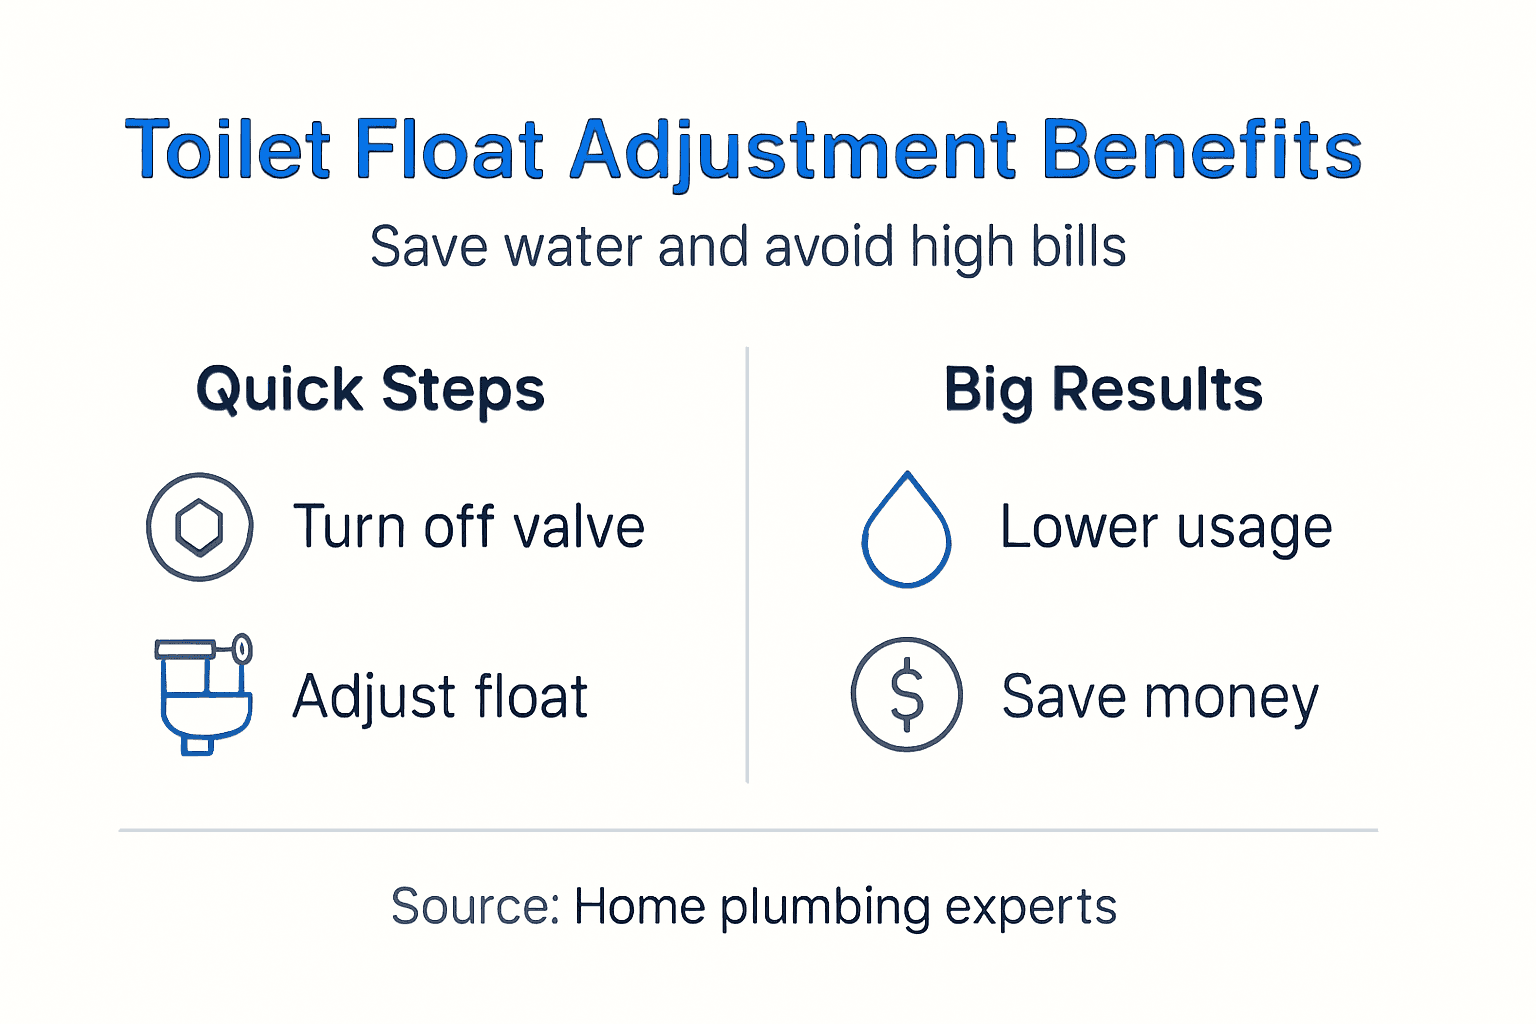
A running toilet in your Gulf Coast Alabama home can silently waste up to 200 gallons of water each day, driving your utility bills through the roof. The culprit? Often a misadjusted toilet float that fails to regulate water properly. Learning to adjust your toilet float is a straightforward DIY task that takes minutes but saves you hundreds of dollars annually while preventing potential water damage.
Key Takeaways
Point | Details |
Water Savings Impact | Adjusting toilet floats can save up to 200 gallons of water per day |
Two Common Float Types | Ballcock (ball and arm) and cylinder floats each require specific adjustment methods |
Minimal Tools Required | Basic screwdriver, pliers, and towels are sufficient for DIY float adjustment |
Proper Float Height | Water level should sit 1 to 2 inches below overflow tube for efficient flushing |
Prevention Beats Repairs | Regular float checks prevent costly water damage and high utility bills |
Understanding Toilet Floats: Types and Functions
Your toilet float acts as a water-level regulator inside the tank, controlling when fresh water stops flowing after each flush. Understanding how your specific float works is the first step toward effective toilet maintenance tips.
There are two main types of toilet floats: ballcock and cylinder designs. The ballcock float features a buoyant ball attached to a metal or plastic arm that pivots as water rises. This classic design has been around for decades and remains common in older homes across Baldwin and Mobile counties.
Cylinder floats represent the modern approach. These hollow plastic cylinders slide vertically along the fill valve shaft, rising and falling with water level. They take up less space and offer more precise adjustment than traditional ballcock systems.
Here’s how float position controls your toilet function:
Float rises with water level and signals the fill valve to close
Proper float height ensures complete tank filling without overflow
Misaligned floats cause either continuous running or incomplete fills
Float mechanism directly impacts flush power and types of toilet floats affect adjustment complexity
When your float sits too high, water continuously flows into the overflow tube, creating that telltale running sound. Set too low, your toilet lacks the water volume needed for effective flushing, potentially causing clogs and requiring multiple flushes.
When and Why to Adjust Your Toilet Float
Recognizing the warning signs of float problems helps you address issues before they escalate into expensive repairs or water damage. Your toilet communicates float problems through several obvious symptoms.
Watch for these red flags:
Water runs continuously long after flushing completes
Weak or incomplete flush requiring multiple attempts
Gurgling or hissing sounds from the tank
Visible water trickling into the overflow tube
Unusually high water bills without explanation
A running toilet can waste up to 200 gallons of water every day. At typical Gulf Coast water rates, that translates to $50 to $100 monthly in wasted water costs. Multiply that across a year, and a simple five-minute adjustment could save you $600 to $1,200 annually.
Small float adjustments prevent bigger problems down the road. Continuous water flow can damage tank components, corrode metal parts, and create mineral buildup that requires professional intervention. The constant moisture also increases humidity in your bathroom, potentially fostering mold growth.
Before calling a plumber and paying $100 to $200 for a service call, try adjusting your float yourself. This simple fix resolves most running toilet issues without professional help. If adjustment doesn’t solve the problem, then you know deeper home plumbing inspections may reveal issues requiring expert attention.
WATER WASTE ALERT: A toilet with a faulty float wastes enough water daily to fill a standard bathtub three times over, making float adjustment one of the highest-impact home efficiency improvements you can make.
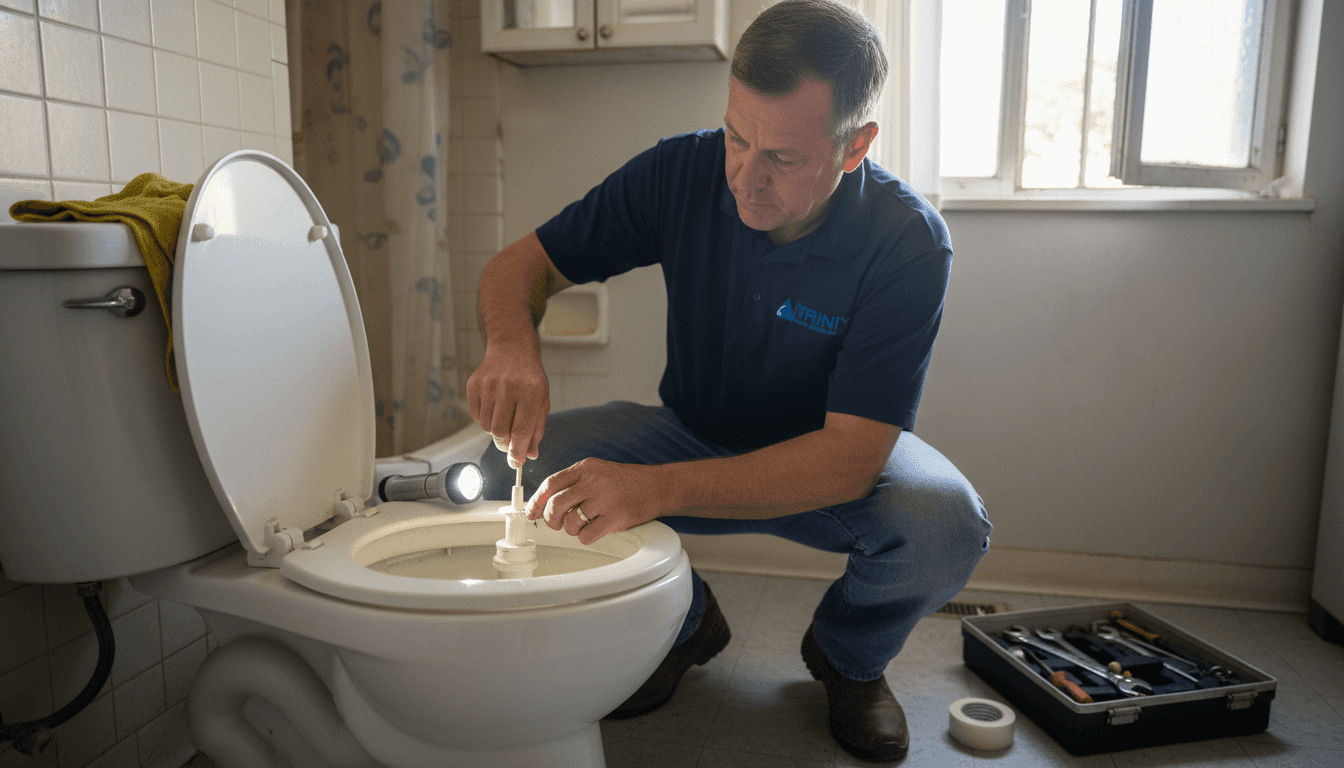
Prerequisites: Tools and Safety Preparation for Float Adjustment
Proper preparation makes toilet float adjustment safer and more efficient. Gathering the right tools before you start prevents mid-project trips to the hardware store.
Basic tools required include:
Phillips and flathead screwdrivers for adjustment screws
Needle-nose pliers for bending metal float arms
Old towels or sponges to catch water spills
Rubber gloves to protect hands from bacteria
Flashlight for better tank visibility
Start by locating your toilet’s water supply valve. You’ll find it on the wall or floor behind the toilet, where the supply line connects to the tank. Turn this valve clockwise until it stops to shut off water flow. Flush once to drain most water from the tank.
Carefully remove the tank lid by lifting straight up. Tank lids are heavy and fragile. Porcelain breaks easily and costs $50 to $150 to replace. Place the lid on a towel on the bathroom floor, away from foot traffic.
Pro Tip: Wear rubber gloves during float adjustment. Tank water contains bacteria even in clean toilets. Gloves also improve grip on wet components, preventing slips that could damage delicate parts. Keep towels handy because you’ll likely get water on the floor during adjustment.
Take photos of your tank’s interior before making changes. These reference images help you restore original positions if needed. Note the current water level by marking it on the overflow tube with a dry-erase marker.
These safety tips for home DIY projects apply here. Work slowly and deliberately. If something feels stuck, don’t force it. Older plastic components become brittle and crack easily under pressure.
Step-by-Step Guide to Adjusting Different Toilet Floats
Now that you’re prepared, follow these detailed instructions to adjust your specific float type correctly. Precision matters here because small movements create significant water level changes.
Step 1: Confirm water supply is off and tank is drained by flushing once.
Step 2: Identify your float type by looking inside the tank. A ball on an arm means ballcock float. A cylinder on the fill valve shaft indicates cylinder float.
Step 3: For ballcock floats, locate the adjustment mechanism. Older models require bending the metal arm gently downward to lower water level or upward to raise it. Newer ballcock floats have an adjustment screw where the arm connects to the fill valve. Turn this screw counterclockwise to raise water level, clockwise to lower it.
Step 4: For cylinder floats, find the release clip or adjustment rod on the side of the float. Pinch the clip or press the release button, then slide the float up or down the shaft. Move it approximately ½ inch per adjustment to avoid overshooting your target.
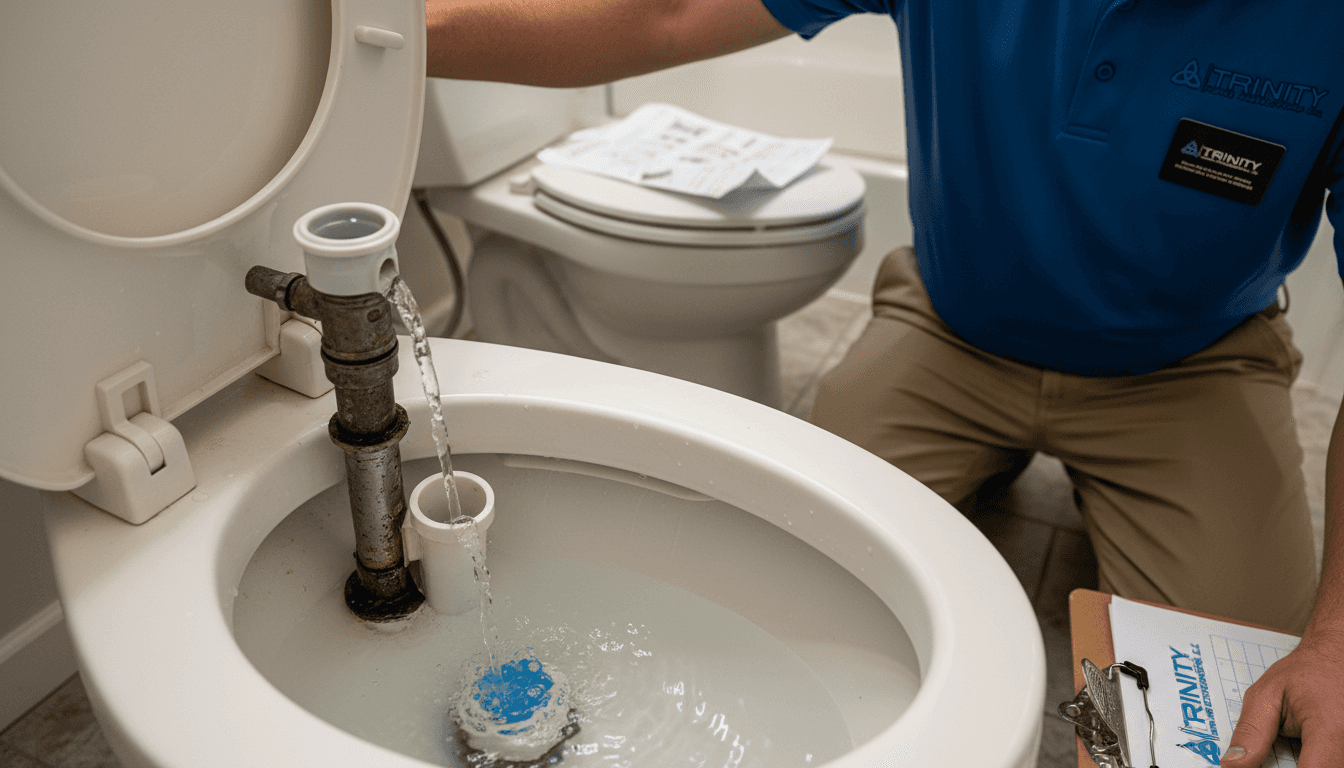
Step 5: Set water level to stop 1 to 2 inches below the top of the overflow tube or the marked fill line inside your tank. This height provides sufficient water for powerful flushing without risking overflow.
Step 6: Turn the water supply back on by rotating the valve counterclockwise. Watch the tank fill and observe where water stops. The fill valve should close automatically when water reaches your set level.
Step 7: Test by flushing and watching the refill cycle. Water should stop at your target level without running continuously. If adjustment isn’t perfect, repeat steps with smaller movements.
Pro Tip: Make tiny adjustments of ¼ inch or less each time. Float mechanisms are sensitive, and small changes dramatically affect water level. Multiple small adjustments beat one large overcorrection that requires reversing.
Float Type | Adjustment Method | Pros | Cons |
Ballcock (Ball & Arm) | Bend arm or turn adjustment screw | Easy visual confirmation, simple mechanism | Arm can fatigue over time, takes more tank space |
Cylinder | Slide float up/down on shaft | Compact design, precise adjustment | Clips can break on older models, less intuitive |
These simple home repair steps apply broadly to other household fixes. Take your time, make incremental changes, and test after each adjustment.
Troubleshooting Common Mistakes and When to Seek Professional Help
Even straightforward float adjustments can go wrong. Knowing how to recognize and fix common mistakes saves you from creating bigger problems.
Setting the float too high causes water to continuously overflow into the overflow tube. You’ll hear constant running and see water trickling down the tube. Lower the float in small increments until running stops. Setting it too low creates weak flushes that fail to clear the bowl. Raise the float gradually until flush power improves.
Before readjusting your float multiple times, check the flapper valve at the tank bottom. A misaligned flapper valve can mimic float problems by allowing water to leak from tank to bowl. Lift the flapper and inspect the rubber seal for damage or mineral buildup. Clean or replace worn flappers before assuming float adjustment will fix running water.
Common errors to avoid:
Making large adjustments all at once instead of incremental changes
Forgetting to turn off water supply before adjustment, causing flooding
Over-tightening adjustment screws, which strips plastic threads
Forcing stuck components instead of applying lubricant first
Ignoring worn washers and seals that prevent proper float function
Some situations require more than simple adjustment. If adjustment fails on toilets more than 10 years old, the entire fill valve assembly may need replacement. Corroded metal parts, cracked plastic floats, and stripped adjustment mechanisms indicate it’s time for new components.
Consult a professional plumber when you encounter persistent problems after proper adjustment, visible cracks in the float or fill valve, or water leaking from the base of the fill valve. These issues exceed basic DIY repairs and risk significant water damage if ignored. For float adjustment troubleshooting beyond these basics, professional help ensures proper diagnosis and repair.
Expected Outcomes: How to Test and Confirm a Successful Float Adjustment
Verifying your adjustment worked correctly ensures you actually solved the problem rather than just changing water level. Proper testing takes only a few minutes but confirms your DIY success.
Start by observing the refill cycle after flushing. Water level should stabilize approximately 1 inch below the overflow tube after the tank fills. The fill valve should close completely, stopping all water flow. Listen carefully. You should hear silence, not hissing or trickling.
Signs of successful float adjustment:
Complete silence from the toilet between flushes
Water stops flowing when it reaches the proper level
Strong, complete flush that clears the bowl in one attempt
No visible water movement in the tank after filling
Water bill returns to normal levels over the next billing cycle
Test flush power by using a normal amount of toilet paper. The flush should clear everything efficiently without requiring a second flush. Weak flushing despite proper water level suggests other issues like clogged rim jets or a partially blocked trapway.
Monitor your toilet for 24 hours after adjustment. Sometimes slow leaks take time to become apparent. Check the tank water level the next day. It should remain at the same height you set. Dropping water level indicates a leak somewhere in the system.
Expect significant water savings. A properly adjusted float reduces water consumption by 20 to 200 gallons daily, depending on how severe your running toilet problem was. These home water savings tips compound over time, lowering your environmental impact and utility costs simultaneously.
Success Indicator | What to Check | Expected Result |
Water Level | Height relative to overflow tube | Stops 1-2 inches below top |
Silence Test | Listen for 5 minutes after flush | Complete silence, no hissing |
Flush Power | Single flush with normal paper | Complete bowl clearance |
24-Hour Level | Check water height next day | Remains at set level |
Schedule periodic rechecks every six months. Float mechanisms can drift out of adjustment over time due to mineral buildup or component wear. Regular water efficiency tests help maintain optimal toilet function year-round.
Boost Your Gulf Coast Home’s Plumbing Reliability with Trinity Inspections
While DIY float adjustment handles most toilet issues, some plumbing problems require professional eyes. Regular comprehensive home inspections catch hidden issues before they become expensive emergencies.

Trinity Home Inspections serves homeowners across Baldwin, Mobile, and surrounding Gulf Coast Alabama counties with same-day reports and free thermal imaging. Our InterNACHI-certified inspectors identify plumbing concerns during real estate inspection guides and annual maintenance checks, giving you the knowledge to maintain your home properly. Whether you need pre-purchase inspection or ongoing maintenance guidance, choosing a home inspector with local expertise makes all the difference in protecting your investment.
Frequently Asked Questions
How do I identify what type of toilet float I have?
Look inside your toilet tank after removing the lid. A ballcock float appears as a large buoyant ball attached to a horizontal or angled arm. A cylinder float is a hollow tube that slides vertically along the fill valve shaft. These visual differences make identification straightforward even for first-time DIYers.
Can I adjust my toilet float without turning off the water supply?
Always turn off the water supply valve before adjusting your float. Working with water flowing creates flooding risk and makes precise adjustment nearly impossible. The extra 30 seconds to shut off water prevents potentially expensive water damage to bathroom floors and ceilings below.
Why does my toilet keep running even after adjusting the float?
A worn or misaligned flapper valve often causes persistent running despite correct float adjustment. The flapper seals the tank bottom, and leaks here allow water to continuously drain into the bowl. Inspect your flapper valve maintenance tips and replace the flapper if the rubber seal shows cracks or mineral deposits.
How often should I check and adjust my toilet float?
Inspect your toilet float position and overall function at least once annually during routine home maintenance. Adjust immediately if you notice running water, weak flushing, or unusual sounds. Mineral-rich Gulf Coast water can cause buildup that affects float operation, making biannual checks worthwhile for older toilets.
Recommended