
Automatic Garage Door Maintenance: Your Monthly To Annual Guide
- Matt Cameron
- 2 minutes ago
- 9 min read

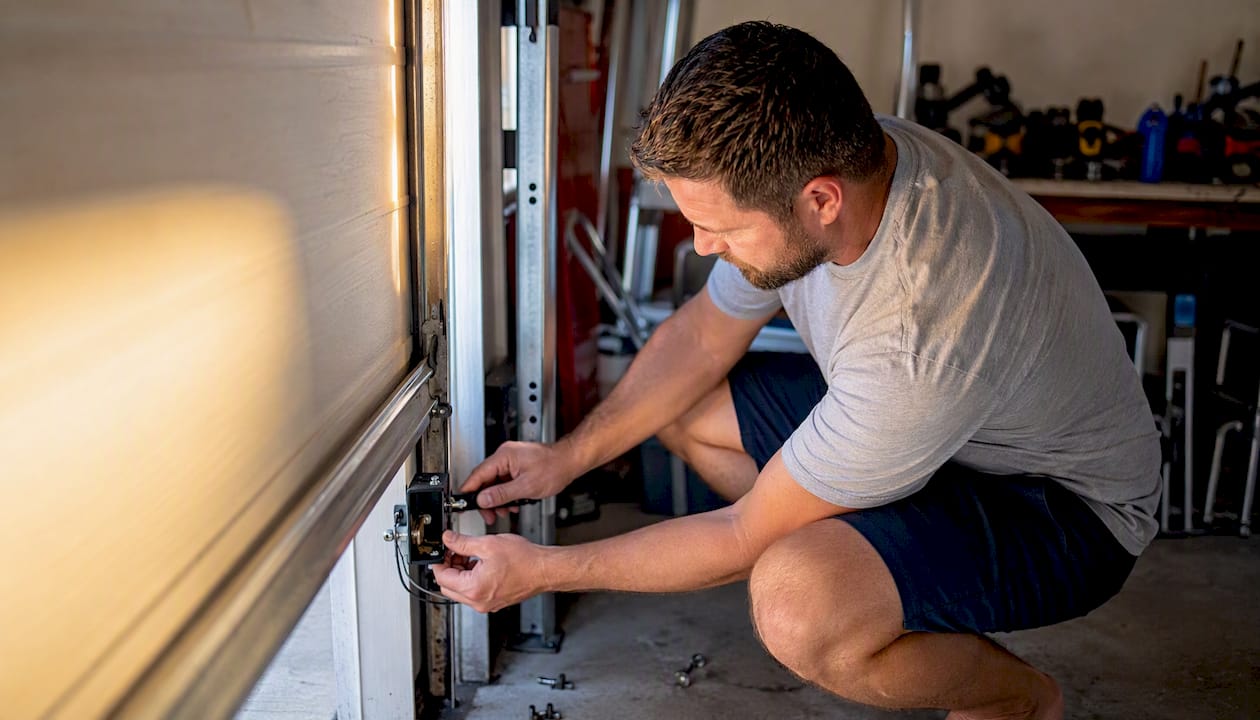
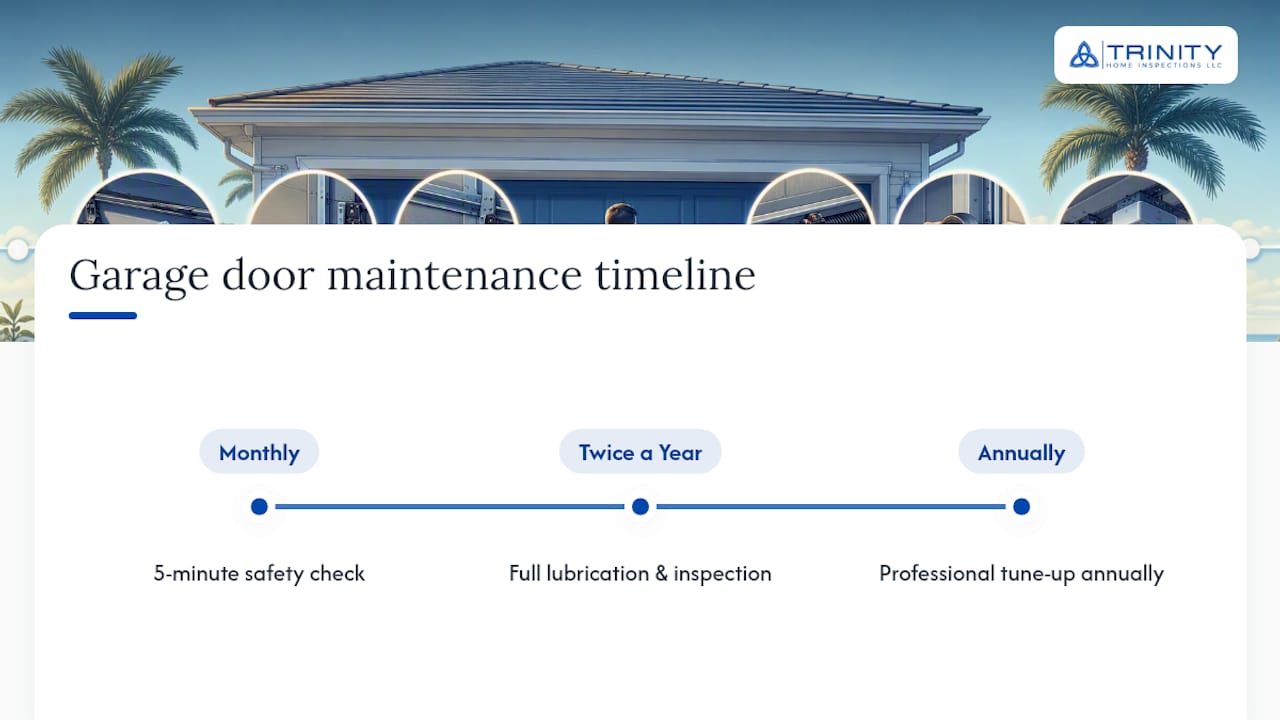
Automatic garage door maintenance comes down to three rhythms: a five-minute monthly safety check, a twice-yearly lubrication and inspection pass, and one annual balance test paired with a professional tune-up. Skip these and you’re gambling with a 200 to 400 pound door that opens and closes over your car, your kids, and your pets several times a day.
Here’s what to knock out this week:
Walk the door through a full open/close cycle and watch for jerky movement or odd sounds.
Run the 2x4 auto-reverse test (more on this below).
Wipe down both photo-eye sensor lenses and check their alignment.
Test the door with a manual lift after disconnecting the opener.
Inspect rollers, hinges, and cables for visible wear or gaps.
Tighten any loose mounting bolts you can safely reach.
The DASMA safety and maintenance guide and the International Door Association both point to the monthly reversing test as the single most important habit an owner can build, since a failed auto-reverse is silent until it isn’t. Budget about 5 minutes for the monthly pass, a short time twice a year for lubrication, and up to an hour annually if you bring in a professional for a full tune-up.
Key Takeaways
A safe, long-lasting automatic garage door depends on monthly auto-reverse and photo-eye tests, twice-yearly lubrication with silicone spray or white lithium grease, and an annual balance check paired with professional service for anything spring or cable related.
Point | Details |
Test monthly, not yearly | Run the 2x4 auto-reverse test and photo-eye check every month; failures are common and often silent. |
Lubricate twice a year | Use silicone spray or white lithium grease on hinges, bearings, and springs; skip WD-40 entirely. |
Never touch springs or cables | Gaps in spring coils or frayed cables mean immediate professional service, no exceptions. |
Balance test protects the opener | An unbalanced door strains the motor faster; test it annually by hand after disconnecting the opener. |
Trinity Home Inspections checks what you can’t | Professional tune-ups cover spring tension, drum cable condition, and precise opener calibration during a same-day inspection. |
What Tools Do You Need for Garage Door Upkeep?
You don’t need a contractor’s toolbox for this. Gather a silicone-based spray lubricant or white lithium grease, a couple of clean rags, a socket wrench set, an 18-inch scrap of 2x4 lumber, a step ladder, a flashlight, and a soft brush or can of compressed air for the tracks. A small screwdriver handles sensor bracket adjustments.
One $10 to $15 can of silicone spray typically covers two full lubrication sessions, according to the Garage Door Maintenance annual checklist from The Garage Guide, so this is not an expensive habit to keep up. Wear gloves and eye protection when you’re working near the springs or tracks, and never, under any circumstance, attempt to adjust or repair a torsion or extension spring yourself. Those components store enough tension to cause serious injury.
How Often Should You Check Your Garage Door for Safety?
Once a month, in about five minutes, you can catch most problems before they turn into repair bills. Here’s the routine:
Run a full cycle. Open and close the door while standing clear, watching the tracks, rollers, and hinges for anything that looks bent, rusted, or loose. Listen for new grinding or popping sounds.
Check the cables and springs visually. Frayed strands on the lift cables or a visible gap between coils on the torsion spring means stop and call a technician. Do not operate the door if you see either.
Test the auto-reverse. Lay the 2x4 flat on the ground where the door would close. Trigger the door to close. It should hit the board and reverse promptly. If it doesn’t reverse immediately, stop using the opener and get a professional to look at the safety reversing mechanism right away.
Test the photo-eye sensors. Wave a broom handle through the beam while the door is closing. It should stop and reverse. Wipe both lenses with a soft cloth and confirm the LED indicators are solid, not blinking, which usually signals misalignment.
Test the force setting. With the door mid-close, hold your hand in its path (never your body). It should reverse on contact, not push through. Excessive closing force is a sign the opener’s settings need professional adjustment.
Photo-eye sensors work best mounted no more than 6 inches above the garage floor, per DASMA’s Six-Inch Rule, since that height is what actually catches a toddler or a pet crossing the threshold. If any of these four tests fail, treat it as a stopping point, not a project. Automatic door troubleshooting has limits, and this is one of them.
How Do I Lubricate My Automatic Garage Door?
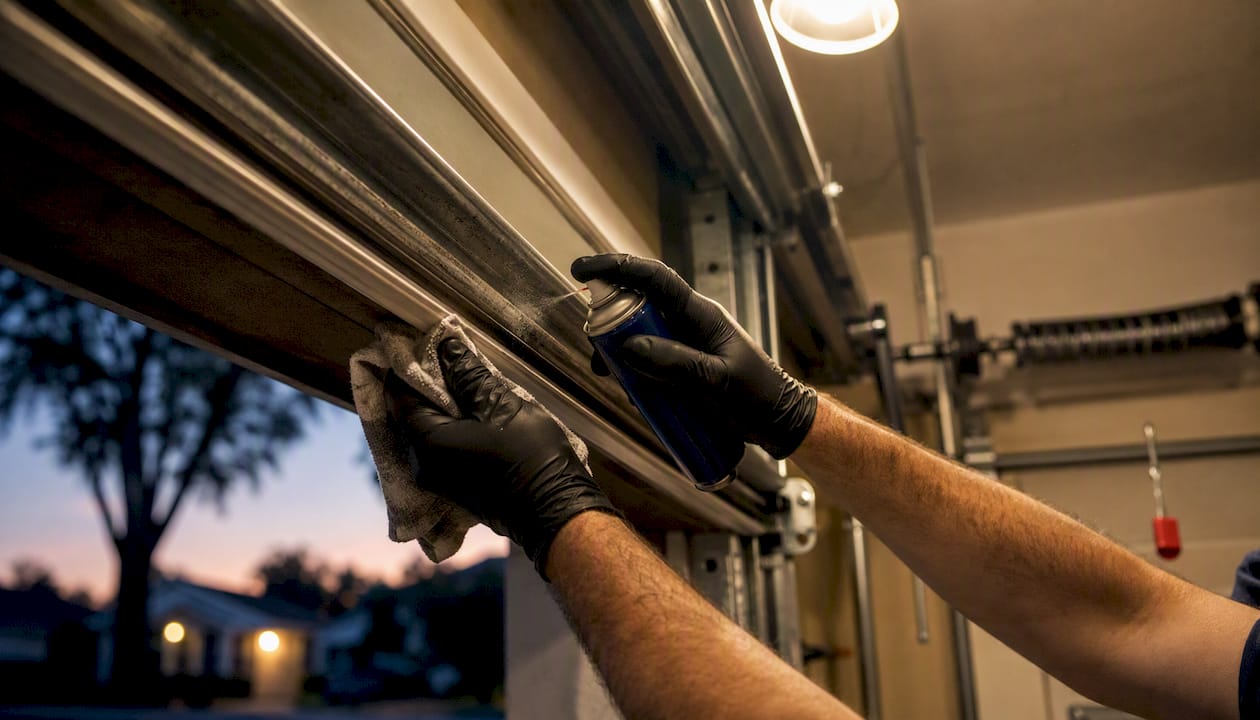
Twice a year, ideally in spring after winter grit builds up and again in fall before temperatures drop, give the door a deeper lubrication and inspection pass. This is where garage door service really pays off in fewer squeaks and less strain on the opener motor.
Lubricate these parts:
Hinges at every pivot point
Roller bearings (skip nylon rollers themselves, just the bearings)
The torsion spring’s outer coil surface, a light coat only
The opener’s chain or screw rail, if your manufacturer allows it
Use a silicone-based spray or white lithium grease. Silicone spray resists dirt buildup and works well on pivot points and springs, while white lithium grease holds up better on heavy-load bearings and chain-drive rails. Skip WD-40 as a long-term lubricant. It’s a solvent, not a grease, and it tends to attract dust and dry out fast, leaving parts squeakier than before you started.
Pro Tip: Wipe off excess lubricant after application. Leftover grease on tracks or rollers grabs dirt and grit, which turns into the exact grinding noise you were trying to prevent.
How Do You Know If Your Garage Door Is Balanced?
An unbalanced door forces the opener motor to work harder every single cycle, which shortens its lifespan and raises your odds of a mid-cycle failure. Once a year, test it directly:
Pull the emergency release cord to disconnect the opener from the trolley.
Lift the door manually to about waist height and let go.
A balanced door stays put or drifts slightly. If it slams down or shoots upward, the spring tension is off.
Do not attempt to fix that yourself. Spring adjustment is squarely professional-only work. Watch for a few other red flags during this same pass: visible gaps between spring coils, frayed cable strands near the drums, or loud banging during operation. Any one of these means it’s time to schedule a professional tune-up rather than push through another season. Routine testing like this prevents entrapment injuries, which is exactly why the annual check matters even on a door that seems fine.
Step-By-Step: Lubricating Every Moving Part
Wipe down the tracks with a dry rag first. Debris under fresh lubricant just turns into paste.
Apply silicone spray or white lithium grease to each hinge, working it into the pivot point.
Lubricate the roller bearings, avoiding the nylon roller wheel itself.
Apply a thin coat to the torsion spring’s outer surface only.
If your manufacturer’s manual allows it, lubricate the opener’s chain or screw rail.
Wipe away any excess with a clean rag.
A few things to avoid: never spray lubricant inside the tracks themselves, since a slick track causes the rollers to slip rather than roll. Skip petroleum-based oils entirely, and never disassemble any part of the spring assembly, even to clean around it. Check your owner’s manual first. Some opener manufacturers specify exact lubrication points or restrict chain lubrication on certain models.
What Causes Common Automatic Door Problems?
Most homeowner-fixable issues fall into a few predictable buckets, as explained in modern gate automation trends that emphasize safety and performance improvements. A squeal or grinding noise usually traces back to dry hinges or worn roller bearings, and a lubrication pass often solves it outright. Jerky, uneven movement typically means loose mounting hardware or debris sitting in the track. Grab your socket wrench and tighten anything that’s shifted, and clean the tracks with a soft brush, never bend or force them straight.
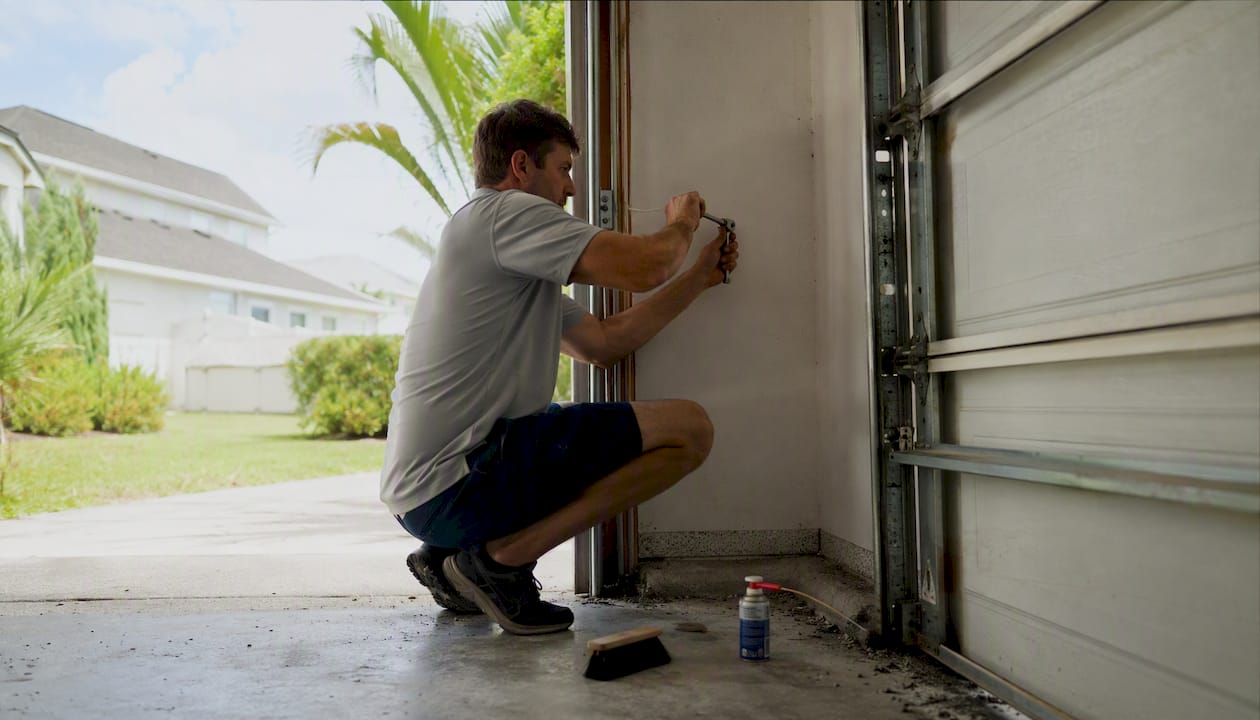
If the opener isn’t responding at all, check the remote’s battery first, then look at the wall control’s wiring. If neither fixes it, the photo-eye sensors may be misaligned or dirty. Clean both lenses and make sure they’re facing each other directly.
Here’s where DIY needs to stop:
Broken or visibly separated spring coils
Frayed, kinked, or snapped lift cables
A door that’s come off its track
An auto-reverse test that fails and won’t correct after sensor cleaning and alignment
Any of these calls for a trained technician, not a wrench and a Saturday afternoon.
When Should You Call a Professional Instead of DIY?
Some situations are simply not homeowner territory, no matter how handy you are. Call a professional immediately if you notice broken or separated torsion spring coils, frayed or snapped lift cables, a door that’s jumped its track, or an auto-reverse system that keeps failing even after you’ve cleaned and aligned the sensors.
Violent banging noises or a door that suddenly stops working mid-cycle also warrant a same-week service call rather than a wait-and-see approach. If your opener is more than 15 years old, or if it’s failed the same safety test two months running, that’s less a repair conversation and more a replacement conversation. In the meantime, stop using the opener, keep the area clear, and get a qualified technician on the phone.
What Does a Professional Garage Door Inspection Include?
A trained technician checks things a homeowner physically can’t test safely: spring tension measurement and adjustment, cable condition right at the drum, precise track alignment down to fractions of an inch, and the opener’s exact force and travel limit calibration.
A typical professional tune-up covers:
Spring tension measurement and rebalancing
Cable and drum inspection
Track alignment correction
Full hardware tightening, including lag bolts
Opener force, limit, and auto-reverse recalibration
Trinity Home Inspections brings the same eye for detail to garage systems that we bring to full home inspections, including thermal imaging and moisture detection where it’s relevant to your garage’s condition, with a same-day report you can actually read and act on.
A Note From a Local Inspector
I’ve walked into more garages than I can count where the owner swears they “never touch the door” and the auto-reverse hasn’t worked in years. The monthly test takes five minutes and it’s the cheapest insurance you’ll ever buy. If something’s beyond that, Trinity Home Inspections is glad to help you sort out what’s safe to leave alone and what needs a pro.
Get a Professional Safety Check Before It Becomes a Bigger Repair
If you’d rather have a trained eye confirm your garage door and opener are actually safe, not just quiet, Trinity Home Inspections can build that into a full home inspection or a standalone check, with the same-day, photo-rich reporting we use across every service.
[

This is especially worth scheduling if you’re preparing your Gulf Coast Alabama home for sale. Our pre-listing inspection covers garage door safety and function alongside the rest of the home, so nothing surprises a buyer’s inspector later. If a leaky garage has you wondering about hidden moisture, our mold testing services can confirm whether it’s a real issue or just a stained slab.
What’s included: a full visual inspection of springs, cables, tracks, and rollers, an auto-reverse and photo-eye safety test, opener force verification, and a same-day report with photos so you know exactly what’s urgent and what can wait.
Call Trinity Home Inspections at 251-210-7376 or visit TrinityInspectionsLLC.com to schedule your safety check.
Sources
Keep your opener’s owner’s manual handy or save a digital copy. Model-specific force and limit settings vary and matter more than any generic guide.
FAQ
How Do I Lubricate My Automatic Garage Door?
Apply a silicone-based spray or white lithium grease to the hinges, roller bearings, and the outer surface of the torsion spring, then wipe off any excess. Avoid WD-40 for long-term lubrication since it attracts dust rather than repelling it.
How Much Does It Cost to Have a Garage Door Serviced?
Costs vary by region and what’s being repaired, but routine professional tune-ups tend to run modestly compared to spring or opener replacement. Trinity Home Inspections can provide a same-day assessment so you know exactly what a repair versus a full service will involve.
How Often Should an Automatic Garage Door Be Serviced?
Do a five-minute safety check monthly, a full lubrication and inspection pass twice a year, and schedule a professional tune-up annually, especially if the door is more than a few years old.
How Much Does It Cost to Service an Electric Garage Door?
Pricing depends on whether the opener needs sensor realignment, force recalibration, or full parts replacement, so costs range widely by job. A professional inspection will typically identify the exact scope before any work begins.
Recommended
