
What Builders Commonly Miss Before Drywall Goes Up

The pre-drywall stage is the last opportunity to catch concealed defects before they become expensive, hidden problems. Repairs made after drywall installation can cost significantly more due to demolition and finish work required to access the issue. What builders commonly miss before drywall goes up falls into five clear categories: missing protective steel nail plates, improper plumbing slopes, unsecured HVAC ductwork, inadequate fire blocking, and incomplete window and door flashing. Each of these oversights is preventable with a thorough pre-drywall inspection checklist and a disciplined walkthrough before the walls close. The industry term for this stage is the “pre-drywall inspection,” and it is the single most cost-effective quality checkpoint in residential construction.
What builders commonly miss: electrical and plumbing protective oversights
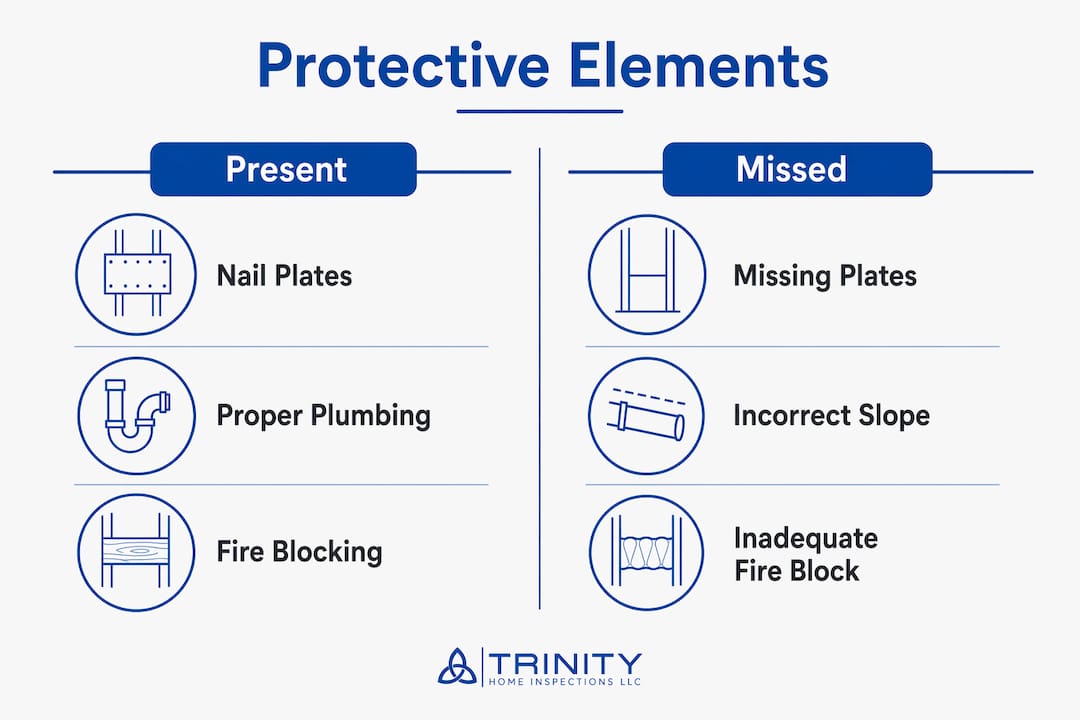
Protective steel nail plates are one of the most frequently skipped items on any pre-drywall inspection checklist. These plates mount to studs and top plates wherever electrical cables or plumbing pipes pass within 1.25 inches of the framing face. Without them, drywall screws or trim nails can puncture a wire or pipe, creating a hazard that stays hidden until a failure occurs. The fix before drywall takes minutes. The fix after drywall can require opening walls, patching, repainting, and re-inspecting.
Plumbing slope is the second most common miss. Horizontal drain lines must maintain a minimum pitch of 1/4 inch per foot to drain properly. Sagging or unsupported lines fail this requirement and create chronic clog points that are nearly impossible to diagnose without opening the wall. Builders should physically check every horizontal run with a level before calling for the drywall crew.
The table below summarizes the most critical protective elements, the defect that occurs when they are missing, and the consequence after drywall is installed.
Protective Element | Common Defect | Post-Drywall Consequence |
Steel nail plates | Absent on studs near wiring or pipes | Wire or pipe puncture from screws or nails |
Plumbing slope (1/4 in. per foot) | Sagging or unsupported drain lines | Chronic drain clogs, standing water in pipes |
Wire stapling | Conductors damaged by staples driven too tight | Arcing, heat buildup, electrical failure |
Pipe hangers and bracing | Missing supports on horizontal runs | Pipe movement, joint stress, leaks |
Air barrier penetration seals | Unsealed holes around pipes and wires | Moisture intrusion, energy loss |
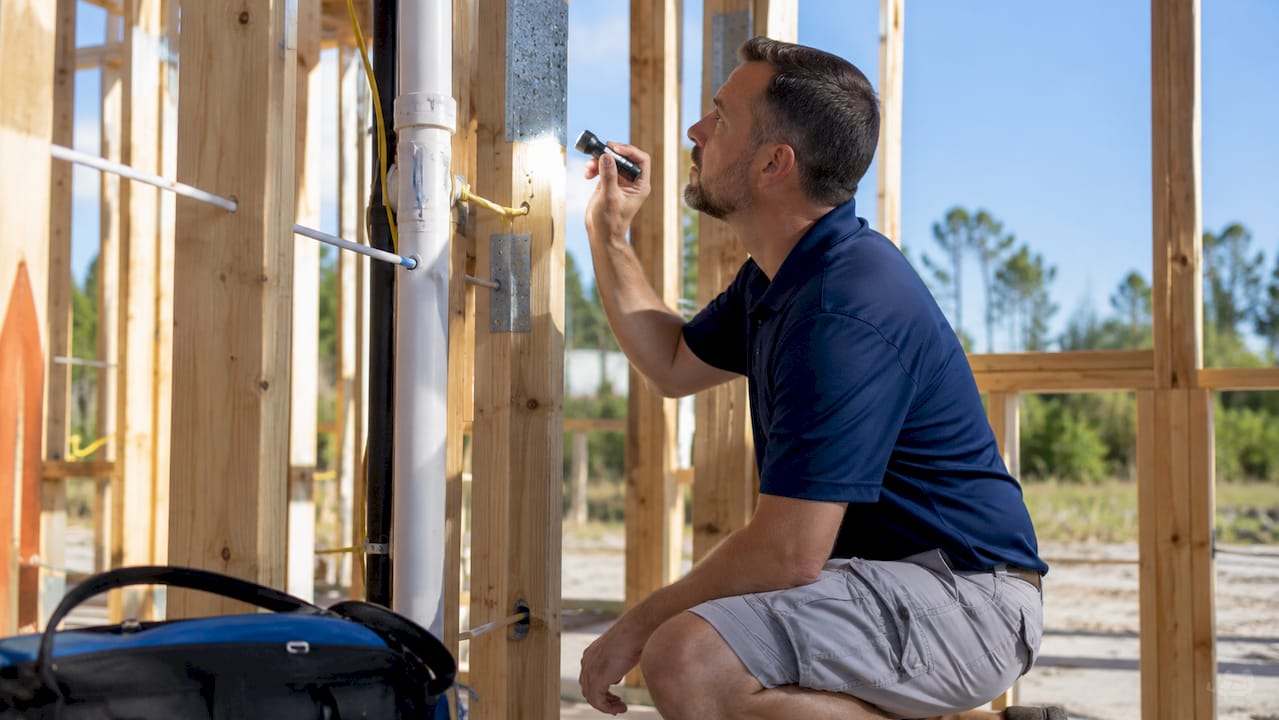
Pro Tip: Walk every stud bay with a flashlight and look for any cable or pipe within 1.25 inches of the framing face. If you can see it clearly, a nail plate is almost certainly required there.
Building code inspections often miss workmanship quality issues that affect long-term comfort and durability. A code inspector confirms that wiring exists. A thorough pre-drywall walkthrough confirms that wiring is protected, supported, and properly routed. Those are two very different standards, and the gap between them is where callbacks are born.
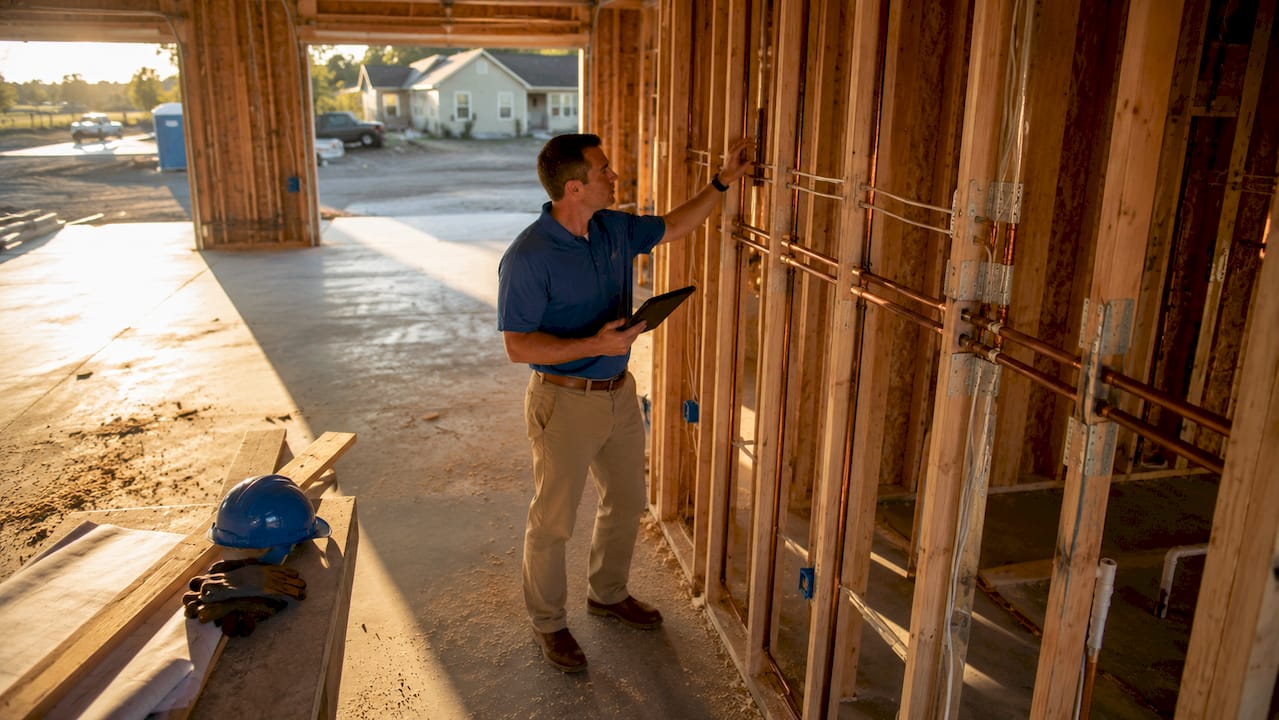
How can HVAC ductwork and fire blocking be properly prepared before drywall?
Disconnected or leaky HVAC ductwork is a high-priority defect that builders routinely overlook before drywall installation. Loose ducts dump conditioned air into wall and floor cavities instead of delivering it to living spaces. The result is a home that never reaches the right temperature, with energy bills that reflect the waste. Sealing every duct connection with an approved mastic or UL-listed metal tape before drywall is the only reliable fix.
Builders should also check the following HVAC and fire blocking items before signing off on the pre-drywall phase:
Duct connections at boots and collars: Confirm each connection is mechanically fastened and sealed with mastic, not just friction-fit.
Flex duct support: Flex duct sags under its own weight when spans exceed 4 feet without a support. Sagging flex restricts airflow and reduces system efficiency.
Return air paths: Verify that every room has an adequate return air path, either through a dedicated return grille or a transfer grille above the door.
Fire blocking in vertical cavities: Building codes require fire blocking to slow fire spread between wall cavities. Gaps at top plates, around pipes, and at floor-to-wall intersections are the most common failure points.
Fire blocking in horizontal cavities: Soffits, dropped ceilings, and stair stringers all require fire blocking at their ends. These are frequently left open on rushed job sites.
Penetrations through top and bottom plates: Every pipe, wire, and duct penetration through a fire-rated assembly needs an approved fire-stop material or collar.
Inadequate fire blocking increases fire risk and allows air to move freely between floors, which also undermines HVAC performance. The two problems compound each other. A wall cavity that acts as a chimney for fire also acts as a bypass for conditioned air.
Pro Tip: Use a can of low-expansion spray foam to seal every penetration through top and bottom plates on the day rough-in is complete. It takes 30 minutes and eliminates two separate defect categories at once.
Moisture control depends on sealing every penetration in the air barrier after rough-in stages. Air movement through unsealed penetrations carries moisture into wall assemblies, where it condenses and feeds mold growth. This is especially relevant in Gulf Coast climates, where humidity levels are high and the pressure differential between inside and outside is significant for most of the year.
What window and door flashing practices ensure moisture protection prior to drywall?
Flashing continuity at windows and doors is the most consequential detail builders miss before drywall goes up. Incorrect shingle-lapping of housewrap and improper taping at rough openings allow water to enter the wall assembly and travel behind the sheathing. The damage does not show up immediately. It appears months or years later as staining, rot, or mold, often after the warranty period has expired.
The correct flashing sequence follows a water-shedding logic from the bottom up:
Sill pan flashing: Install first, sloped to drain outward. The sill pan catches any water that gets past the window unit and directs it out of the wall.
Jamb flashing: Applied over the sill pan legs and lapped under the housewrap on each side. Jamb flashing must extend past the rough opening edge.
Head flashing: Installed last and lapped over the top of the jamb flashing and housewrap. Water must always shed onto the layer below, never behind it.
Housewrap lapping: The housewrap above the window must lap over the head flashing. Reverse lapping, where the head flashing laps over the housewrap, is one of the most common errors on new construction sites.
Tape at all seams: Use a flashing tape rated for the substrate. Standard housewrap tape is not equivalent to a self-adhering flashing membrane at a rough opening corner.
The drywall phase is also the last practical moment to add blocking for future fixture mounting, recessed niches, or specialty trim details. Builders who think ahead at this stage save their clients the cost of opening finished walls later.
Verify flashing work by running a garden hose at the top of each window for several minutes while someone watches the interior rough opening from inside. Water entry at this stage is far easier to fix than water entry discovered after drywall, paint, and trim are complete.
Why is framing quality critical before drywall, and what should builders verify?
Bowed or twisted studs cause a wavy drywall finish that is nearly impossible to conceal once the panels are hung. A stud that bows even 3/8 of an inch out of plane creates a visible ridge across the finished wall surface. The fix before drywall is straightforward: sister a straight stud alongside the bowed one, or cut a kerf and pull the bow out with a strap. The fix after drywall requires skim coating, sanding, and repainting an entire wall section.
Builders should verify the following framing items before calling for drywall:
Stud alignment: String-line every wall run and mark any stud that falls out of plane by more than 1/4 inch. Address each one before the drywall crew arrives.
Header sizing and bearing: Confirm that every header over a door or window is the correct size for the span and that it bears fully on the trimmer studs below.
Load path continuity: Check that bearing walls stack over beams or foundation walls below. A load path that shifts mid-story creates deflection that shows up as cracked drywall at corners.
Fastening at sheathing: Verify that sheathing nails or screws are driven flush, not overdriven. Overdriven fasteners break the sheathing face and reduce shear capacity.
Backing for fixtures: Confirm that blocking is installed wherever a grab bar, heavy mirror, cabinet, or wall-mounted fixture will be attached. Drywall alone does not hold structural loads.
Ceiling joist and truss alignment: Check that ceiling framing is level and that no joist is crowned upward. A crowned joist creates a bump in the ceiling drywall that catches light at every angle.
Photographic documentation of every wall bay before drywall is a best practice rarely followed but highly recommended. Photographing plumbing, wiring, ductwork, and framing creates a visual record that functions like an X-ray of the finished wall. Future owners, contractors, and service technicians can locate pipes and wires without guessing. This documentation also supports warranty claims and reduces liability for the builder. A complete new construction inspection checklist incorporates this documentation step as a standard deliverable.
The electrical rough-in is another area worth a dedicated review. An electrical rough-in checklist covers box fill calculations, wire gauge matching, and proper grounding, all of which are easier to verify and correct before drywall closes the walls.
Key Takeaways
Catching builder oversights before drywall goes up is the single most cost-effective quality control step in residential construction, because every defect concealed by drywall costs significantly more to fix.
Point | Details |
Nail plates prevent hidden damage | Install protective steel nail plates wherever wiring or pipes pass within 1.25 inches of framing. |
Plumbing slope is non-negotiable | Horizontal drain lines need a minimum 1/4 inch per foot pitch; verify with a level before drywall. |
HVAC sealing saves energy | Seal all duct connections with approved mastic before drywall to prevent conditioned air loss. |
Flashing sequence prevents moisture | Follow sill-to-jamb-to-head flashing order and confirm housewrap laps correctly over head flashing. |
Document every wall bay | Photograph all framing, wiring, and plumbing before drywall to create a permanent reference record. |
What I’ve learned from walking pre-drywall sites across the Gulf Coast
I have walked through hundreds of pre-drywall inspections, and the pattern is consistent. The items that get missed are almost never the big, obvious ones. Nobody forgets to frame a wall. What gets missed are the details that require slowing down: the nail plate on the stud behind the future vanity, the flex duct that sags two inches between supports, the head flashing that got lapped in the wrong direction because the crew was moving fast.
The honest truth is that code inspections are not designed to catch workmanship quality. They confirm that the required elements are present. They do not confirm that those elements are installed correctly or that they will perform as intended over time. That gap is exactly where a thorough pre-drywall walkthrough adds value.
One thing I tell builders consistently: photograph every wall bay before drywall goes up. It takes an extra 20 minutes on a typical house. That 20 minutes has saved clients from tearing open walls to find a pipe, from arguing over warranty claims, and from guessing where a wire runs before cutting into a finished surface. It is the simplest, cheapest form of documentation in construction, and almost nobody does it consistently.
Fire blocking is the other item I see skipped more than any other code-required element. Builders know it is required. The inspection passes because the inspector sees blocking in the obvious locations. But the soffit ends, the stair stringers, and the dropped ceiling cavities get left open. Those gaps are invisible once drywall is up, and they matter both for fire safety and for energy performance.
My advice is to build the pre-drywall walkthrough into your schedule as a fixed step, not an optional one. Treat it the same way you treat the framing inspection or the rough-in inspection. Create a written checklist, walk it with your lead carpenter, and sign off before the drywall crew is called. The 30 minutes you spend on that walkthrough is the best return on time in the entire construction process.
— Matt
Trinity Home Inspections supports builders at the pre-drywall stage
Trinity Home Inspections provides InterNACHI-certified pre-drywall inspections for builders and contractors across Mobile, Baldwin, Escambia, and surrounding Gulf Coast Alabama counties. Every inspection includes a same-day photo and video report that documents framing, mechanical systems, plumbing, and protective measures before the walls close.
[

Catching defects at this stage protects your reputation, reduces callbacks, and gives your clients confidence in the finished product. Trinity Home Inspections also offers pre-listing inspection services and permit verification tools to support every phase of the build. Call 251-210-7376 or visit TrinityInspectionsLLC.com to schedule your pre-drywall inspection today.
FAQ
What is a pre-drywall inspection?
A pre-drywall inspection is a professional review of framing, electrical, plumbing, HVAC, and fire blocking completed before drywall panels are installed. It is the last opportunity to identify and correct concealed defects without demolition.
Why do builders miss nail plates so often?
Nail plates are small and easy to overlook during a fast-moving rough-in phase. They are required wherever a cable or pipe passes within 1.25 inches of the framing face, and their absence creates a puncture risk from drywall screws and finish nails.
What is the correct plumbing slope before drywall?
Horizontal drain lines require a minimum pitch of 1/4 inch per foot to drain properly. Lines that sag or lack adequate support fail this requirement and create chronic clog points that are difficult to access after drywall is installed.
How does improper flashing cause problems after drywall?
Reverse-lapped housewrap and improperly taped rough openings allow water to enter the wall assembly behind the sheathing. The damage is slow and often does not appear until months or years after construction, frequently after the warranty period has ended.
Should builders photograph wall bays before drywall?
Photographing every wall bay before drywall creates a permanent visual record of pipe, wire, and duct locations. This record supports future maintenance, reduces warranty disputes, and helps service technicians work without opening finished walls.
Recommended