
What Does a Mold Inspection Consist of, Step by Step?
- Matt Cameron
- 1 day ago
- 10 min read

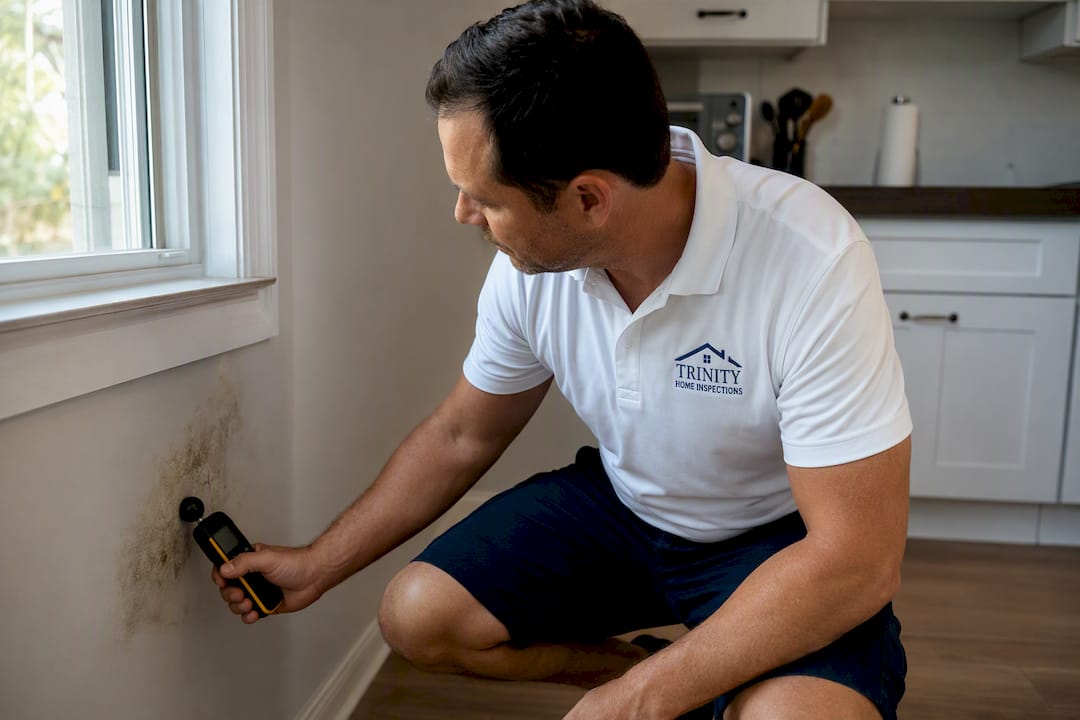
A professional mold inspection consists of five parts: a visual walkthrough of the home, moisture tracing with tools like meters and thermal cameras, sampling only when the situation calls for it, lab analysis of any samples collected, and a written report with clear next steps. Sampling is not automatic. Both the EPA and CDC say it is unnecessary when mold or moisture is already visible. Most inspections take a few hours on-site, with lab results (if needed) typically returned within a few days.
TL;DR:
Visual inspection emphasizes identifying hidden water sources by checking exterior grading, rooflines, attics, basements, plumbing areas, and HVAC systems for moisture signs.
Sampling is generally unnecessary if mold or moisture is already visible, but it is useful for suspected hidden mold, legal cases, or verifying post-remediation cleanliness.
Lab results typically arrive within 24 to 48 hours, and the full report includes photos, moisture readings, mold identification, and clear recommendations for next steps.
Effective remediation involves containing the affected area, removing non-cleanable materials, repairing the moisture source, and verifying the space is dry and free of mold.
Homeowners should prepare by closing windows, avoiding cleaning, clearing access, and noting any moisture or mold concerns before the inspection to ensure accurate findings.
What Happens During the Visual Inspection Walkthrough?
The visual walkthrough is where a mold inspection actually starts, and it is more thorough than most homeowners expect. A qualified inspector does not just glance at the ceiling in the bathroom you’re worried about. They move through the entire structure looking for evidence that connects to moisture, because mold does not grow without water first finding a way in.
That means checking:
The exterior grading, siding, and roofline for water intrusion points
The attic for roof leaks, ventilation gaps, and insulation staining
The crawlspace or basement for standing water, high humidity, or musty odors
Bathrooms, kitchens, and laundry areas around plumbing fixtures and behind appliances
HVAC components, ductwork, and condensate lines
Window and door seals, along with any areas you’ve flagged as problem spots
At every stop, the inspector is hunting for specific signs: discoloration or staining on drywall and wood, visible mold growth, warped or bubbling surfaces, peeling paint, and that particular musty smell that often shows up before mold is even visible to the eye. Occupant input matters here too. If you mention a slow leak under the sink from last winter or a spot in the guest room that always feels damp, that becomes part of the inspector’s working theory before a single tool comes out.
Everything gets documented, not just noted. Photos, video, moisture readings tied to specific locations, and written observations all go into the file that eventually becomes your report. This isn’t a casual once-over. The IAC2 Mold Inspection Standards of Practice define this as a non-invasive but comprehensive visual examination of the building’s accessible systems, and that standard is what separates a real inspection from someone poking their head in a closet and calling it done.
When Is Mold Sampling Actually Necessary?
Sampling is the part of the process homeowners assume is mandatory, and it usually isn’t. The EPA is direct about this: when mold or a moisture problem is already visible, sampling is not recommended as a first step. The priority is finding and fixing the source, not generating a lab report to confirm what you can already see and smell.
That said, sampling has a real role in specific situations. Here’s how the main types break down:
Air sampling compares spore counts indoors against an outdoor baseline sample, useful when mold is suspected but not visibly located, such as behind a wall with a persistent odor and no clear source.
Surface sampling (swabs or tape lifts) identifies what type of growth is present on a visible surface, often used to confirm suspicious staining is actually mold rather than dirt or a different substance.
Bulk sampling involves removing a small piece of material, like drywall or insulation, for lab analysis when the growth needs closer identification.
Clearance sampling happens after remediation work is finished, verifying that spore counts in the treated area have returned to levels comparable to the rest of the home.
The CDC’s homeowner guidance reserves sampling for cases where the source is genuinely unclear, where a formal record is needed for insurance or legal purposes, or where remediation needs to be verified as complete. Outside those scenarios, sampling adds cost without adding useful information.
There’s a limitation worth understanding too: no federal agency has set a “safe” threshold for mold spore counts. A lab report showing a spore count means little without comparing it to an outdoor baseline and interpreting it in context, which is exactly why the EPA cautions against reading sample results in isolation. Short-term air samples in particular offer limited insight into long-term exposure risk. This is also why chain-of-custody matters when a sample is collected. If results might end up supporting an insurance claim or a legal case, the sample needs a documented, unbroken trail from collection to lab to report. A side-by-side look at inspection versus testing can help you see exactly where sampling fits into the bigger picture.
How Long Does Lab Analysis and Reporting Take?
Once a sample is collected, the waiting game has fairly predictable boundaries. Expedited lab services typically return results within about one to two days, while standard processing usually takes several business days. After receiving the lab findings, most inspectors compile the full written report within approximately one additional business day.
Lab reports typically include:
Spore counts by type, compared against your outdoor baseline sample
Identification of the specific mold genus or species present, when culturing is used
Notes on any limitations of the sample, such as low spore counts that fall below reliable detection
None of that data comes with a built-in health verdict. A lab won’t tell you a number is “dangerous,” because no such federal threshold exists, and a report that implies otherwise should raise your eyebrow.
The final inspection report is where everything gets tied together: photos and video from the walkthrough, moisture meter readings by location, a plain explanation of what was found and why, and recommended next steps. If lab results are part of the picture, they are folded into that same document rather than handed over as a standalone printout you have to interpret yourself. For anyone wondering about specific timing, our own breakdown of mold testing turnaround walks through the same milestones in more local detail.
What Happens After Mold Is Found? Remediation Planning
Results in hand, the next question is simple: what actually needs to happen now? That decision usually comes down to three paths, weighed by the inspector and often confirmed with a remediation contractor: full removal of affected materials, repair combined with cleaning, or ongoing monitoring if the finding is minor and the moisture source has already been addressed.
A typical remediation process follows a logical order:
Contain the affected area to stop spores from spreading during the work
Remove materials that can’t be cleaned, such as saturated drywall or insulation
Dry and repair the space, fixing the moisture source itself, not just the visible damage
Verify the work with a visual and odor check, and targeted testing if the situation calls for it
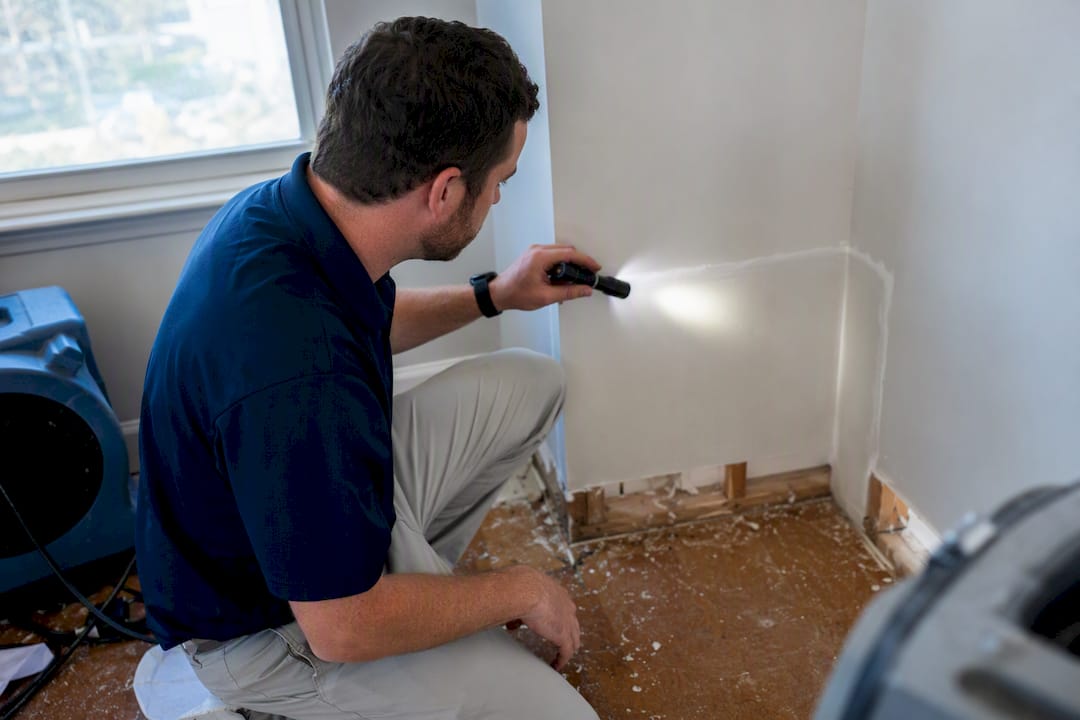
A well-written remediation protocol spells out specific, measurable goals rather than vague reassurances. That might mean a target wood moisture content percentage or a defined visual and odor clearance standard the space has to meet before it’s considered resolved, a level of documented specificity that reputable remediation guides recommend homeowners request. If you’re paying for remediation, ask to see those targets in writing.
Post-remediation, clearance sampling is optional in most everyday cases but often worth requesting for larger jobs, insurance-related claims, or situations where a buyer or tenant needs documented proof the space is clear.
How Should You Prepare for a Mold Inspection?
A little prep on your end helps the inspector collect readings that actually reflect your home’s normal conditions, not conditions skewed by last-minute cleaning or open windows.
Close windows and exterior doors for about one to two days before the appointment so humidity readings reflect the home’s typical state.
Avoid cleaning or disturbing any suspected mold areas, since scrubbing away visible growth removes the evidence the inspector needs to see.
Turn off the HVAC system if your inspector requests it, and pause any humidifiers or dehumidifiers running in the space.
Clear clutter from attics, crawlspaces, and closets so the inspector has full access without moving your belongings.
Have your history ready: recent leaks, past water events, and any health complaints tied to specific rooms are worth mentioning up front.
Most residential mold inspections take a few hours, depending on the home’s size and how many areas need a closer look. Expect the inspector to walk you through findings on-site before you ever see the written report, and with same-day digital reporting, you’re not left guessing overnight about what comes next.
When Should You Hire a Professional Instead of a DIY Kit?
Some situations call for a licensed inspector, no question. Visible mold covering more than a small patch, water damage from a flood or repeated leaks, unexplained health complaints among household members, or a source you simply can’t locate all point toward professional help. Insurance claims and legal disputes also require documentation a DIY kit can’t produce.
Look for these signals when choosing who to hire:
InterNACHI certification, recognized industry-wide as a mark of trained, tested competency
Affiliation with organizations like IICRC, ACAC, or AIHA, which signal ongoing industry education
Use of a lab that maintains proper chain-of-custody documentation for any samples collected
Adequate insurance coverage, since qualified professionals carry the training and liability protection that DIY testing simply can’t replicate
Store-bought DIY mold kits have a real limitation: they often can’t distinguish between common household mold and the specific concerns worth escalating, and they rarely include the moisture-source investigation that actually solves the problem. A kit might tell you spores are present. It won’t tell you why, or what to do about it. That gap is exactly why our guide on DIY kits versus professional testing exists, if you want the fuller comparison.
How Trinity Home Inspections Handles Mold Inspections
At Trinity Home Inspections, a mold inspection follows the same disciplined process outlined above, backed by real credentials and delivered fast.
What’s included:
Feature | Detail |
Digital report | Same-day, photo and video rich |
Thermal imaging | Included at no extra charge |
Moisture readings | Documented by location throughout the home |
Lab sampling | Available as an add-on with chain-of-custody handling |
Roof access | FAA-licensed drone inspection when a roof can’t be safely walked |
Certification | InterNACHI Certified, $1M E&O and $2M General Liability coverage |
[author_bio]
Homeowners across Baldwin, Mobile, Escambia, Washington, and Monroe counties get the same standard: documented findings, no guesswork, and a report you can actually act on. Learn more about our mold inspection services or see how we approach detecting mold along the Gulf Coast.
A Local Inspector’s Take on What Actually Matters
Here’s what I’d tell a neighbor asking about mold: don’t chase the smell, chase the moisture. I’ve seen homeowners spend money on repeated cleanings for a stain that kept coming back, when a $40 moisture meter reading would have shown the real leak was still active behind the wall. Fix the source first, every time.
Budget-wise, prioritize the inspection before the lab work. A thorough visual and moisture check often answers the question without a single sample, which saves you money you can put toward the actual repair instead.
If something in your home has you wondering, don’t sit on it and don’t panic either. Call us at 251-210-7376 or visit TrinityInspectionsLLC.com and let’s take a look.
— Matt
Book a Mold Inspection With a Local, Certified Team
Trinity Home Inspections gives Gulf Coast homeowners something a lot of inspection companies still charge extra for: thermal imaging included on every visit, not tacked on as a paid upgrade. Pair that with same-day digital reports and InterNACHI certification behind every finding, and you get clarity fast, without the multi-day wait some other companies leave you hanging on.
[

Whether you’re closing on a home next month or you’ve noticed a musty smell in the guest bathroom this week, the process starts the same way: a real conversation about what you’re seeing, followed by a scheduled visit that fits your timeline. Our property and permit search tools can also help if you’re researching a property’s history before you even schedule an inspection.
Call 251-210-7376 or head to Trinityinspectionsllc to book your inspection and get a same-day report in hand before the day is over.
Where to Learn More About Mold Guidance and Standards
EPA: Mold Testing or Sampling covers when sampling helps and when it doesn’t.
CDC/NIOSH: Environmental Testing (Mold) explains the Dampness and Mold Assessment Tool and visual inspection priorities.
IAC2 Mold Inspection Standards of Practice defines the scope of a complete professional inspection.
Minnesota Department of Health: Testing for Mold offers a state-level example of the same visual-first guidance.
Sources
Finding mold is the easy part. Finding why it’s there is the part that actually protects your home going forward, and it’s the step that separates a useful inspection from a wasted one. Multiple public-health sources back this up: the value of a mold inspection lies almost entirely in tracing moisture back to its origin, because remediation without a fixed source is a temporary patch. The mold comes back.
Inspectors rely on a small toolkit to chase that source down:
Readings from these tools don’t just get glanced at and forgotten. An inspector interprets moisture meter numbers against material type and location, because a “wet” reading on a bathroom subfloor means something different than the same reading on an exterior sill plate. Elevated or inconsistent readings get flagged for follow-up, documented with the exact location, and photographed alongside the meter display so the number is never floating without context in your report.
Pro Tip: Before you even book an inspection, walk your own home once with fresh eyes. Look for ceiling staining, condensation on windows in the morning, or a musty smell that hits you when you open a closet door. Jotting these down for your inspector saves time and often points the tools straight to the source faster.
FAQ
How Should You Prepare for a Mold Inspection?
Close windows and exterior doors for 24 to 48 hours beforehand, avoid cleaning suspected areas, and clear access to attics, crawlspaces, and closets so the inspector can reach every zone.
How Long Does It Take to Get a Mold Inspection?
The on-site visit typically runs two to four hours, and if sampling is involved, lab results return in 24 to 48 hours for expedited service or 3 to 5 business days for standard processing, with a final report following about a day later.
Does a Mold Inspection Always Include Lab Testing?
No. Both the EPA and CDC advise that sampling isn’t necessary when mold or moisture is already visible, since the priority is locating and fixing the source, not confirming it in a lab.
What Certifications Should a Mold Inspector Have?
Look for InterNACHI certification at minimum, along with affiliations like IICRC, ACAC, or AIHA, and confirm the inspector carries adequate liability insurance for the work.
What’s Included in a Mold Inspection Report?
A complete report includes photos and video from the walkthrough, moisture readings by location, an explanation of findings, and recommended next steps, including remediation guidance when needed.
Recommended

