
How To Prepare for a Home Inspection: 2026 Guide


Preparing for a home inspection means ensuring every area of the property is accessible, functional, and documented before the inspector arrives. A standard inspection lasts 2–4 hours, and most purchase contracts include a 7–14 day inspection contingency window after signing. That window moves fast. Whether you are buying or selling, knowing exactly what to do before inspection day protects your timeline, your negotiating position, and your peace of mind. Trinity Home Inspections serves buyers and sellers across Mobile, Baldwin, and the surrounding Gulf Coast Alabama area with InterNACHI-certified inspections and same-day reports built to give you clear answers, not confusion.
How to prepare for a home inspection as a seller
Sellers carry the heaviest preparation load. Your job is not to hide problems. Your job is to give the inspector full, unobstructed access to every system in the home. A well-prepared property produces a cleaner, more accurate report, which benefits everyone at the table.
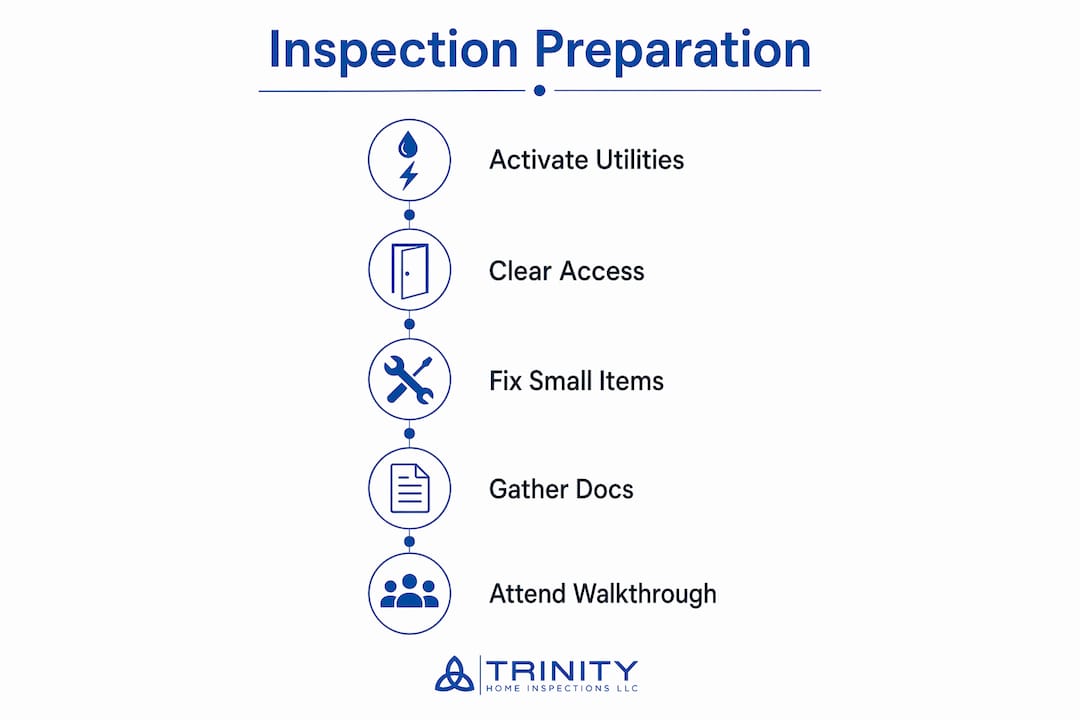
Activate all utilities and systems
All utilities must be active on inspection day, including electricity, water, and gas. An inspector cannot evaluate a water heater, HVAC system, or dishwasher if the utilities are off. Heating and cooling systems should be set to normal operating mode, not turned off or locked out. If the gas is shut off at the meter, schedule the utility company to restore service at least 48 hours before the inspection.
Clear access to every critical area
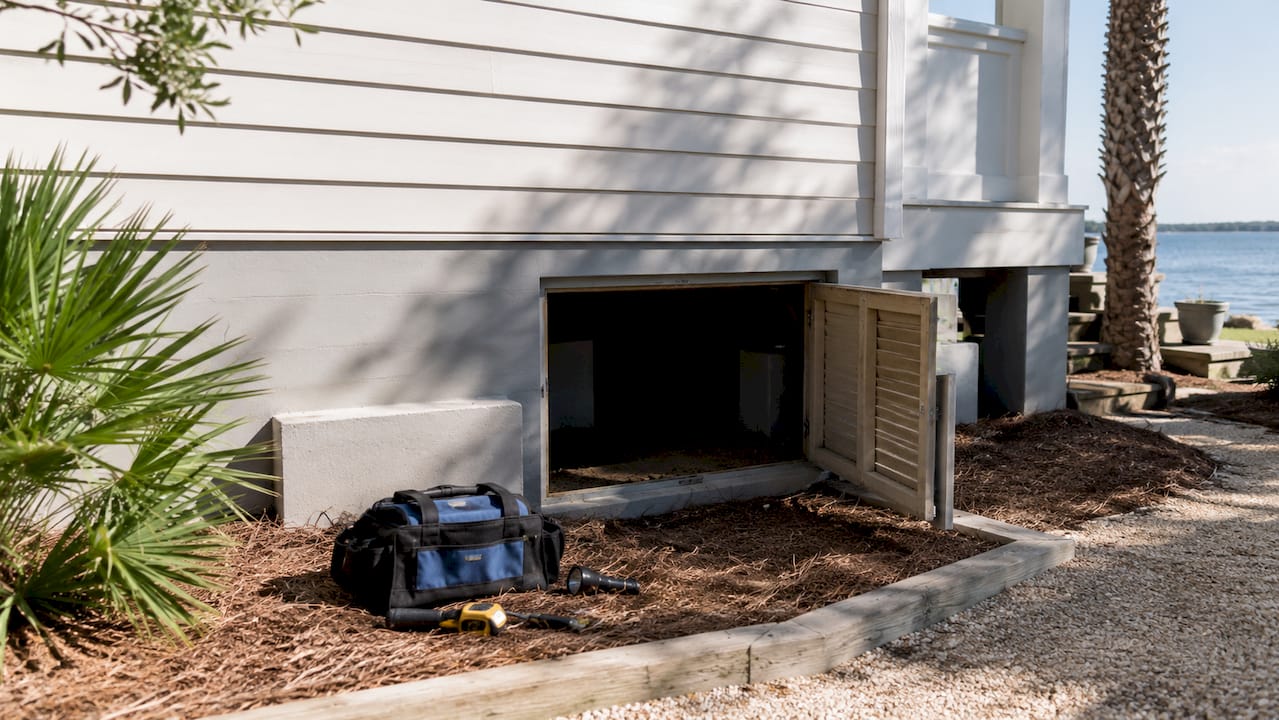
Blocked access to attics, crawl spaces, or electrical panels results in “unable to inspect” notations in the report. Those notations raise red flags for buyers and can stall negotiations or delay closing. Move stored boxes, furniture, and personal items away from the electrical panel, water heater, HVAC unit, and any crawl space entry. Unlock all interior doors, exterior gates, outbuildings, and storage rooms. If a key is needed, leave it labeled and visible.
Handle the small items that generate big flags
Replace every burned-out light bulb before the inspector arrives. A dead bulb signals a possible wiring issue when it may simply be a $2 fix. Clean or replace HVAC filters, test smoke detectors and carbon monoxide detectors, and verify that all appliances included in the sale are operational. These small steps prevent minor flags from cluttering the report and distracting from the home’s real condition.
Gather your documentation
Collect records for any repairs, replacements, or permitted work completed on the property. This includes HVAC service records, roof replacement receipts, permit documentation, and any warranties still in effect. Organized documentation gives the inspector context and gives buyers confidence. A pre-listing inspection completed before you list can surface issues early, giving you time to repair or price accordingly.
Seller preparation checklist:
Confirm electricity, water, and gas are active and accessible
Clear a 3-foot perimeter around the electrical panel, HVAC unit, and water heater
Unlock all doors, gates, attic hatches, and crawl space entries
Replace burned-out bulbs and test all smoke and CO detectors
Clean HVAC filters and confirm the system runs in both heat and cool modes
Gather repair records, permits, and appliance manuals
Remove pets and arrange for them to be off-site during the inspection
Pro Tip: Leave a one-page summary of recent repairs on the kitchen counter. Inspectors appreciate the context, and buyers see it as a sign of transparency.
What buyers should do before and during the inspection
Buyers who attend the inspection gain real-time explanations that a written report alone cannot fully deliver. Attending the full inspection and following the inspector through every room is the single most valuable thing a buyer can do. You will understand the severity of findings in context, not just as line items in a 30–80 page document.
Prepare before you arrive
Read the seller’s disclosure statement. Review it the night before and flag anything that needs clarification. Bring those specific questions to the inspector.
Pull the purchase agreement. Know which appliances, systems, and structures are included in the sale. The inspector evaluates what is part of the transaction.
Bring a notepad and camera. Take your own notes and photos alongside the inspector’s. Your photos give you a personal reference point when reviewing the report later.
Bring a flashlight. Inspectors carry their own equipment, but having your own light source helps you see what the inspector is pointing to in dim attics or crawl spaces.
Write down your top five concerns. If the seller disclosed a past roof leak or foundation repair, those areas deserve your focused attention. Prioritize your questions before you walk in.
Schedule add-on services early. Radon, mold, or sewer scope testing added late in the contingency period can threaten your closing timeline. Book them at the same time as the primary inspection.
What to focus on during the walkthrough
Follow the inspector from room to room. Ask questions as issues come up, not at the end. The inspector can explain whether a crack in drywall is cosmetic settling or a sign of structural movement. That distinction matters enormously for negotiation. Buyers should focus on safety hazards and major system failures rather than cosmetic imperfections. A scuffed baseboard is not a negotiating point. A failing HVAC system is.
Pro Tip: Ask the inspector to rate each finding verbally as you go: safety concern, major system issue, or routine maintenance. That mental triage makes the written report much easier to process.
Tools, documents, and checklists for buyers and sellers
The table below organizes what each party needs to bring or prepare before inspection day.
Item | Who Needs It | Purpose |
Flashlight | Buyer | Visibility in attics, crawl spaces, and dim utility areas |
Notepad and pen | Buyer | Personal notes to supplement the inspector’s report |
Camera or phone | Buyer | Photographic reference for report review and negotiations |
Seller’s disclosure statement | Buyer | Identifies known issues to prioritize during the walkthrough |
Purchase agreement | Buyer | Confirms which systems and appliances are included in the sale |
Repair records and permits | Seller | Provides context for past work and demonstrates transparency |
Appliance manuals and warranties | Seller | Supports buyer confidence and documents coverage |
Keys to all locked areas | Seller | Prevents “unable to inspect” notations on the report |
HVAC service records | Seller | Shows maintenance history for heating and cooling systems |
Contact number for inspector | Both | Allows quick communication on inspection day logistics |
Documentation is your best protection during the contingency period. Buyers use the report to negotiate repairs or credits. Sellers use repair records to counter requests. A printable inspection checklist keeps both parties organized and reduces the chance of missing a critical step.
What to expect during the inspection and how to respond to findings
A home inspection covers the structure, roof, electrical system, plumbing, HVAC, insulation, windows, doors, and built-in appliances. Reports typically run 30–80 pages with photos, descriptions, and condition ratings. That volume can feel heavy at first glance. The key is knowing how to read it.
How the inspection day unfolds
The inspector usually starts at the exterior and roof, then moves through the interior systematically. The full process takes 2–4 hours for most homes. Buyers should plan to arrive at the start and stay through the end. Sellers should plan to be off-site. An empty home gives the inspector full freedom to operate systems, open cabinets, and test fixtures without interruption.
Triaging the report findings
Not every finding requires a repair request. Use this framework to sort the report:
Safety and major systems: Electrical hazards, gas leaks, structural damage, roof failure, HVAC failure, and plumbing leaks. These are negotiation priorities.
Deferred maintenance: Items that need attention soon but are not urgent, such as caulking, minor grading issues, or aging water heaters. Budget for these.
Cosmetic items: Scuffed paint, loose cabinet hardware, and surface stains. These are typically the buyer’s responsibility after closing.
Focusing negotiation on structural integrity and system failures rather than cosmetic defects produces faster, cleaner outcomes. Sellers who receive a repair request list covering 40 minor cosmetic items often push back harder than sellers who receive a focused list of three major concerns.
Communicating with the inspector
Ask the inspector to clarify any finding you do not understand before you leave the property. A certified inspector carrying InterNACHI credentials will explain findings in plain language and indicate which items need a licensed contractor versus a handyman. Trinity Home Inspections delivers same-day reports with color-coded severity ratings, so you can identify safety and major issues at a glance without reading every page first.
Common mistakes to avoid on inspection day
Most preparation failures come down to access and timing. Catching these mistakes before inspection day keeps your transaction on track.
Common mistakes that cost buyers and sellers time:
Leaving the crawl space entry blocked by stored items or debris
Failing to turn on utilities, especially gas, before the inspector arrives
Locking the electrical panel room or leaving the attic hatch inaccessible
Scheduling mold testing or sewer scope inspections after the contingency deadline
Overloading the repair request with cosmetic items that dilute the serious findings
Not attending the inspection as a buyer, then misreading the report without context
Pro Tip: Schedule your inspection within the first two days of the contingency period. That gives you time to add a sewer scope or mold test, receive the report, consult a contractor, and still negotiate before the deadline.
Sellers who want a head start can review the pre-inspection checklist for sellers before listing. Buyers preparing for their first inspection will find the house inspection checklist for buyers a practical starting point.
Clear communication with your real estate agent and inspector before the day arrives prevents most last-minute surprises. Confirm the inspection time, confirm utilities are on, and confirm all access points are unlocked. Those three steps alone eliminate the most common inspection-day problems.
Key Takeaways
Thorough preparation by both buyers and sellers produces a more accurate inspection report, a cleaner negotiation, and a faster path to closing.
Point | Details |
Sellers must clear access | Remove obstructions from panels, attics, and crawl spaces to avoid “unable to inspect” notations. |
Utilities must be active | Electricity, water, and gas must be on and operational before the inspector arrives. |
Buyers should attend in full | Following the inspector in real time provides context that the written report alone cannot deliver. |
Triage findings by severity | Focus negotiation on safety hazards and major system failures, not cosmetic imperfections. |
Schedule add-ons early | Book mold, radon, or sewer scope services at the same time as the primary inspection to protect your timeline. |
What I’ve learned from hundreds of inspection days
After inspecting homes across Mobile, Baldwin, and the Gulf Coast, the preparation mistakes I see most often are not complicated. They are simple oversights that create real problems. A seller leaves the crawl space blocked by holiday decorations. A buyer skips the inspection to save time and then panics over a report they cannot interpret. These situations are avoidable every single time.
The buyers who get the most value from an inspection are the ones who show up, ask questions, and stay curious rather than anxious. Every house has findings. A 20-year-old home will have deferred maintenance. A new build will have punch-list items. The goal is not a perfect report. The goal is a clear picture of what you are buying or selling.
Sellers who prepare well are not trying to hide anything. They are making it easier for the inspector to do a thorough job. That transparency builds buyer confidence and often leads to smoother negotiations. I have seen well-prepared homes close faster and with fewer repair disputes than homes where the inspector spent half the day documenting access issues.
The inspection is not an adversarial process. It is a collaborative one. When both sides prepare correctly, the report becomes a shared tool for making a fair deal, not a weapon in a negotiation battle.
— Matt
Trinity Home Inspections is ready when you are
Trinity Home Inspections provides InterNACHI-certified inspections across Mobile, Baldwin, Escambia, and surrounding Gulf Coast Alabama counties, with same-day photo and video-rich reports delivered directly to your inbox.
[

Sellers preparing to list can request a pre-listing inspection to surface issues before buyers do. Buyers who need mold testing or sewer scope services can add them at booking, so everything is handled in one visit. If you have questions about permits or prior work on a property, the property and permit search tool is a free resource to verify records before inspection day.
Call or text 251-210-7376 or visit TrinityInspectionsLLC.com to schedule your inspection today.
FAQ
How long does a home inspection take?
A standard home inspection lasts 2–4 hours depending on the size and age of the property. Buyers should plan to be present for the full duration.
What should a seller do the day before the inspection?
Confirm all utilities are active, unlock every access point including attic hatches and crawl space entries, replace burned-out bulbs, and leave repair records on the kitchen counter for the inspector to reference.
Can buyers negotiate after the inspection?
Yes. Buyers should focus repair requests on safety hazards and major system failures. Minor cosmetic items are generally the buyer’s responsibility after closing and rarely affect the transaction outcome.
What happens if an area is inaccessible during the inspection?
The inspector documents it as “unable to inspect,” which creates ambiguity in the report and can slow negotiations. Clearing blocked areas before inspection day is one of the most important steps a seller can take.
When should buyers schedule add-on services like mold or sewer scope testing?
Book add-on services at the same time as the primary inspection. Contingency periods typically run 7–14 days, and adding services late in that window risks missing the deadline and delaying closing.
Recommended