
The Complete Checklist Inspection Guide for Homebuyers

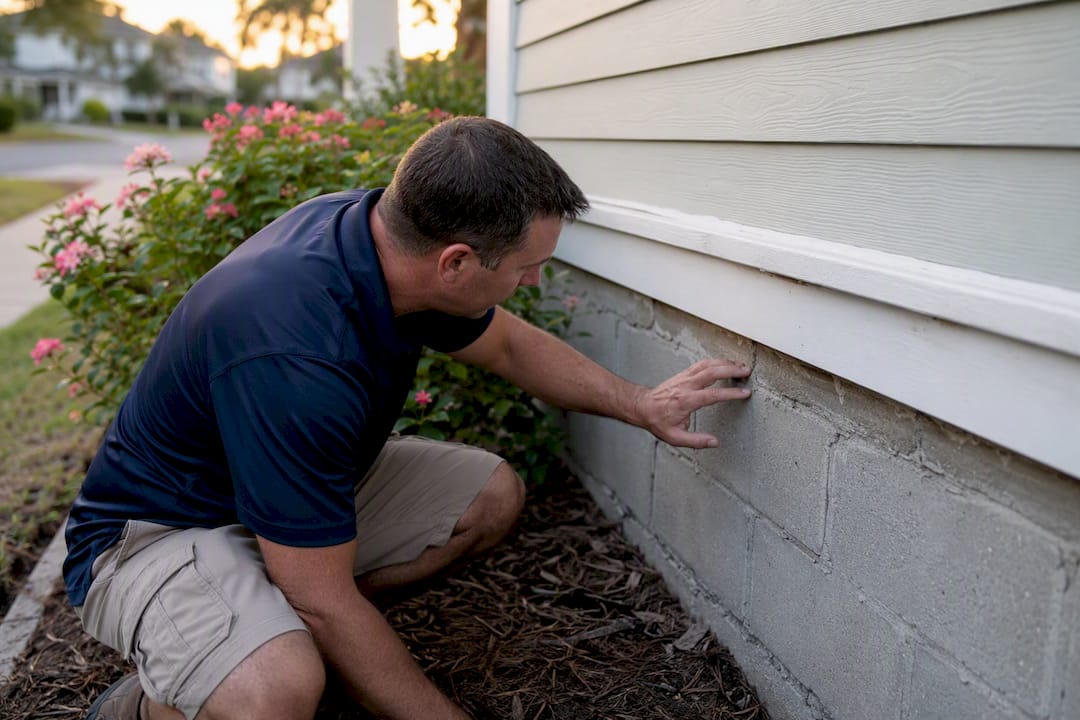
A checklist inspection is a category-by-category visual walkthrough of a property that documents condition, safety concerns, and maintenance needs, room by room and system by system. Use it during a professional home inspection or as a companion tool for your own pre-offer walkthrough. Either way, it turns a two-hour visit into a paper trail you can act on.
This works best as a partner to a licensed inspection, not a replacement for one. A trained eye catches things a checklist alone won’t, like a panel that’s technically labeled correctly but shows the faint discoloration of chronic overheating. Print it, bring it, and mark what you can access. Note what you can’t reach so your inspector knows where to focus.
Definition: A structured, room-by-room visual review covering exterior, roof, structure, plumbing, electrical, HVAC, interior, and safety items
Best use: Bring it to a showing for your own notes, or use it to understand what a professional report will cover
Printable tip: Pair it with an InterNACHI-aligned inspection and flag any locked, blocked, or inaccessible areas ahead of time
Key Takeaways
A thorough checklist inspection combines category-by-category visual review with InterNACHI or ASHI standards, clear severity grading, and documented limitations so buyers know exactly what was and wasn’t tested.
Point | Details |
Cover every system | Roof, exterior, foundation, plumbing, electrical, HVAC, interior, attic, and safety items each need dedicated checklist attention. |
Know the exclusions | Radon, mold sampling, asbestos, and sewer scopes typically require separate specialist testing beyond a standard visual inspection. |
Grade by severity | Separate safety and structural findings from routine maintenance notes to prioritize negotiation and repair decisions. |
Expect same standard timing | Most inspections run 2 to 4 hours on-site with reports delivered within 24 to 48 hours industry-wide. |
Choose a certified inspector | Trinity Home Inspections delivers same-day, photo-rich reports with free thermal imaging across the Gulf Coast Alabama region. |
Exterior Checklist: Siding, Doors, Windows, and Drainage
Start outside. Most exterior problems show themselves in daylight, and they’re often the cheapest issues to catch early and the most expensive to ignore.
Walk the full perimeter of the house, not just the front. Look at how siding meets trim, how flashing sits above windows and doors, and whether porches and steps feel solid underfoot. A few loose siding panels are cosmetic. Siding that’s pulling away near a roofline, though, often points to trapped moisture behind it.
Siding, trim, and flashing: check for gaps, rot, or pest damage where materials meet
Exterior doors and windows: test operation, look for cracked seals or fogged glass
Porches, steps, and railings: check for solid attachment and even, non-sloped surfaces
Grading: confirm soil slopes away from the foundation for at least six feet where possible
Downspout extensions: verify they carry water well away from the foundation, not just off the roof edge
Grading problems are sneaky because they don’t announce themselves until a heavy rain. If soil slopes toward the house, or mulch beds have built up against siding, water gets a direct path to the foundation. Photograph any standing water, erosion channels, or gaps where soil has pulled away from a foundation wall.
Grade a home wrong and every other exterior fix becomes temporary. Water finds the low spot every time, and if that low spot is your foundation, no amount of caulk fixes it.
Separate cosmetic wear from safety or structural concerns when you take notes. A hairline crack in a walkway is not the same category as a rotted ledger board on a porch overhang. Photograph both, but mark severity clearly so nothing gets lost in a long list.
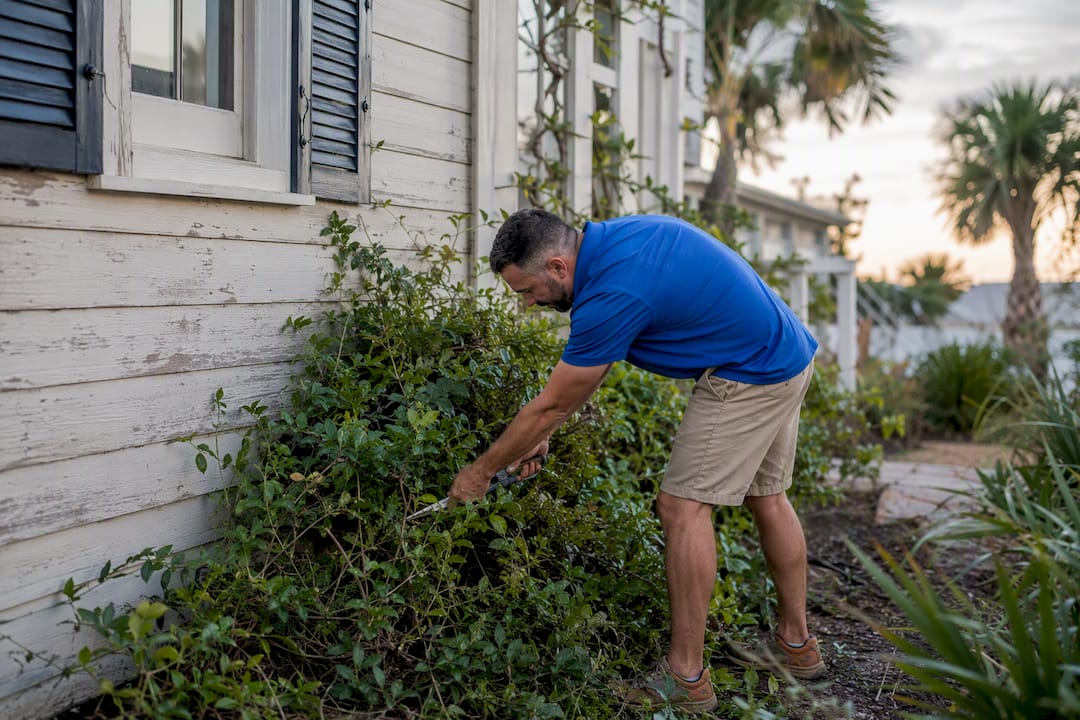
Pro Tip: Trim back bushes and vines touching the exterior walls before your inspection. Overgrown vegetation hides siding damage and pest entry points, and it can keep an inspector from getting a clean look at lower wall sections.
Roof and Gutter Checklist: What to Check From the Ground and Up
Roofs cause more deferred-maintenance surprises than almost any other system, mostly because homeowners rarely look up. A checklist inspection should treat the roof as its own mini-project, not an afterthought.
Whenever it’s safe, a trained inspector will walk the roof directly to check shingles, flashing, and penetrations up close. On steep pitches or roofs with wet conditions, ground-level observation with binoculars, a drone, or a ladder at the eaves is the safer and still thorough alternative.
Shingles: look for curling, cracking, granule loss, or missing sections
Flashing: check around chimneys, skylights, and roof-to-wall transitions for gaps or rust
Roof penetrations: vent boots and pipe collars should be sealed and intact
Gutters: check for sagging, disconnected sections, and debris blocking flow
Downspouts: confirm they’re securely attached and directing water away from the structure
Blocked or sagging gutters are one of the most common findings on a checklist inspection, and one of the easiest to miss from the street. A gutter that’s pulling away from the fascia board is often a sign of long-term water weight from clogged debris, not a one-time storm event.
A leaking roof rarely announces itself with a dramatic drip through the ceiling. It shows up first as a stain nobody noticed, a soft spot in the decking, or granules collecting in the gutter.
If you spot curling shingles near a roof’s age threshold, or flashing that looks patched with sealant rather than properly reinstalled, that’s worth a specialist roofer’s opinion before closing, not just a note for later.
Pro Tip: Never climb onto a roof yourself during a walkthrough. If your inspector can’t safely walk it, ask whether they use drone photography or high-zoom cameras. Trinity Home Inspections uses FAA-certified drone operators for roofs that can’t be safely accessed on foot.

Foundation and Structure Checklist: Signs of Real Movement
Most foundation issues found during a checklist inspection are cosmetic, minor settling cracks that every home develops over decades. The goal isn’t to panic over every hairline crack. It’s knowing which signs point to something structural.
Look at foundation walls for stair-step cracking in masonry, which often signals differential settlement rather than simple aging. Inside, check whether door frames sit square, whether floors slope noticeably, and whether interior cracks line up with exterior ones on the same wall.
Foundation walls: check for cracking patterns, bowing, or visible water intrusion
Framing and beams: look for sagging, cutting, or notching that weakens structural members
Floors: note sloping or bouncing that suggests joist or support issues
Crawlspaces: check for standing water, wood-to-soil contact, and sump pump function
Basements: look for efflorescence (white mineral staining) as a sign of past moisture
Wood touching bare soil in a crawlspace is a textbook invitation for termites and rot, and it’s one of the most common flags in Gulf Coast homes given the humidity here. A functioning sump pump matters more than most buyers realize. It’s cheap to replace and expensive to discover broken after the first heavy rain floods a finished basement.
Not every crack means a problem. A crack that’s wider at one end than the other, or that runs diagonally through a wall corner, deserves a second opinion from a structural engineer, not a guess.
Photograph any crack with something for scale, like a coin or tape measure, and note its width and direction. That documentation matters far more later than a vague description like “some cracking noted.”
Plumbing Checklist: Fixtures, Water Heaters, and Visible Piping
Plumbing problems hide well because most of the system runs behind walls and under floors. A checklist inspection focuses on what’s visible and testable, which still catches a surprising number of issues before they become emergencies.
Locate the main water shutoff valve first, and confirm it actually turns and shuts off flow. It sounds basic, but a corroded or seized shutoff valve is a real safety gap during a future leak or repair. Do the same for the gas shutoff if the home runs on natural gas or propane.
Fixtures: run every accessible sink, tub, and shower to check for leaks and proper drainage
Toilets: check for flushing, running, and stability at the base
Water heater: note age (check the manufacture date on the label), venting, and any corrosion at fittings
T&P valve: confirm the temperature and pressure relief valve has a proper discharge pipe
Visible piping: check material type (copper, PEX, galvanized) and look for staining or past repairs
A water heater over 10 to 12 years old isn’t automatically a problem, but it’s worth budgeting for replacement soon rather than assuming it will last indefinitely. Galvanized piping in an older home is a common flag. It corrodes from the inside out, which means visible exterior condition can look fine while flow is already restricted.
Pro Tip: Run every accessible drain for a full minute and watch how fast it clears. A slow-draining sink or tub often points to a partial clog or venting issue that’s cheap to fix now and expensive to ignore. For a deeper look at plumbing-specific concerns, see this plumbing home inspection checklist.
Electrical Checklist: Panels, Outlets, and Visible Wiring
Electrical findings tend to fall into two buckets: minor code-adjacent items that a handyman fixes in an afternoon, and genuine safety hazards that need an electrician before anyone moves in. Knowing which is which starts at the panel.
Open the panel cover (an inspector will do this safely) and look for double-tapped breakers, where two wires are connected to a single breaker terminal designed for one. Check for scorch marks, melted insulation, or a panel brand with a known history of failure. Confirm breakers are labeled clearly enough to be useful in an emergency.
Service panel: check for double-tapped breakers, rust, and clear labeling
GFCI outlets: verify coverage in kitchens, bathrooms, garages, and exterior locations
Outlet testing: our state requires a representative sample, but a thorough inspection tests every accessible outlet
Visible wiring: look for exposed conductors, missing cover plates, or amateur splices
Light fixtures and switches: confirm proper operation throughout accessible rooms
Alabama’s minimum standard only requires testing a representative sample of outlets, switches, and fixtures. Trinity Home Inspections tests every outlet we can access, because “representative” is a legal floor, not a promise that the one outlet behind your future crib is working.
A missing GFCI outlet near a kitchen sink isn’t dramatic, but it’s exactly the kind of gap that turns a minor splash into a real hazard. These are cheap fixes that get missed constantly in older homes.
Pro Tip: Photograph the inside of the panel cover, not just the front. Many panels have a wiring diagram or amperage rating printed there that matters for future electrical work, and it’s an easy detail to lose if you only shoot the exterior.
HVAC Checklist: Heating, Cooling, and Ductwork
HVAC systems are expensive to replace and easy to overlook, since most of the equipment sits in an attic, closet, or outside pad where buyers rarely look closely. A checklist inspection should note not just whether the system runs, but how close it is to the end of its useful life.
Check the equipment’s age from the manufacturer’s data plate, since visual condition alone can be misleading. A well-maintained 15-year-old unit might look better than a neglected 8-year-old one. Inspect filters (a clogged filter is a five-minute fix but signals how well the system’s been maintained overall), visible ductwork for disconnections, and supply vents throughout the home for adequate airflow.
Equipment age and condition: check the data plate and note visible rust or wear
Filters and visible ductwork: look for clogs, disconnections, or crushed sections
Vents and returns: confirm airflow reaches every room, not just the ones near the unit
Thermostat operation: test heating and cooling modes where seasonally possible
Combustion safety: gas furnaces need proper venting with no cracks in the heat exchanger
A cracked heat exchanger is one of the few HVAC findings that crosses from “budget for it” into “address before move-in,” since it can allow carbon monoxide into living space. That’s a specialist call, not a maintenance note.
Pro Tip: If the inspection happens outside the system’s peak season (running the AC in January, for example), ask whether limited testing was possible. A dedicated HVAC checklist from a licensed technician fills that gap if seasonal limitations kept the inspector from fully verifying performance.
Interior Rooms and Appliances: What Inspectors Sample and Why
Interior findings rarely make headlines, but they add up fast in a negotiation. A checklist inspection here focuses on doors, windows, floors, ceilings, and any built-in appliances that convey with the sale.
Inspectors work from a representative sampling approach for interior features, similar to the electrical outlet standard. That means testing a meaningful portion of windows and doors in every room, not necessarily all of them, unless something specific prompts closer scrutiny. If one window in a room won’t latch, that’s worth checking every window in that same room.
Doors and windows: test operation, look for warping, cracked seals, or difficulty latching
Floors and ceilings: check for staining, unevenness, or signs of past water damage
Appliances that convey: test operation and check for proper venting and electrical supply
Cabinets and countertops: note water damage near sinks and secure attachment
Water stains on a ceiling below a bathroom, even old and dry ones, deserve a note and a question to the seller about when the source was fixed. A dishwasher that runs fine but drains into an improperly connected air gap is the kind of installation issue that’s invisible until it backs up.
An appliance that runs doesn’t mean it’s installed correctly. Venting, electrical supply, and drainage all matter more than whether the dial turns and the light comes on.
Photograph anything you’d want to negotiate over: a cracked window seal, a stained ceiling tile, a range hood that vents into the attic instead of outside. Severity grading (cosmetic versus functional versus safety) keeps a long interior list from feeling overwhelming when you review it later.
Attic, Insulation, and Ventilation Checklist
Attic access is one of the most commonly overlooked prep items before an inspection, and it’s also where checklist inspections hit their clearest limitations. Inspectors observe what’s visible from the access point and won’t move insulation, disturb vapor barriers, or crawl into tight, unsafe spaces.
Check insulation type (fiberglass batts, blown cellulose, or spray foam) and approximate depth where visible. Look for daylight showing through roof boards, signs of past roof leaks staining the underside of decking, and any evidence of rodent activity like droppings or chewed wiring insulation.
Insulation: note type and approximate depth across visible areas
Ventilation: check for soffit vents, ridge vents, or gable vents allowing airflow
Moisture staining: look for dark streaks on rafters or sheathing
Pest activity: check for droppings, nesting material, or damaged wiring
General guidance suggests attic insulation in warmer climates should sit around R-30 to R-49 for efficient energy performance, though exact recommendations vary by region and home age. An attic with visibly thin or patchy insulation is worth flagging for an energy assessment, not just a general note.
Inspectors won’t dig through insulation to find what’s underneath it, and they shouldn’t. That’s exactly why a thermal imaging scan matters. It reveals gaps and moisture without disturbing anything.
Decks, Stairs, and Garage Door Checklist
Decks and garage doors get less attention than roofs and foundations, but they’re where a lot of injury-related liability actually lives. A checklist inspection treats these as safety-first items, not cosmetic ones.
Check how the deck ledger board attaches to the house. Ledger boards that are nailed rather than properly bolted and flashed are a known failure point behind serious deck collapses. Look underneath at footings and support posts for rot or improper ground contact.
Deck ledger and framing: check attachment method and look for rot at ground contact points
Guards and railings: confirm secure attachment and code-appropriate spacing between balusters
Stairs: check for even rise and run, secure handrails, and no excessive bounce
Garage door: test auto-reverse function and photo-eye sensors for entrapment protection
A garage door without working auto-reverse sensors is a genuine safety gap, especially in homes with kids or pets. It’s also a quick, inexpensive fix in most cases.
A deck that feels solid when you stand on it can still have a ledger connection that’s one heavy gathering away from failure. Visual inspection catches most of these, but any doubt warrants a closer structural look before hosting a crowd on it.
Safety and Environmental Checklist: What’s Included and What’s Not
Every checklist inspection includes basic life-safety verification, but it’s just as important to know what’s typically excluded so you don’t assume a clean report covers everything.
Standard checks include smoke detectors (confirm presence and general condition in every required location), carbon monoxide detectors near sleeping areas and fuel-burning appliances, and GFCI protection in wet locations throughout the home.
Smoke detectors: check placement in bedrooms, hallways, and each floor level
Carbon monoxide detectors: confirm presence near sleeping areas and gas appliances
GFCI outlets: verify coverage in kitchens, bathrooms, garages, and exterior areas
Visible hazards: note trip hazards, exposed wiring, or unsecured handrails
Standard inspections are not technically exhaustive, and they commonly exclude sewer scopes, mold sampling, radon testing, asbestos testing, and pest inspections. None of that means those risks don’t exist. It just means they need separate, targeted testing if you’re concerned.
A clean inspection report is not a guarantee against radon, mold, or pests. It’s a snapshot of visible, accessible conditions on inspection day, nothing more and nothing less.
If your inspector notes conditions that suggest a hidden risk, like musty odors, staining patterns consistent with chronic moisture, or visible pest droppings, treat that as a prompt to order specific testing before closing, not something to skip past.
Termite and Pest Inspection Checklist
Pest and termite inspections often run as a separate service from a general home inspection, but the checklist items overlap enough that buyers should understand both.
A pest-focused inspection looks specifically for evidence of wood-destroying insects and organisms, which general home inspectors note but typically don’t certify. In the Gulf Coast region, subterranean termites are a real and ongoing concern given the humidity and soil conditions here.
Mud tubes: check foundation walls, crawlspace piers, and exterior walls for pencil-width tubes
Wood damage: tap or probe visible wood trim, sills, and structural members for hollow sounds
Moisture conditions: check for conditions that attract termites, like wood-to-soil contact or standing water
Prior treatment evidence: look for drill holes or treatment tags from past pest control service
Wood-destroying organism report: many mortgage lenders require this as a separate document (often called a WDO report)
A termite letter or WDO report is frequently required for loan approval, particularly with FHA and VA financing, so it’s worth confirming early whether your lender needs one. If evidence of past treatment exists, ask the seller for records. Ongoing treatment contracts sometimes transfer to new owners and are worth understanding before closing.
Documents to Request and Next Steps After the Inspection
Once your checklist inspection wraps up, the report becomes a negotiating tool, not just a filing cabinet document. A few documents from the seller round out the picture the report alone can’t provide.
Ask for past inspection reports if the home has been inspected before, permits for any additions or major systems replacements (a new roof or water heater should have a corresponding permit in most jurisdictions), receipts for recent repairs, and manuals or warranty information for major appliances and HVAC equipment.
Past inspection reports: compare findings over time to spot recurring issues
Permits for major work: confirm additions, electrical panels, and roofing were done to code
Repair receipts: verify who performed the work and when
Appliance and HVAC manuals: check for remaining warranty coverage
Pest control contracts: request transferability details if treatment is ongoing
From there, prioritize. Separate urgent safety and structural items from routine maintenance before you sit down to negotiate. A cracked heat exchanger and a loose cabinet hinge don’t belong in the same conversation, even if they’re both technically “findings” on the same report. Our guide on using inspection reports as a negotiation tool walks through how to structure that conversation with a seller.
What to Expect: Duration, Deliverables, and Cost Factors
A typical single-family home inspection runs about 2 to 4 hours on-site, with reports delivered within 24 to 48 hours in most of the industry. Trinity Home Inspections delivers 99% of reports the same day, well ahead of that general window, because same-day clarity matters when you’re on a closing deadline.
Larger or older homes take longer, and add-on services like sewer scopes or mold sampling extend the visit further. A 1,200 square foot condo and a 4,500 square foot historic home are not the same appointment length.
On-site duration: typically 2 to 4 hours, longer for larger or older homes
Report delivery: 24 to 48 hours industry-wide; same-day delivery with Trinity Home Inspections
Deliverables: photo-rich report, prioritized findings by severity, and recommended next steps
Cost drivers: square footage, home age, foundation type, and any add-on testing requested
Home size and age drive most of the cost variation you’ll see between quotes. A 900 square foot cottage costs less to inspect than a 5,000 square foot home with a crawlspace, an attached garage, and two HVAC zones.
Every inspection operates within the same core limitation: it’s visual and non-invasive, based on representative sampling rather than testing every single component. That’s not a shortcut. It’s the professional standard the entire industry operates under.
How Certified Inspectors Work: Standards, Tools, and Reporting
Not every home inspector operates the same way, and the gap between a hobbyist with a flashlight and a properly trained professional shows up in the quality of the report you receive.
The InterNACHI Standards of Practice and ASHI’s 2026 Standards of Practice both define minimum requirements for what a general inspection must cover across structure, exterior, roofing, electrical, HVAC, plumbing, interior, and insulation systems, along with explicit limits on what inspectors are not required to do (like moving insulation or testing sealed systems). Some states layer on their own rules, like Texas’s TREC standards, which set locally binding minimums.
Diagnostic tools separate a thorough inspection from a walk-through with a checklist and a flashlight:
Thermal imaging cameras reveal insulation gaps, hidden moisture, and overheating electrical components without opening a single wall
Moisture meters confirm whether a suspicious stain is an active leak or old, dried damage
Carbon monoxide detectors identify unsafe CO conditions from fuel-burning appliances
Combustible gas detectors catch natural gas or propane leaks before they become a hazard
Sewer-camera scopes reveal blockages, root intrusion, or pipe damage in main lines
A high-quality report goes beyond a checked box. It includes photos and video for context, findings organized by severity rather than a flat list, and clear next-step recommendations instead of vague warnings.
Pro Tip: Before hiring anyone, ask for a sample report, proof of InterNACHI or ASHI certification, and confirmation of their liability insurance limits. State minimums are often lower than what a careful buyer should want backing up their inspector.
An Inspector’s Note on Attending Your Own Inspection
If there’s one habit I’d push every buyer toward, it’s showing up. A written report tells you what was found. Standing next to your inspector while they explain why a crack matters, or why a panel gets flagged, teaches you something a page of photos never will.
When a report comes back with a long list of items, don’t panic and don’t skim past the severity markers we build in specifically to help you prioritize. A dozen minor maintenance notes matter less than one flagged safety item. That’s the whole point of organizing findings by category instead of dumping everything into a single wall of text.
Clear, honest communication is the entire job. Not alarming you, not glossing over real problems, just telling you what’s actually there so you can make your own call.
What Trinity Home Inspections Includes With Every Checklist Inspection
Trinity Home Inspections gives you the same category-by-category structure covered here, backed by same-day reports and free thermal imaging that most companies charge extra for. That’s the real difference: you’re not paying an add-on fee to see the moisture problem hiding behind a wall.
[

What’s included with your inspection:
Same-day, photo and video-rich digital report, color-coded by severity (DIY/Minor, Issues/Defects, Safety/Major)
Free thermal imaging on every inspection when conditions allow
Full outlet, switch, window, and door testing, beyond the state’s minimum sampling requirement
Add-on services available in one visit: mold testing, sewer scope, and permit and deed records search
Selling a home rather than buying one? A pre-listing inspection catches issues before a buyer’s inspector does, which usually means fewer surprises and a smoother path to closing. Whichever side of the transaction you’re on, call 251-210-7376 or visit Trinityinspectionsllc to schedule an inspection with Trinity Home Inspections across Baldwin, Mobile, Escambia, Washington, and Monroe counties.
Alt text for reference: Home inspector in khaki pants and blue Trinity Home Inspections polo conducting a checklist inspection in Baldwin County, Alabama.
Sources
FAQ
What is a checklist inspection?
It’s a structured, category-by-category visual review of a property’s condition covering the roof, exterior, foundation, plumbing, electrical, HVAC, interior, and safety systems, used to document findings for repair or negotiation decisions.
What is the 7-point inspection process?
Definitions vary by company and region, but it commonly refers to a condensed inspection focused on seven core systems, typically roof, foundation, plumbing, electrical, HVAC, structure, and safety items, rather than the full comprehensive review a standard home inspection covers.
How long does a home inspection take?
Most single-family home inspections take about 2 to 4 hours on-site, with larger or older homes running longer depending on square footage and accessibility.
What isn’t covered in a standard checklist inspection?
Standard inspections typically exclude radon, mold sampling, asbestos, pest inspections, and sewer scopes, all of which require separate, targeted testing if you have concerns.
Can I use a printable checklist instead of hiring a professional?
A printable checklist is a useful companion tool for your own notes, but it doesn’t replace a licensed, certified inspector who can safely access roofs, panels, and crawlspaces and interpret what they find.
Recommended