
How to Replace Your Farmhouse Kitchen Sink Right
- Matt Cameron
- 4 days ago
- 10 min read


If you’ve been staring at a cracked, stained, or just plain outdated sink and thinking “there has to be a better option,” you’re right. Learning how to replace a kitchen sink farmhouse style is one of the most rewarding kitchen upgrades a Gulf Coast Alabama homeowner can tackle. The project does come with real challenges: heavy porcelain or fireclay sinks, cabinet support requirements, and getting the seal right in a humid coastal climate. But with the right plan, the right tools, and a clear step-by-step process, you can pull this off confidently and end up with a kitchen that looks and works better than before.
Key Takeaways
Point | Details |
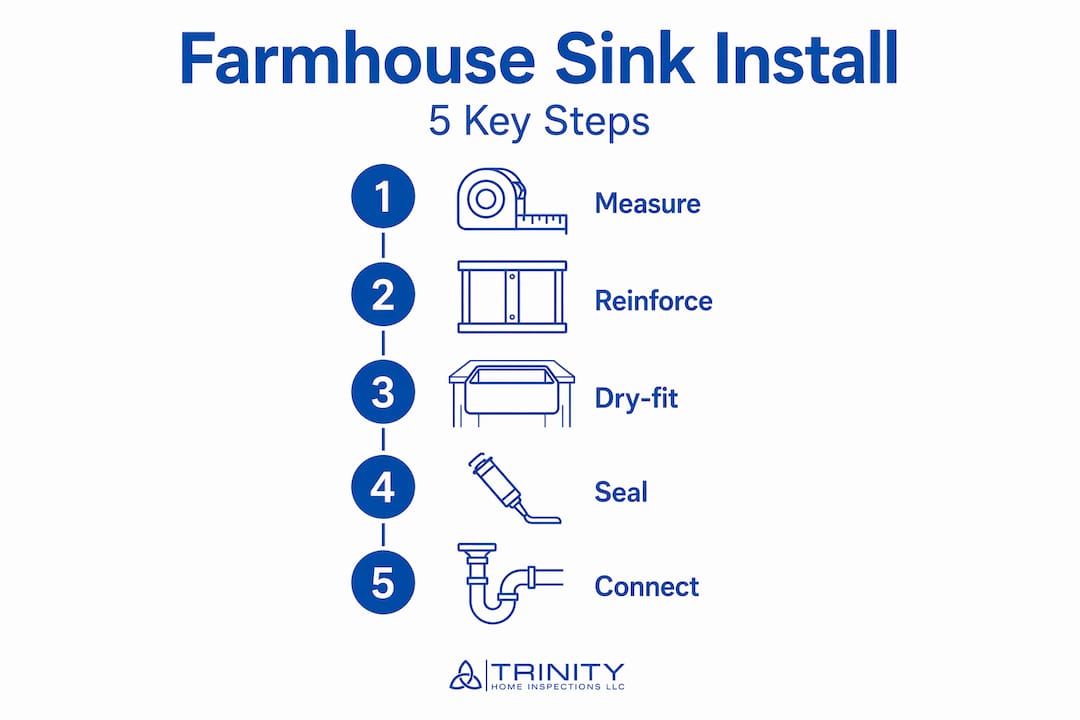
Measure and plan first | Proper measurements and identifying your sink’s mounting type help avoid expensive surprises. |
Cabinet support is crucial | A reinforced cabinet ensures your farmhouse sink will stay safe, level, and leak-free. |
Fit and seal with care | Dry-fit, template, and seal your sink precisely for a long-lasting and beautiful kitchen upgrade. |
Choose a retrofit-friendly sink | Selecting a drop-in or retrofit farmhouse sink minimizes countertop and cabinet modification. |
Local help adds value | When in doubt, local home inspectors and permit experts can support your kitchen project for peace of mind. |
Get ready: What you need for a farmhouse sink replacement
Now that you know why a farmhouse sink upgrade matters, let’s start by gathering everything you need for a safe and smooth replacement.
Before you buy a single thing, take stock of what you already have and what you’ll need. Farmhouse sink replacement is not a grab-a-wrench-and-go project. The preparation stage is where most DIY projects either succeed or stall.
Tools and materials checklist:
Adjustable wrench and basin wrench
Drill and drill bits
Jigsaw (for countertop or cabinet cutouts)
Level and tape measure
Shims and wood screws
2x4 lumber (for cabinet support framing)
Silicone caulk and caulk gun
Plumber’s putty
Bucket and towels
Safety glasses and work gloves
Plumber’s tape (Teflon tape)
Sink template (usually included with new sink)
Skill level: This project sits at an intermediate DIY level. You need basic comfort with plumbing disconnects, some carpentry for cabinet framing, and patience for measuring twice before cutting once. If your home has older galvanized pipes or you notice soft, water-damaged cabinet floors, call a licensed plumber before proceeding.
Critical measurements before you shop:
The replacement workflow starts with measuring your existing sink’s width, depth, and length, plus identifying your mounting type, before you prep the area or install anything new. Write these numbers down and bring them when shopping.
Mounting type | How it sits | Best for |
Drop-in (top-mount) | Rim rests on countertop | Easiest retrofit |
Undermount | Mounted below counter surface | Cleaner look, more work |
Apron-front | Front panel exposed, flush with cabinet | Classic farmhouse style |
Pro Tip: When you replace farmhouse sinks, always order the sink before cutting anything. Dry-fitting with the actual product prevents expensive mistakes. Also check whether your new sink includes a template — most quality apron-front models do, and it saves significant time on cutouts.
If your current sink has a garbage disposal, plan extra time for that disconnect. You can find guidance on how to fix disposal issues before or after your replacement if the unit is worth keeping.
Step-by-step: How to remove your old kitchen sink
With your tools and materials gathered, it’s time to tackle removing your old sink.
Removing the existing sink safely is where the physical work begins. Rushing this step is one of the most common causes of water damage and cabinet damage during a kitchen sink installation guide project.
Steps to remove your old sink:
Turn off the hot and cold water supply valves under the sink. They’re usually located at the back wall of the cabinet.
Turn on the faucet to release any remaining pressure in the lines.
Place a bucket under the P-trap (the curved drain pipe) and disconnect it. Expect some residual water.
Disconnect the supply lines from the faucet using a basin wrench.
If a garbage disposal is present, unplug it and twist it off the drain flange.
Loosen and remove any mounting clips holding the sink to the underside of the countertop.
Cut any caulk bead along the sink rim using a utility knife.
Lift the sink straight up. Get a helper for this — cast iron and fireclay sinks can weigh 100 to 200 pounds.
Safety notes when removing old kitchen sink:
Wear gloves. Sink edges, especially on older porcelain models, can be razor sharp where chipped.
Lay moving blankets or cardboard on the floor before pulling the sink out to protect flooring.
Check the cabinet floor for soft spots or discoloration, which signal water damage that needs repair before the new sink goes in.
Important: If you spot dark staining, swollen wood, or a musty smell inside the cabinet, stop and assess the damage. Installing a new sink over rotted wood is a problem that will come back to haunt you within months. You can learn more about how to remove sink safely and protect surrounding surfaces during the process.
Once the sink is out, clean sink surfaces thoroughly and remove all old caulk and putty from the countertop or cabinet opening before moving forward.
Plan your retrofit: Choosing and prepping the right farmhouse sink
Now, let’s zero in on picking the best farmhouse sink for your home and prepping everything for a fit that’s right the first time.

Not all farmhouse sinks are created equal, and the wrong choice can mean costly cabinet modifications. This is where farmhouse sink size options and mounting style matter most.
Types of farmhouse sinks and what they require:
Top-mount apron-front: Drops into a countertop opening with the apron exposed. Minimal cabinet modification needed.
Undermount apron-front: Mounts below the countertop. Requires a solid stone or quartz surface and precise cutouts.
Retrofit drop-in: Designed specifically to replace standard sinks with minimal changes to existing cabinetry.
If you want to minimize countertop or cabinet changes, choose a retrofit style such as a top-mount or drop-in apron-front designed for retrofit installations. These are purpose-built to slot into existing openings with minor adjustments.
Farmhouse sinks are heavy. Fireclay and cast iron models require load-bearing support inside the cabinet rather than relying on the countertop alone. This is not optional — it’s a structural necessity.
Sink material | Approximate weight | Support needed |
Stainless steel | 20 to 40 lbs | Minimal |
Fireclay | 100 to 160 lbs | Full cabinet frame |
Cast iron | 150 to 200 lbs | Reinforced framing |
Faucet placement: Apron-front sinks often don’t include pre-drilled faucet holes. Decide upfront whether you want a single-hole, three-hole, or wall-mount faucet, because that affects countertop drilling and cabinet clearance planning.
Pro Tip: Measure the interior width of your base cabinet, not just the countertop opening. The apron of a farmhouse sink must clear the cabinet face frame. A sink that’s a quarter inch too wide will not fit, and returning a 150-pound fireclay sink is not fun. Check out this farmhouse apron sink install guide for more detail on sizing and fit.
Cabinet and countertop prep: Supporting and fitting your farmhouse sink
Once the sink is selected and checked for fit, the real prep-work begins: reinforcing and prepping your cabinet and countertop.
This is the stage most DIY guides underplay. Getting the support structure right is what separates a sink that lasts 20 years from one that cracks a countertop or pulls loose within a year.
Steps to prep your cabinet and countertop:
Remove the cabinet face frame section where the apron will sit, if required by your sink model.
Build a support ledger inside the cabinet using 2x4 lumber. This ledger runs horizontally across the front and back of the cabinet interior, creating a shelf the sink rests on.
Use the sink’s template (or the sink itself) to mark the countertop cutout precisely.
Cut the countertop opening with a jigsaw. Work slowly and support the cutout piece from below so it doesn’t crack or fall.
Dry-fit the sink. Set it in place without caulk and check for level, front-to-back alignment, and drain position.
Shim as needed under the support ledger until the sink sits perfectly level.
Common mistakes to avoid:
Mistake | Consequence | Fix |
Skipping the dry-fit | Misaligned drain, countertop gaps | Always dry-fit first |
Cutting without a template | Oversized or off-center opening | Use the manufacturer’s template |
No shimming | Sink rocks or sits unlevel | Shim the support ledger |
Ignoring cabinet floor damage | New sink sits on rotted wood | Replace damaged panels first |
The farmhouse sink installation guide is clear: the weight must transfer through a load-bearing structure, not the countertop. A precise cutout plan using the actual sink or template prevents the most common fit problems.
Pro Tip: After dry-fitting, use a pencil to trace the sink’s outline on the countertop and mark the drain center. Take a photo before removing the sink. That photo becomes your reference if anything shifts during final install. You can find more kitchen maintenance tips on the Trinity blog.
Install, seal, and finish: Step-by-step guide for farmhouse sink setup
With the base ready and cutouts done, let’s walk through the actual installation and finishing steps for a leak-proof, beautiful farmhouse sink.
This is the payoff stage. Follow the sequence carefully, because the correct order is to reinforce support first, make accurate cutouts, then set and seal before final plumbing.
Installation steps:
Apply a continuous bead of silicone caulk along the top edge of the support ledger and any surfaces the sink will contact.
Lower the sink carefully into position. Get a second person to help guide it in.
Check level front-to-back and side-to-side. Adjust shims under the ledger if needed.
For drop-in sinks, apply silicone caulk around the entire rim where it meets the countertop. For undermount sinks, apply caulk to the underside rim before pressing up into position.
Attach any mounting clips or brackets per the manufacturer’s instructions.
Reconnect the drain assembly and P-trap.
Reconnect supply lines to the faucet. If your supply lines are old or show corrosion, now is the right time to replace plumbing pipes rather than reconnecting worn components.
Turn the water supply back on slowly and watch every connection point for drips.
Fill the sink with water, then release it all at once. This tests the drain under load.
Sealing is not optional. Applying silicone caulk at the sink-to-countertop interface is the primary defense against water infiltrating the cabinet below. In Gulf Coast Alabama’s humid climate, even a small gap can lead to mold growth within weeks.
Final touches:
Smooth the caulk bead with a wet finger or caulk tool for a clean line.
Wipe away excess caulk before it cures.
Test the faucet, hot and cold, and run water for several minutes.
Check under the cabinet with a flashlight after the test to confirm no moisture.
If you have PEX supply lines, review the proper technique to make a PEX plumbing repair before reconnecting to avoid fitting failures.
Expert perspective: What most DIY guides miss about farmhouse sink replacement
Having walked through all the major steps, let’s zoom out with a seasoned perspective on what makes farmhouse sink replacement truly successful.
Most replace kitchen sink guides focus on the mechanics and skip the context. Here’s what actually separates a clean, lasting installation from one that causes problems six months later.
Gulf Coast humidity changes the math. In Mobile, Daphne, Foley, and Gulf Shores, indoor humidity regularly sits above 60 percent for months at a time. Standard particle board cabinet floors absorb moisture and swell. When you open a cabinet that has had even a minor drip for a season, you may find a floor that crumbles when you press on it. This is not a cosmetic issue — it’s a structural one. The cabinet support framing must transfer the sink’s weight through solid lumber, not through swollen or compromised cabinet walls. In this climate, upgrading the cabinet floor to moisture-resistant plywood at the same time you replace the sink is almost always worth the extra hour of work.
Rushing the seal is the most expensive shortcut. Homeowners often apply caulk, see it looks fine, and move on. But silicone needs 24 hours to cure fully before the sink sees regular water use. Running the dishwasher or heavy sink use before the caulk cures can break the seal before it ever sets properly. Give it a full day.
Compatibility is not just about size. A sink that fits the opening may still be incompatible with your faucet holes, drain position, or garbage disposal mounting. Check all three before you commit to a model. A detailed farmhouse sink guide walks through these specifics in depth.
The homeowners who get this right are the ones who slow down at the planning stage and move confidently through the execution. The ones who rush the prep almost always end up doing part of the job twice.
Need help or want peace of mind? Connect with local experts
If at any point you find the project overwhelming or want documented peace of mind before listing your property, here’s how local experts can help.

[

A farmhouse sink replacement can add real value to your home, but only if it’s done right. If you discovered water damage during removal, need cabinet structural work, or are planning to sell soon, a professional set of eyes makes a difference. At Trinity Home Inspections, we serve homeowners across Baldwin, Mobile, Escambia, and surrounding Gulf Coast Alabama counties. A pre-sale home inspection can document completed improvements and flag anything that needs attention before buyers do. We also offer permit and deed searches to verify work history on your property. Call us at 251-210-7376 or visit TrinityInspectionsLLC.com to schedule.
Frequently asked questions
What tools are required to replace a farmhouse kitchen sink?
You’ll need basic plumbing tools, a drill, level, shims, silicone caulk, a measuring tape, and safety gear. The full replacement workflow also calls for a jigsaw for cutouts and a basin wrench for tight faucet connections.
How do I reinforce my cabinet for a farmhouse sink?
Build a load-bearing frame inside the cabinet using sturdy 2x4 lumber so the sink’s weight transfers vertically through solid wood. Farmhouse sinks require internal support rather than relying on the countertop or cabinet side walls.
What’s the difference between drop-in and undermount farmhouse sinks?
Drop-in sinks rest on the countertop rim and are easier for retrofits, while undermount sinks install below the counter for a cleaner look but require more cabinet modification. If you want to minimize changes, choose a retrofit style designed for drop-in apron-front installation.
How do I make sure my farmhouse sink doesn’t leak?
Carefully apply silicone caulk at the sink-to-countertop interface using the method suited to your mount type, then let it cure fully before use and check all connections after a water test.
What are common mistakes to avoid in farmhouse sink replacement?
Common errors include underestimating sink weight, skipping cabinet reinforcement, and connecting plumbing before the sink is leveled and sealed. The correct installation sequence is support first, cutouts second, seal third, plumbing last.
Recommended
